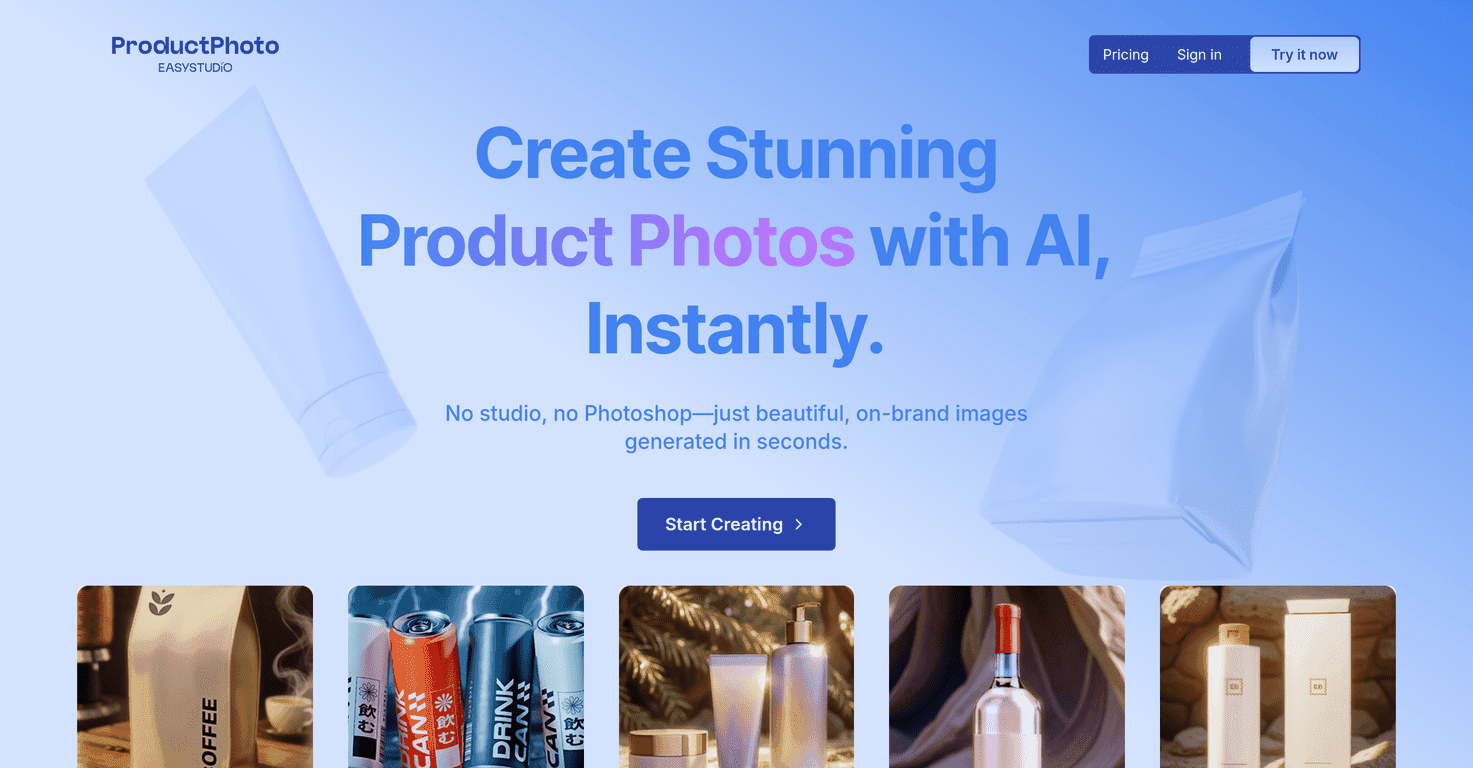
Table of Contents
If you’ve ever tried to keep up with product photos for ads, social posts, and landing pages, you already know the pain: scheduling shoots, waiting on edits, and paying for setups you only use for one campaign. I was curious about AI Product Shot because it promises photorealistic product imagery without the studio headache. After testing it, the big question for me was simple—does it actually look good enough to use, or is it just “nice AI” for demos?

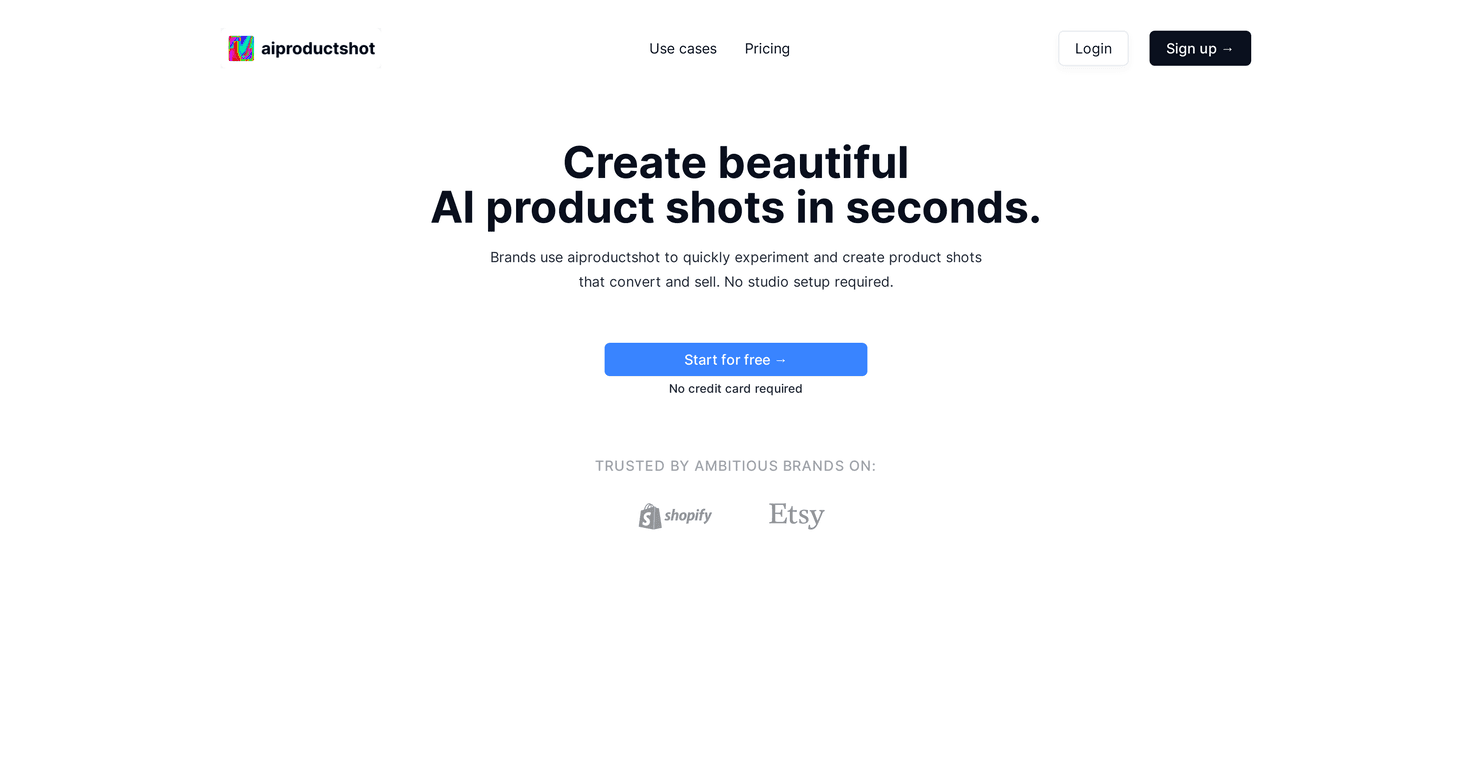
AI Product Shot Review: Does It Replace Studio Photos?
Here’s what stood out to me right away: AI Product Shot is built for speed. You’re not setting up a backdrop, lighting, and props just to test a new ad angle. Instead, you generate product shots by feeding the tool your product image(s) and then iterating on the look—backgrounds, lighting, and scene styles.
And yes, the output can look convincingly “real” when your starting product photo is clear. In my experience, the biggest difference between usable results and “almost there” results is the quality of your input image. If the product photo is sharp, well-lit, and the subject is easy to recognize, the AI tends to nail the shape and proportions more consistently.
One thing I actually liked: it’s easy to generate a bunch of variations. That matters for marketing because you don’t just need one hero image—you want options. Maybe you’re testing a warmer lighting vibe for a seasonal campaign, or you want a cleaner background for a product grid. With AI Product Shot, you can explore those directions without booking time or paying per revision.
So does it “revolutionize” your imagery? For small teams and solo sellers, it can absolutely reduce the back-and-forth. Just don’t expect it to magically fix a blurry product image or a poorly lit shot. Garbage in, garbage out—still applies here.
Key Features That Matter (Not Just Buzzwords)
- AI-driven product image generation for quick iterations—great when you’re trying to launch fast or update creatives weekly.
- No studio setup required, which is a huge win if you don’t have space for backdrops, stands, or consistent lighting.
- Brand-focused customization through model options (the idea is to keep your results aligned with your style instead of looking generic).
- Scene experimentation—backgrounds, environment styles, and lighting changes so you can test what converts.
- Photorealistic output designed for ads and product pages, not just “cool AI art” for social posts.
Pros and Cons From My Testing
Pros
- Fast workflow: I could go from idea to multiple draft images quickly, which is perfect for ad testing.
- Useful variety: you can generate many unique variations, so you’re not stuck with one “best guess” image.
- Marketing-ready images: the results are aimed at product ads—exactly where you need clean, believable visuals.
- Initial access is friendly: the platform offers a free trial without requiring a credit card, so you can test before committing.
- Experimentation is easier: swapping lighting/background styles is much simpler than trying to recreate the same setup with a camera.
Cons
- Input quality really matters: if your original product image is low-res, has odd shadows, or the product edges are unclear, the AI won’t magically fix it.
- Model/training setup can be a hurdle: there may be an upfront effort if you want more tailored results (especially for custom models).
- There’s a learning curve: getting consistently great outputs takes a bit of trial and error—figuring out what prompts/settings work best for your product category.
Pricing Plans (What to Check Before You Buy)
AI Product Shot includes a free trial with no credit card required. That’s honestly the part I recommend using first—run a few tests with your real product photos and see if the quality matches what you’d ship to customers.
For anything beyond the trial, you’ll want to check the official pricing page for the latest tier details and what each plan includes. Pricing can change, and the features that matter most (like custom model options or higher-generation limits) are usually where the differences show up.
Quick Tips I Used to Get Better Results
- Start with a clean product image: straight-on, high resolution, minimal clutter in the frame.
- Keep your background simple at input: you want the AI to understand the product first, then you can change the scene.
- Generate variations, then pick: don’t obsess over one output. Make a batch, compare, and choose the best-looking set.
- Test lighting styles for your niche: for example, brighter “clean” lighting often works well for tech/ecommerce, while warmer tones can fit lifestyle brands.
Wrap up
AI Product Shot is one of those tools that feels especially useful if you’re constantly creating new product creatives and don’t want to spend days in a studio. In my experience, it can produce marketing-ready images fast—as long as you feed it solid input photos and expect a little iteration. If you want a practical way to scale product imagery without the usual overhead, it’s definitely worth trying.


