Table of Contents
Creating a fun and exciting children’s activity book from scratch might feel overwhelming, especially if you’re not a design wizard or artistic genius. Honestly, it can definitely seem tricky figuring out layouts, enjoyable themes, and activities kids will actually like.
But don’t stress! This guide will walk you gently through choosing the right tools, thinking up awesome activities, crafting fun pages, making eye-catching covers, and even getting your book printed or online ready.
Ready to make an amazing activity book kids won’t put down? Let’s do it!
Key Takeaways
- Pick beginner-friendly tools like Canva or advanced options like Adobe InDesign for your layouts and design.
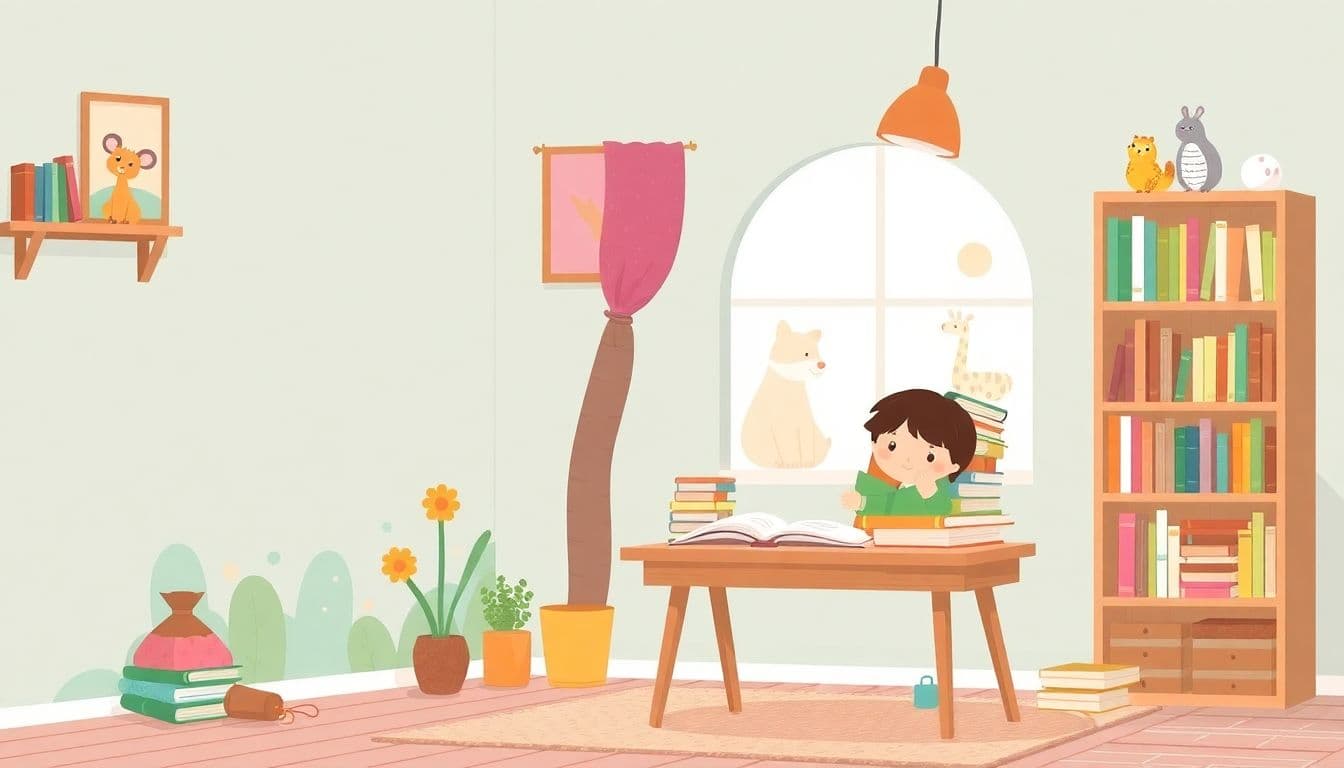
- Choose age-appropriate activities (simple coloring for 3-6 years; puzzles and brain teasers for 7-12 years) and popular themes like dinosaurs, space, or unicorns.
- Make activity pages clear, simple, and visually appealing; always test pages with kids first.
- Create a bright, easy-to-read book cover featuring characters or themes matching your content.
- Print in user-friendly sizes (8.5×11 inches or 8×8 inches) on quality paper, and double-check your layout by ordering a test copy first.
- Add fun educational facts, writing prompts, or interactive features to engage kids and satisfy parents.

Step 1: Select the Best Design Tool and Templates
The first step to creating an awesome children’s activity book is picking the right tool to design it. Canva is a great free option you can use if you’re just starting out because it’s beginner-friendly, simple to learn, and stocked with plenty of templates. If you’re looking for something more professional or specific, Adobe InDesign gives you more flexibility and has endless options—perfect if you’re planning to sell your activity book.
Here’s a quick pro tip: don’t reinvent the wheel. Instead, find a template that matches your style and customize it to your liking. Sites like Etsy and Creative Market offer unique templates for children’s activity books that you can easily tweak to match your vision. Before you finalize your choice, make sure your chosen template clearly separates text from activities, has enough white space, and matches the book size you’re planning to publish.
And if you’re undecided on your book’s print dimensions, check out this guide to understanding book cover size pixels. It’ll save you a ton of stress later on—trust me.
Step 2: Decide on Activities and Theme for Your Book
Figuring out what to actually put in your activity book is probably the most important step. Brainstorm creative, intriguing activities tailored specifically for the age range you’re targeting. Younger kids (ages 3-6) enjoy simple coloring pages, dot-to-dot, or searching for hidden objects.
Older kids (ages 7-12) respond better to more engaging puzzle-solving adventures and brain teasers. Popular themes that sell well include animals, outer space, dinosaurs, unicorns, pirates, and vehicles. Consider what’s currently popular among kids—be it space exploration, climate activism, dinosaurs, or mental wellness—and tailor your activities accordingly.
Try adding writing prompts to encourage creativity—funny prompts are especially effective. Here are some awesome funny writing prompts for kids if you need inspiration. Also, be sure to balance fun with educational value to keep parents happy too!
Step 3: Create Fun and Easy-to-Follow Activity Pages
No one likes confusion—especially kids. Activity pages need to feel welcoming and straightforward at a glance. Here’s how to nail it:
- Use simple, clear instructions. If a kid can understand it without parental help, you’ve nailed it.
- Design with lots of visual clarity—avoiding cluttered and overwhelming layouts.
- Always leave ample space for kids to draw, write, or color with ease.
- Mix up activity types: puzzles, matching games, tracing activities, coloring pages, mazes, and simple word searches.
- Test your pages on actual kids; if they’re confused or bored, tweak the layout and instructions.
Personal story: I once created an animal-themed activity page that kids couldn’t figure out because the instructions were too complicated. After simplifying directions and changing to cute pictures, that page became one of my best-sellers! Lesson learned—keep it straightforward and fun.
If you’re considering adding a coloring book element, take a look at this useful post on how to publish a coloring book. It’s packed with practical insights that’ll save you headaches later!

Step 4: Design an Engaging and Attractive Book Cover
Creating a beautiful and eye-catching book cover is definitely a big deal—kids and parents alike really do judge your book by its cover.
Use bright, age-appropriate colors that grab attention but don’t overpower or hurt the eyes.
Bold illustrations or characters reflecting your book’s activities and themes work much better than generic images—so keep things visually connected.
A minimal amount of easy-to-read text (title, subtitle, author’s name) placed tastefully will do wonders for readability at thumbnail size—crucial if you’re selling online.
Try out simple, kid-friendly fonts designed for readability—here’s a neat guide with the best fonts for book covers to find your perfect option.
Also, think about giving your book cover a quick test run by showing it to a kid—ask what they think the book is about, and adjust accordingly.
Step 5: Format Your Activity Book for Easy Printing
Formatting your kids’ book correctly means fewer headaches when it’s finally time to hit “print.”
Stick with common print options like 8.5×11 inches (standard letter size) if you’re mostly distributing online or locally.
Smaller, more square sizes (8×8 inches or so) can be ideal for younger kids, as these smaller books tend to fit better in tiny hands and on bookstore shelves.
Remember, proper margins help keep your text and illustrations safe from getting awkwardly cropped during printing—half an inch on all sides generally works great.
Always select a good-quality paper stock, especially if you plan for kids to color or write directly in the book—60lb to 80lb paper usually does the trick.
Consider adding page numbers or labeled sections to help kids easily find favorite activities again.
Step 6: Download and Print or Publish Your Activity Book Online
Ready to bring your activity book to life?
If you’re aiming for simplicity, downloadable digital files (PDFs are perfect) allow parents and teachers to print only what they need.
For selling your book online, Amazon KDP makes it super easy to self-publish your activity book and reach a worldwide audience.
If you’re unsure about publishing without an agent or publisher, here’s a practical overview of how to get a book published without an agent.
When publishing online, make sure your book’s description uses keywords related to your target audience (e.g., “kids dinosaur coloring pages”) to help parents find it quickly in search results.
Once published, grab a printed proof copy to ensure your book looks exactly right—it’s cheaper than printing hundreds of copies and then discovering layout errors!
Step 7: Add Educational and Interactive Extras to Your Pages
To keep parents happy and boost your book’s appeal, adding educational bits to each activity will do wonders—it increases your book’s perceived value.
Want an example?
If your activity involves dinosaurs, sprinkle in cool facts about the T-Rex or stegosaurus to delight little dinosaur enthusiasts (and educate their parents too!).
You can also add “Did You Know?” sections, simple math puzzles, optical illusions that work with educational principles, or even mini DIY experiment ideas to make learning hands-on.
Writing prompts are fantastic, especially seasonal ones—a set of thematic winter writing prompts can be an enjoyable educational addition to your holiday-themed activity book.
Interactive features like sticker sheets or reward charts can also make your activity book stand out on shelves and in online listings.
At the end of the day, your kid-friendly activity book is really meant for one job: teaching through having fun.
The best activity books find a perfect mix between entertainment and quiet education—keeping kids excited, parents happy, and your sales steadily climbing.
FAQs
Select a design tool based on ease of use, available templates, and your comfort level. Tools such as Canva, Adobe Illustrator, or Microsoft Publisher offer good features to create appealing layouts quickly without extensive technical knowledge.
Your book cover should feature a catchy title, appealing colors and illustrations that attract your target audience. Clearly display your book’s theme, author name, and age-group indication to help readers understand what your activity book offers.
Include puzzles, quizzes, matching activities, coloring sections, or simple games that relate to your book’s theme. Adding interactive tasks, insightful questions, fun facts, and prompts encourages active participation and enhances learning enjoyment.
For printing, PDF is commonly accepted due to its quality and layout integrity across printers. When publishing online, PDFs also allow easy downloads and consistent appearance, helping your audience print or read your activity book without issues.