Table of Contents
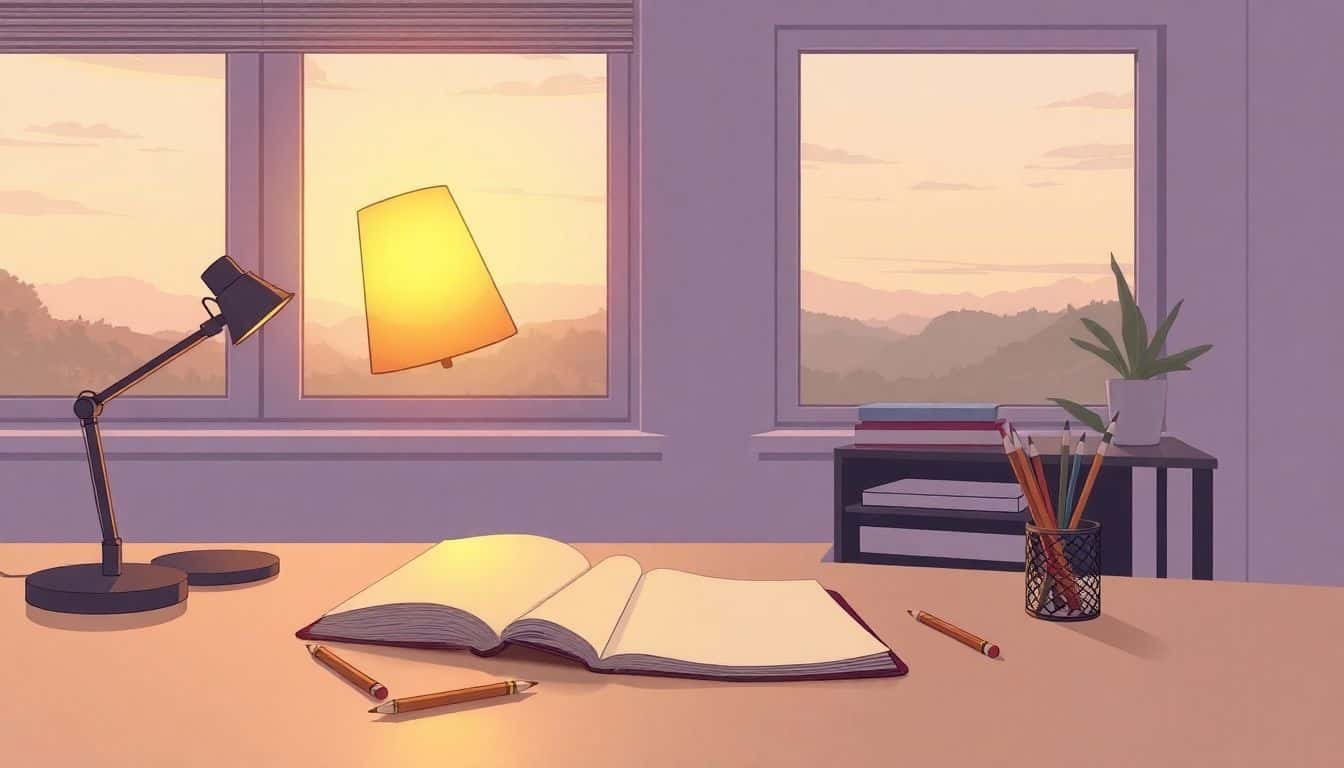
Creating a graphic novel sounds huge. I know—because the first time I tried to map out a story, I stared at a blank page for way too long. Story ideas felt messy, the art felt like it needed to be perfect instantly, and somehow I thought I had to get everything right before I could even start drawing.
Here’s the good news: it doesn’t have to be that way. If you break the whole process into steps, it gets way more manageable. I’ve used this kind of workflow (and adjusted it as I went) to go from “I’ve got an idea” to “okay, this is actually a book someone can hold.” That’s what this is for.
Ready? Let’s get into a practical, no-fluff 9-step process.
Key Takeaways
- Plan your story concept, genre, and target reader before you draw a single panel.
- Write a page-by-page script that clearly notes visuals, dialogue, and scene beats.
- Use thumbnail sketches to test pacing, panel flow, and camera angles early.
- Pick drawing tools you can stay consistent with—traditional or digital, just be consistent.
- Color with intention (2–4 key colors per scene is a solid starting point) and keep lettering readable.
- Edit hard, proofread carefully, and digitize at print-friendly quality (think 300 dpi).
- Choose a publishing route that matches your goals: traditional or self-publishing.
- Promote early with a real plan: social media, an author website, networking, and outreach.
- Collect reader feedback and use it to improve your storytelling and art on the next project.

Step 1: Plan Your Graphic Novel Story and Concept
Your first step is planning—like, before you start drawing. I learned this the hard way. I once jumped into character designs without locking down the tone, and then I spent way too long “fixing” the art to match a story that had quietly changed.
Start with the big question: what kind of story are you actually telling? Fiction or nonfiction? Heroic adventure or gritty sci-fi? Maybe something more whimsical and character-driven. The genre you choose affects everything: pacing, how much dialogue you need, and even how detailed your backgrounds should be.
Next, decide who you’re writing for. Are you aiming for kids who want clear visuals and fast action? Or young adults who expect emotional beats and sharper dialogue? Or seasoned graphic novel readers who’ll notice if your themes feel thin?
Once you know the audience, you can make smarter choices about complexity. For example: if your target readers are new to comics, you’ll probably want fewer panels per page at first and clearer visual storytelling. If your audience is more experienced, you can play with visual metaphors and slower “breathing room” scenes.
When I brainstormed pages with a collaborator, I liked using Google Slides because it’s easy to rearrange ideas. You can drop rough thumbnail frames, add notes, and keep everything in one place—no endless file naming wars.
Still stuck? I’ll be honest, I use inspiration tools when my brain goes blank. Try browsing story idea generators to kickstart a plot twist or a character dilemma you wouldn’t have thought of on your own.
Bottom line: a clear concept saves time later. It reduces rewrites, and it makes the drawing stage feel like work you can actually finish.
Step 2: Write a Clear and Structured Script
People talk about graphic novels like they’re all about the art (and yeah, the art matters). But the script is what keeps the story moving. Without it, you end up with panels that look cool but don’t add up to something satisfying.
In my experience, a good script makes the difference between “I drew a bunch of scenes” and “this feels like a real story.” It also helps if you’re working with an illustrator, because they shouldn’t have to guess what you meant.
So what does a comic script look like?
Usually, it’s broken down by page and panel. You’ll include:
- What the reader sees in each panel (characters, setting, action)
- Dialogue and where it appears (speech bubbles, captions, narration boxes)
- Thought bubbles or internal monologue (if you use them)
- Scene settings that affect tone (lighting, time of day, mood)
For formatting, I’ve had good luck with Final Draft for structure, and plain Google Docs if I want something fast and flexible. Whatever you use, keep it readable. Future you will thank you.
One thing I always remind myself: clarity beats cleverness. Don’t write “he reacts” and assume your illustrator knows how. Say what he does—stares, flinches, laughs, backs away, grabs the door handle, etc.
If you’re self-publishing, it also helps to understand publishing steps early. Reading how to get your book published without an agent can help you plan timelines and avoid surprises when you get to formatting and distribution.
Step 3: Create Thumbnail Sketches and Page Layouts
Okay, now you get to sketch. Thumbnails are one of my favorite steps because you can experiment without committing your best ink pens to a mistake.
Thumbnails are basically a rough storyboard. They help you plan:
- Panel size and shape
- Character placement (who’s where, and why)
- Camera angles (wide shots vs close-ups)
- How the reader’s eye moves panel-to-panel
- Timing for dialogue and reveals
When I do thumbnails, I keep them loose on purpose. No perfect faces. No detailed backgrounds. Just enough to answer: does this scene feel like it’s moving?
During this stage, you’ll notice pacing issues fast. Maybe a conversation drags because you used too many medium shots. Or maybe an action moment needs a full-page splash to hit harder. Thumbnails let you test those instincts before you spend hours coloring.
If you want to experiment digitally, I’d try simple tools like Google Slides. You can rearrange pages, duplicate panel layouts, and export a PDF when you want feedback from an editor or collaborator.
Once the thumbnails feel right, you’re ready to draw the real pages with confidence. You won’t be guessing where everything goes—you’ll already know.

Step 4: Draw and Ink Your Graphic Novel Pages
Now it’s time to draw the actual pages. This is where your thumbnails pay off. They guide your composition, so you’re not reinventing the layout from scratch.
First, pick your tools. Some artists love traditional pencils and ink. Others prefer digital workflows with a tablet (Wacom-style devices) and apps like Procreate or Clip Studio Paint. Either way is fine—what matters is that you can keep your line quality consistent across the whole book.
Start with light sketching to block in shapes—faces, hands, clothing folds, major background shapes. Keep your thumbnails open so you can compare panel framing and character placement.
Then ink. If you’re working traditionally, comic-friendly pens make a big difference. I’ve used Sakura Pigma Micron and Faber-Castell PITT pens, and they’re great for clean, steady lines. If you’re digital, keep your line art on a separate layer from your sketches so you can adjust later without chaos.
Here’s a trick I rely on a lot: flip your canvas (digitally) or use a mirror (traditional). It instantly shows you proportion issues and weird asymmetry you might not notice straight-on.
Also, don’t ink everything the same way. Use different line thicknesses for outlines, details, and texture. It adds depth and helps readers track the important stuff in each panel.
Step 5: Add Colors, Lettering, and Captions
Once your pages are inked, it’s time for the “make it readable” phase: coloring, lettering, and captions. This is where your graphic novel starts feeling finished instead of just “drawn.”
Color first (or lettering first—your choice), but don’t overload the scene. I usually start with 2–4 main colors per scene. It keeps things cohesive and prevents the page from looking like it’s fighting itself.
If you color digitally, apps like Adobe Photoshop or Clip Studio Paint are useful because you can work in layers and fix mistakes quickly. That matters when you’re coloring 20, 40, or 80 pages.
Match your palette to your tone. Muted colors tend to work well for gritty dramas or horror vibes. Brighter, higher-saturation palettes can support adventure, comedy, or fantasy energy.
For lettering, pick a font style that’s readable in a glance. If your text is hard to read on a phone, you’ve already lost part of your audience. I also recommend checking letter size against your panel scale—what looks good on your monitor might be tiny in print.
Placement matters too. Dialogue balloons and captions shouldn’t cover important visual details. They should also guide the reader’s eye naturally—especially during action scenes.
And keep sentences short when you can. Long dialogue blocks can feel cramped, and mobile readers will struggle. If you find yourself writing a full paragraph in one bubble, consider splitting it across two panels.
Step 6: Edit and Digitize Your Finished Graphic Novel
Finished drawing and coloring? Nice. But don’t rush to publish yet. This is where quality actually shows.
Go through your pages like a reader, not like a creator. Look for grammar mistakes, spelling issues, and continuity problems. I like to do at least one “slow pass” after a short break—like stepping away for a couple days—because your brain catches mistakes it misses when you’re deep in the project.
If you can, grab a beta reader. Not a friend who will just say “cool!”—someone who’s honest and can tell you when something feels confusing or off. If you want to do that well, you can look up tips on how to be a beta reader effectively and apply the same mindset to what you’re asking from them.
Next is digitizing and preparing files. If you drew traditionally, scan physical pages at high quality—aim for at least 300 dpi so your lines don’t turn into mush. If you worked digitally, make sure your final exports are in print-friendly formats (commonly TIFF or JPEG, depending on your workflow).
Then organize your page order and layout files properly. I can’t stress this enough: getting your pages into Adobe InDesign or Affinity Designer with correct page numbers, margins, and bleed settings will save you from last-minute formatting headaches.
Step 7: Choose How to Publish Your Graphic Novel
Publishing is the milestone moment—also the part where you realize you have decisions to make.
If you want traditional publishing, you’ll need to research submission guidelines for graphic-novel-friendly publishers like Dark Horse or Image Comics. Their websites usually spell out what they want (sample pages, pitch format, how to submit, timelines). Read those carefully. Don’t guess.
If you want control (and honestly, a lot of creators do), self-publishing can be a strong route. You can use print-on-demand platforms like Kindle Direct Publishing (KDP) or IngramSpark to distribute both digital and physical versions.
Before committing, compare costs, royalties, and requirements. Look at things like:
- Cover and interior formatting requirements
- Print costs and profit margins
- Distribution reach
- How returns or quality issues are handled
Also, don’t forget the “boring but important” details: ISBNs, barcode requirements, and distribution options. It’s not glamorous, but it affects whether your book actually shows up correctly for readers.
Step 8: Market and Promote Your Graphic Novel
Publishing is exciting, but your job doesn’t stop there. If you want people to read your graphic novel, you have to put it in front of them.
Start marketing before launch. In my experience, the creators who do best aren’t waiting until the book is “done done.” They’re sharing the journey. Post character designs, sneak peek panels, and behind-the-scenes progress on Instagram and Twitter (or X, depending on what you call it now). Even simple posts can build momentum.
Create an author website if you can. WordPress or Wix makes it pretty straightforward. Include your portfolio, character bios, and a clear place where readers can buy or subscribe. If you’re selling digital downloads, a website checkout can keep more control in your hands.
Another smart move: reach out to comic bloggers and podcasters in your niche. Send a free copy and a polite, personalized email. Don’t send the same generic message to everyone—mention something specific about their content.
Finally, get out in the real world if you can. Comic conventions, indie book events, and signings at local comic shops are still great. Readers love meeting authors face-to-face, and it’s a chance to talk about your story in a way social media can’t fully replicate.
Step 9: Gather Reader Feedback and Improve Your Craft
After release, it’s tempting to relax. I get it. But if you want to keep improving, you should treat feedback like free training data.
Pay attention to Amazon reviews, Goodreads comments, social media messages, and direct reader conversations. What do people mention first? Which scenes do they remember? Where do they get confused?
Readers will tell you what’s working and what isn’t—straight up. And yeah, sometimes that feedback stings. But it’s also how you get better. Don’t take it personally. Take it seriously.
Also, keep engaging. When readers see you responding, they feel appreciated. That’s how you build loyal fans who stick with you for the next project.
If you want to learn faster, join communities like Reddit or comic-focused Facebook groups. Share your work, ask for critique, and pay attention to what people respond to in your genre. You’ll start noticing patterns in what gets praised—and what gets skipped.
And since the global comic market is projected to grow (forecasts put it around USD 26.75 billion by 2032), the opportunity is real. Digital comics and online discovery keep expanding, so staying adaptable and improving your craft can genuinely help you ride that wave.
Keep creating. Keep listening. Your next graphic novel will be better because of what you learned from the last one.
FAQs
The timeline can vary a lot, but a common range is about 6 months to 2 years. The biggest factors are the number of pages, how detailed your art style is, and whether you’re working solo or with a team.
You’ve got a lot of solid options. Many creators use Adobe Photoshop, Adobe Illustrator, Clip Studio Paint, or Affinity Designer. These tools help with digitizing, coloring, lettering, and exporting your final pages for print or digital distribution.
It depends on your goals. Traditional publishing can bring support and credibility, but you usually give up some control. Self-publishing gives you creative control and often faster turnaround, plus you can keep higher royalties—you just have to handle more of the marketing yourself.
Start with the basics: promote on social media, attend conventions, and connect with reviewers in your genre. You can also run giveaways or promotional campaigns, and most importantly, engage with people consistently so they don’t feel like they’re shouting into the void.