Table of Contents
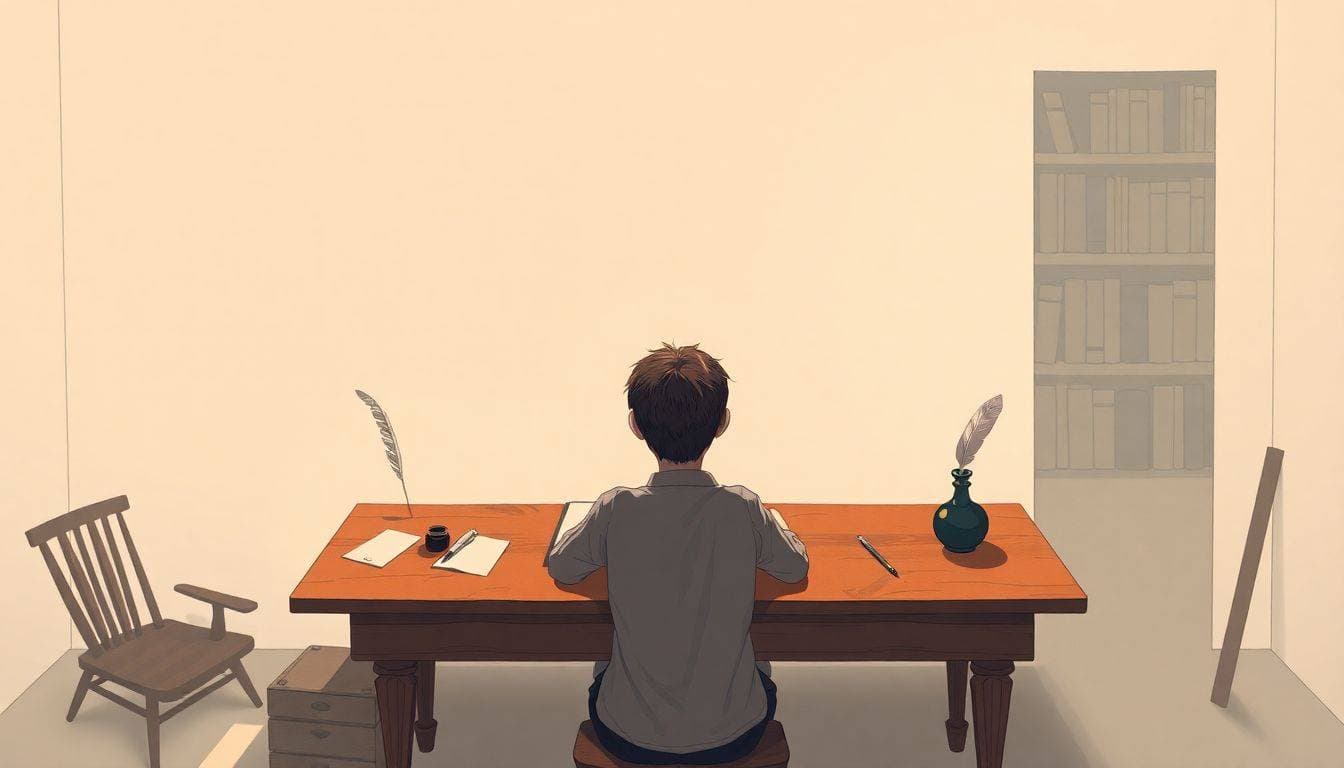
Starting an autobiography can feel daunting, right? You might be staring at a blank page, questioning which moments of your life are worthy of being written down. It’s totally normal to feel overwhelmed; after all, you’re not just writing a story but sharing your unique journey with the world!
But don’t worry! If you stick with me through this guide, you’ll discover practical steps to craft a compelling autobiography that truly reflects who you are. With some tips on selecting meaningful experiences, finding your voice, and even tackling writer’s block, you’ll be on your way to penning your life story.
We’ll explore how to choose the right life events, create an engaging outline, and polish your final draft. By the end, you’ll not only feel prepared to write your autobiography but also excited to share your incredible life adventures!
Key Takeaways
- Start by brainstorming significant life events that shaped you. No moment is too small.
- Focus on transformative events, emotional impacts, and lessons learned for authenticity.
- Find your unique voice by writing as if sharing with a friend; be consistent with it.
- Create a flexible outline that organizes your themes and pivotal events chronologically.
- Your opening paragraph should engage readers—consider starting with a captivating anecdote.
- Gather supporting materials like photos and letters to add depth and authenticity to your story.
- Overcome writer’s block by changing your setting or setting small daily goals for writing.
- Edit thoroughly after drafting and seek feedback to enhance clarity and flow.
- Explore traditional vs. self-publishing options to find what suits your needs best.

How to Start an Autobiography
Starting an autobiography can feel overwhelming, but the key is to just begin.
Think about the moments that shaped you—your childhood, challenges, triumphs, and lessons learned.
Begin with a brainstorming session where you jot down any life events that stand out, no matter how big or small.
Consider starting with an event that ignited a significant change in your life; it can draw readers in right from the start.
For example, if a specific event marked the moment you discovered your passion for writing, that could be a powerful opening.
Choosing the Right Life Events to Include
Not every life event needs to make the cut; focus on those that shape your identity and story.
Ask yourself questions like: What events had a strong emotional impact? Which ones taught me valuable lessons?
Think about the relationships that influenced you—your family, friends, or mentors—and the moments that define those connections.
Consider grouping events thematically, such as “family” or “career,” to maintain a coherent narrative flow.
Also, don’t shy away from including challenges. Readers often connect more with struggles than with constant success.
Finding Your Unique Voice and Style
Your voice is what makes your story uniquely yours, and it’s crucial to find it early on.
Think about how you would share your story with a close friend; that authenticity should carry over into your writing.
Experiment with different styles and tones—reflective, humorous, or straightforward—until you find what feels right.
Reading other autobiographies can give you an idea of varying styles, helping you pinpoint what resonates with you.
Remember, consistency is key; once you find your voice, stick with it throughout your writing to maintain a cohesive flow.

Understanding Your Audience
Knowing your audience is crucial in writing an autobiography that resonates.
Consider who you’re writing for: Is it family, friends, or a broader audience?
This understanding will guide the tone, content, and details you choose to include.
For example, if your readers are fellow writers, share experiences about the writing process or unique challenges you faced.
On the other hand, if your audience is more general, focus on universally relatable themes like love, loss, or personal growth.
Also, think about how your readers might react to sensitive topics; sometimes it’s best to provide context or insight to help them understand your choices.
Creating an Outline for Your Autobiography
An outline serves as the roadmap for your autobiography.
Start by deciding on the major themes or life stages you want to cover.
List the pivotal events or memories that fit under each theme, maintaining chronological order where possible.
Your outline can be as detailed as you feel necessary, but a basic structure might include an introduction, key life events, and a conclusion.
Using bullet points can be handy here, allowing for easy adjustments as you figure out your narrative flow.
Flexibility is key; don’t be afraid to modify your outline as you write.
Writing the Opening Paragraph
The opening paragraph sets the tone for your entire autobiography.
Start with something engaging—perhaps an intriguing anecdote or a thought-provoking question.
Make sure it reflects your unique voice and draws readers in.
For instance, you might begin with a vivid memory that relates to the overall theme of your story.
As you write, keep asking yourself: Why does this matter, and why should readers care?
A strong opening hooks the audience and gives them a reason to invest in your journey.
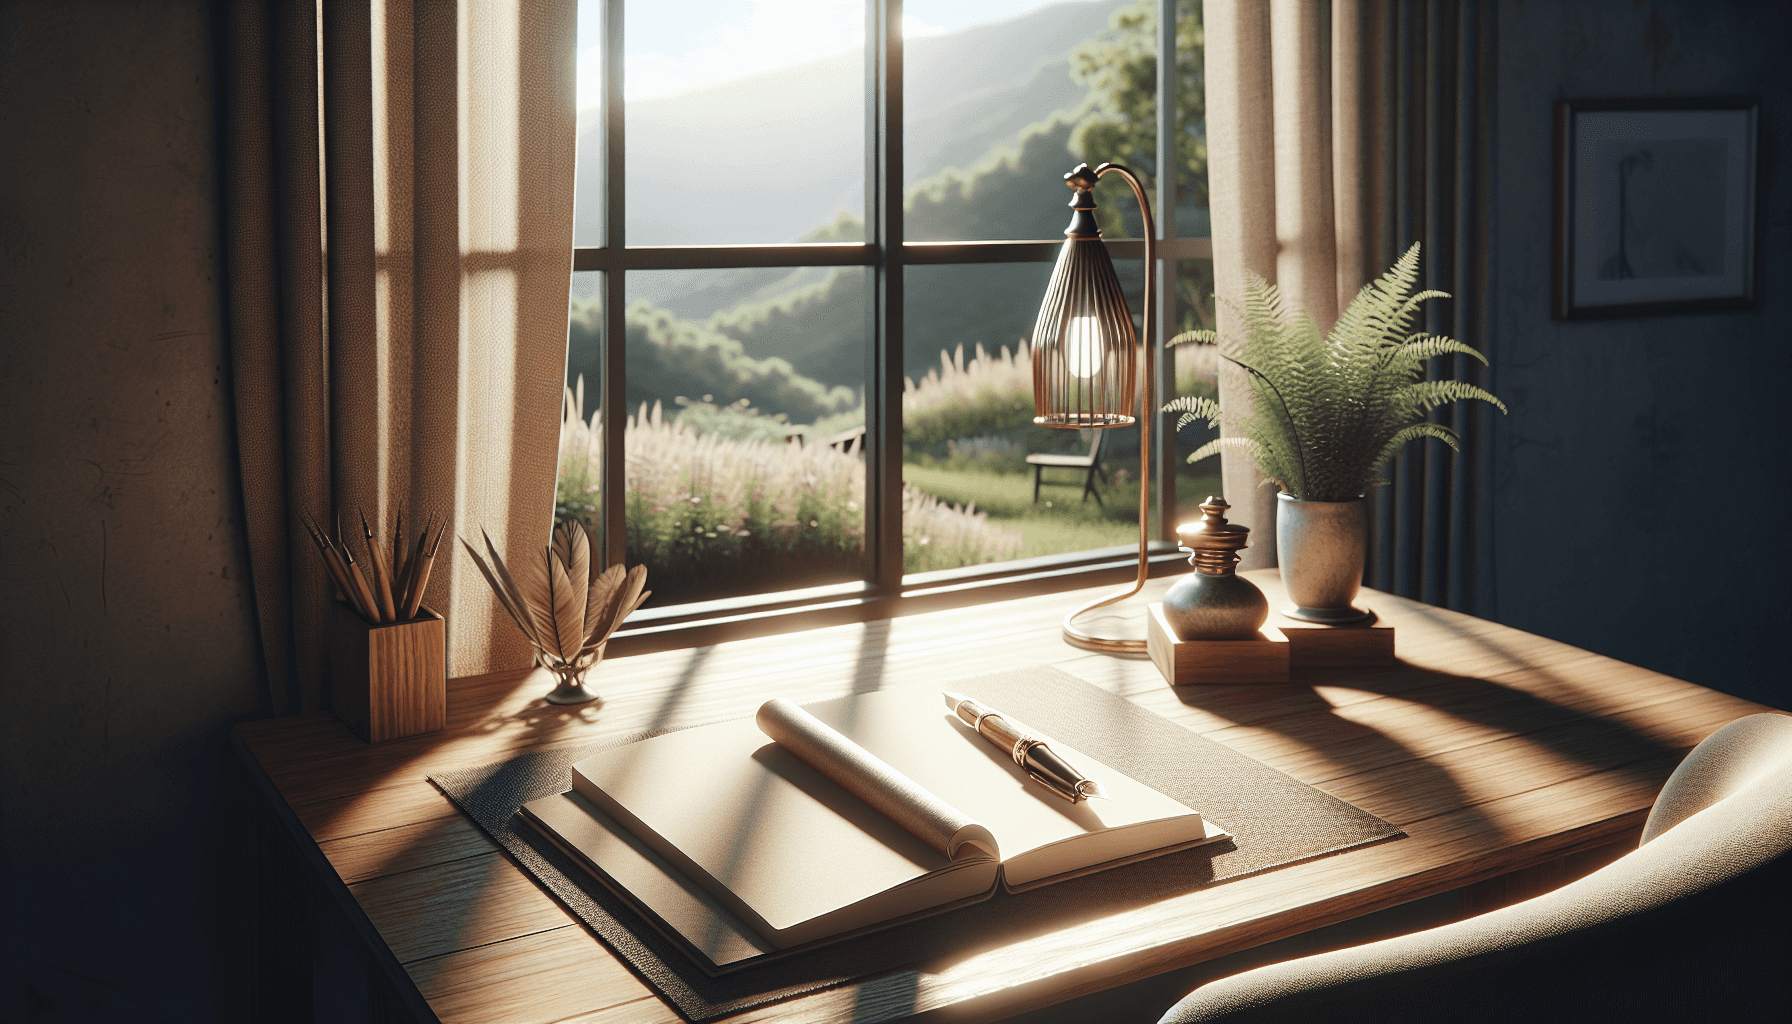
Gathering Supporting Materials and Resources
Supporting materials can enrich your narrative and provide authenticity.
Consider collecting photographs, letters, or family documents that relate to the events you’re writing about.
These items can jog your memory and adds depth to your storytelling.
Also, think about interviewing family members or friends who can provide different perspectives on your shared experiences.
Researching historical events or cultural aspects from your past can also help place your story in a broader context.
Don’t forget to include relevant quotes, poems, or songs that resonate with your experiences, giving readers a sense of time and emotion.
Overcoming Writer’s Block
Writer’s block can be a real hurdle, but there are ways to push through it.
Change your environment; sometimes a new setting can stir creativity.
Set small, manageable goals each day—like writing just a paragraph or a few sentences.
Try freewriting; grab a notebook and write without stopping for a set time—this exercises your mind and can uncover hidden thoughts.
Using prompts tailored to your life experiences can also help get the words flowing. You can find a list of great prompts at Winter Writing Prompts.
Lastly, remember that it’s okay if everything isn’t perfect; just get the words down, and you can always refine later.
Editing and Revising Your Work
Editing is where your autobiography starts to shine.
After writing your first draft, take a break before diving back in, as fresh eyes catch mistakes better.
Read through your manuscript for clarity, coherence, and flow.
Make sure each section serves the overall narrative and supports your themes.
Consider seeking feedback from trusted friends or writing groups who can provide constructive criticism.
Using tools like proofreading software can also help catch typos or grammatical errors you might have missed.
Don’t rush this process; good editing can elevate your autobiography from good to great.
Publishing Options for Your Autobiography
Publishing your autobiography can be approached in several ways.
You can choose traditional publishing, which offers industry support but is highly competitive.
Alternatively, self-publishing gives you complete control. Consider using platforms like Amazon to reach readers directly.
Whichever route you choose, researching and understanding the pros and cons of each option is essential.
For those looking to publish without an agent, check out how to get a book published without an agent.
Finally, network with other authors or join writing communities to learn from their experiences and gather insights.
FAQs
Begin by choosing significant life events, finding your unique voice, understanding your audience, outlining your story, and drafting an engaging opening paragraph. These steps lay a solid foundation for your autobiography.
To overcome writer’s block, create a routine, set small goals, take breaks, or change your writing environment. Engaging in activities that inspire you can also help stimulate creativity and motivate you to write.
You can choose traditional publishing through agents and publishers, or self-publishing through platforms like Amazon Kindle Direct Publishing. Consider your goals and audience when selecting the right option.
Focus on events that significantly impacted your life, shaped your identity, or taught you valuable lessons. Reflect on both challenges and triumphs to create a balanced narrative that resonates with your audience.