Table of Contents
Formatting a manuscript can feel pretty annoying, right? You’ve written your masterpiece (or at least something you’re kinda happy with), and now you have to navigate font choices, spacing, page numbers—ugh! It’s enough to make anyone dread sending their book out into the world.
But here’s the fun bit—I promise, formatting your manuscript isn’t as painful as it looks. Stick with me here, and you’ll quickly master the art of clean, professional-looking pages that’ll make agents and publishers take you seriously.
Ready to get started? Here’s a step-by-step breakdown to guide you through the process.
Key Takeaways
- Set your manuscript’s page size to 8.5×11 inches (or A4) and use a standard 1-inch margin on all sides.
- Use Times New Roman or a similar serif font (Georgia), size 12, to keep the text clear and reader-friendly.
- Always double-space, and indent paragraphs by half an inch except after chapter titles or scene breaks.
- Clearly format chapters by placing “Chapter X” centered, bolded, and a third way down the page; mark scene breaks with simple symbols (“***” or “#”).
- Add headers using your surname and book title on the left and page numbers on the right.
- Create a title page with full title, author name, word count, genre, and contact details; mark clearly “The End” after your final paragraph.
- Always check publisher-specific guidelines and proofread your manuscript carefully before submission.

Step 1: Set Up Standard Page Size and Margins
First things first, make sure your manuscript uses the right page settings, because that’s the first detail editors notice.
Set your page to the standard 8.5 by 11 inches (or A4 if you’re outside the US)—no need to get fancy here.
You should use 1-inch margins all around; publishers love consistency, and anything smaller feels too cramped, while anything larger wastes paper.
If you’re adjusting these in Microsoft Word, just hop into the “Layout” tab, click “Margins,” and select the “Normal” setting—easy peasy.
And here’s a fun but painful fact: manuscripts that don’t follow standard page sizes and margins often end up in the dreaded slush pile.
So, save yourself the stress and increase your chance of getting through the first editorial check by sticking to these basics.
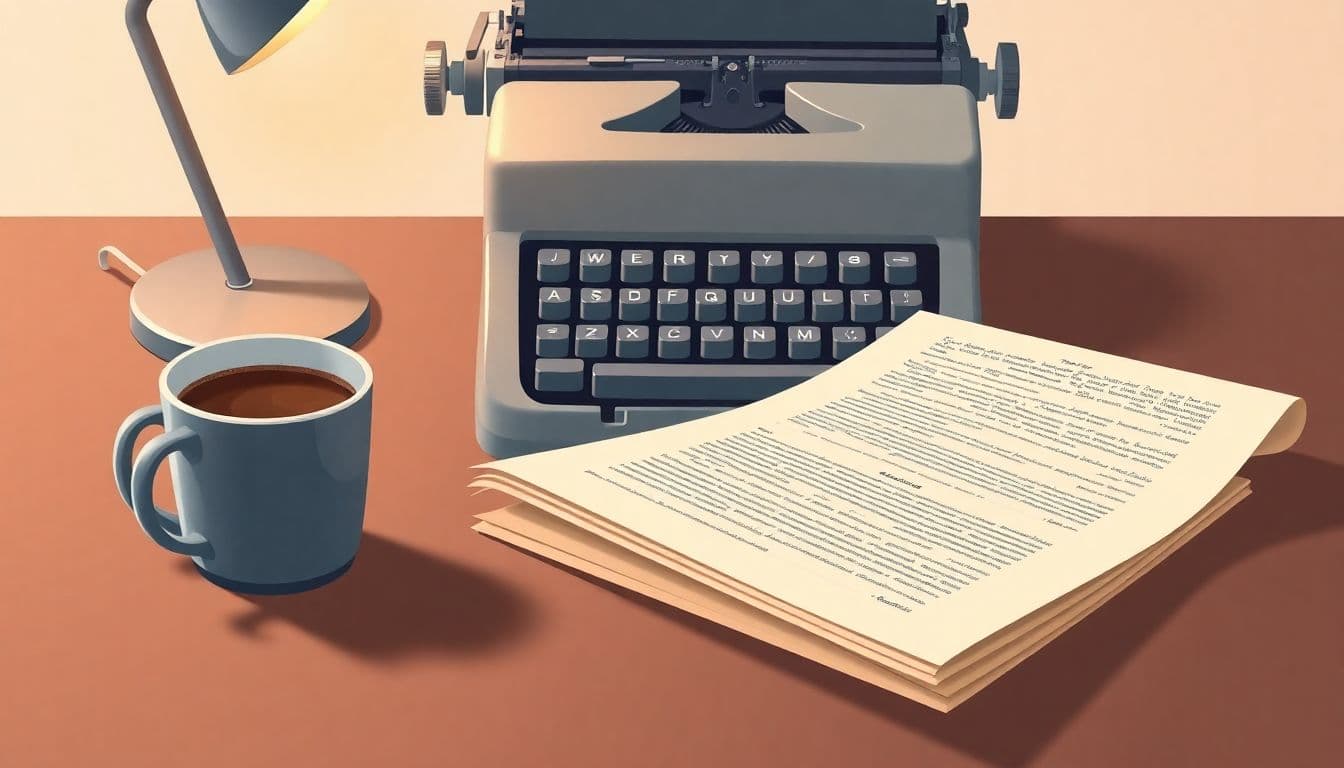
Step 2: Choose the Right Font and Font Size
Yes, font choice really matters, even if Comic Sans seems so tempting (just kidding, please never use Comic Sans in manuscripts).
The industry standard font is Times New Roman, size 12, because it’s easy to read and editors are super familiar with it.
You can also opt for a similar serif font, like Georgia, if Times New Roman gives you flashbacks to college essays.
Avoid decorative or playful fonts—even if you think they’re cute or creative, editors will probably not appreciate trying to decode your manuscript in Curlz or Papyrus (trust me, people have tried).
Keep font styles consistent throughout your manuscript, including chapter titles, if possible; it makes your work look polished and professional.
The goal is readability, so editors can quickly evaluate your manuscript’s content without being distracted by funky styling.
If you’re curious about designing beautiful covers instead, you might want to check out the best fonts for book covers.
Step 3: Adjust Line Spacing and Paragraph Indentation
Line spacing might take you back to your middle-school essay days, and guess what, double-spacing is still the gold standard in manuscript formatting.
Editors need plenty of white space to scribble notes, corrections, or suggestions—don’t make them cram feedback into tiny margins.
Enable double-spacing by selecting all the text, then clicking “Paragraph,” and setting the spacing option to double—your readers (and editors!) will thank you.
For paragraph indentation, use either the tab key or automatic indents set at half an inch.
Never manually space out your indents by hitting the spacebar repeatedly—it’s obvious and unprofessional.
By the way, each new paragraph should be clearly indented, except for the very first one in a chapter or after a scene break—those should remain flush left.
Following these simple rules will help editors see you’re serious about your writing.
If manuscript formatting has inspired you to work on other book projects, why not check out tips on how to become a children’s book author or explore ideas with these horror story plots?

Step 4: Format Chapter Titles and Scene Breaks
Your manuscript needs clearly defined chapter titles and scene breaks so readers—and especially editors—won’t get lost in your narrative maze.
First, position your chapter titles about a third down the page—think of it like giving your chapters breathing space before jumping into the action.
Write “Chapter X” (with the number spelled out or as digits, depending on your preference) in bold and centred.
Skip a double-spaced line and then include your chapter’s title or opening line beneath it—also centred, but not bold; keep things neat and tidy.
For scene breaks, these usually happen to indicate a shift in perspective, setting, or significant passing of time within a chapter.
The easiest way is to insert a clearly visible symbol like “***” or “#” on its own centred line—that way, readers can tell instantly they’re jumping somewhere new.
Avoid trying fancy decorative flourishes or images—while they’re lovely in the final book, editors only want a simple, clear signpost here.
Step 5: Include Proper Headers and Page Numbers
Headers and page numbers might not feel critical to your creative flow, but they’re important for editors navigating your manuscript.
Most publishers prefer your surname and book title (shortened is fine) at the top left of each page, and the page numbers top right.
In Word, you can quickly set this by going to the “Insert” tab, clicking on “Header,” selecting “Blank,” and typing in your surname/title combination—like “Rowling/Harry Potter.”
For page numbers, in that same “Insert” tab, pick “Page Number,” then “Top of Page,” and then “Plain Number 3” (at the right corner).
If your manuscript is read digitally, it’ll help everyone (especially the editor!) easily reference specific scenes or issues during edits.
Step 6: Create a Title Page with Author and Book Details
A clean, professional title page makes your submission look polished and saves editors from hunting down your contact info.
Begin about halfway down the page with your full manuscript title centred, in regular (not bold) 12-point Times New Roman or similar serif font.
Skip two double-spaced lines, then add “by” followed by your full author name (or your chosen pen name, if you have one).
After another two double-spaced lines, list important book details: your approximate word count, genre, your contact information, and agent details if you have them.
An example could look like this:
The Great Novel Adventure
by Jane Smith
80,000 words
YA Fiction
Email: jane.smith@example.com
Phone: 123-456-7890
And speaking of genres—if you’re brainstorming new projects, check out some historical fiction ideas or try your hand at dystopian plots.
Step 7: Mark Clearly the End of Your Manuscript
It might feel old-school, but editors actually appreciate a clear end marker—it indicates you’ve sent the whole story, and nothing’s missing.
Simply put the words “The End” in bold and centred after your final paragraph or scene.
Include it on its own dedicated line with double-spaced lines above and below, so there’s no confusion.
It gives closure to both editors and prospective agents, providing clarity that the manuscript submission is complete and intentional.
Step 8: Check Publisher-Specific Formatting Requirements
Always double-check your publisher’s specific formatting guidelines—this little step can save you huge headaches (and rejections).
Visit their submission guidelines page directly (usually located prominently on their website) or check standard resources like best publishers for new authors lists and follow their instructions carefully.
Some places have very particular font, spacing, or submission preferences; ignoring these requirements might get your manuscript ignored in return.
If you don’t have an agent yet and want to skip that stage, here’s advice on how to publish a book without an agent, with some handy tips on tackling that process.
Step 9: Review Manuscript Before Submission
Before hitting “send,” review your manuscript to ensure formatting consistency—you’ll catch small mistakes and formatting quirks editors hate seeing.
If you’ve italicized the inner dialogue, for instance, ensure it’s consistent from page one to the very last.
Use the “Find and Replace” function (shortcut Ctrl+F or Cmd+F) to quickly identify formatting slip-ups, like extra spaces or inconsistent font sizing.
Consider printing a physical copy; you’ll spot formatting issues more easily by eye than scrolling endlessly on your screen.
Better yet, have a trusted fellow writer or a keen-eyed friend proofread it too—they often find little formatting errors you might miss after reading your own pages a hundred times.
Keeping your manuscript neat, clean, and consistently formatted greatly improves your odds of getting noticed in a publishing world where only around 1% of submissions are eventually accepted.
FAQs
Use a standard letter-size page (8.5″x11″) with uniform 1-inch margins around all edges. This setup makes your manuscript clear, professional, and easy for editors, agents, and publishers to review and handle throughout the publishing process.
Choose a clear, readable serif font like Times New Roman or Garamond in a 12-point size. Using standard fonts and sizes ensures readability and meets most literacy agents’ and publishers’ expectations.
Double-space all text in your manuscript for clarity and reading ease. Set paragraph indentations to a consistent half-inch using indent settings rather than tabs, providing a clean, professional appearance desired by agents and editors.
A title page should feature the book title centered halfway down the page, followed a few lines lower by your name (or pen name). Include word count, contact details, and genre at the bottom left or right corner as publisher guidelines specify.