Table of Contents
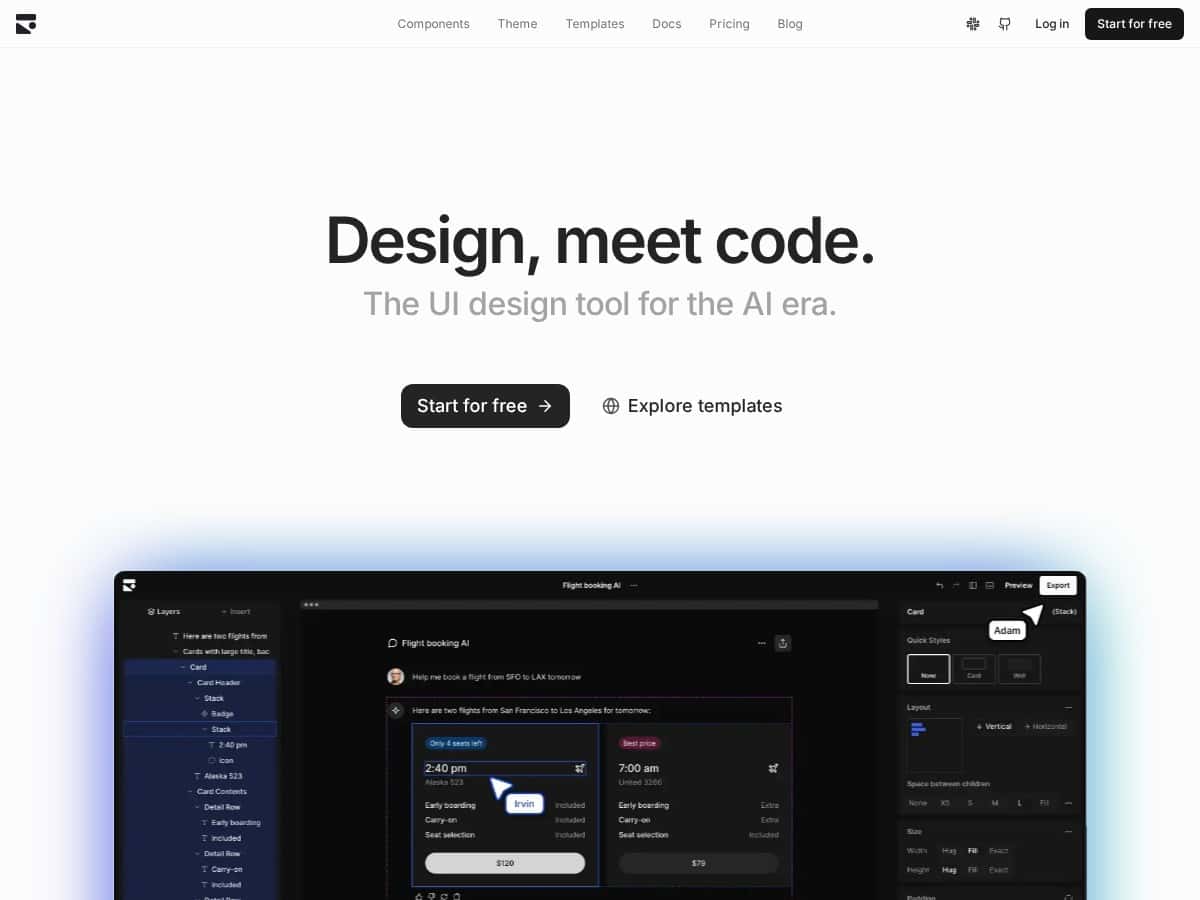
If you’ve ever stared at a blank screen and thought, “Why does building a UI have to take so long?”, I get it. I tested Subframe because I wanted something that could help me go from a rough layout to real React + Tailwind code without bouncing between 5 different tools.
In my case, I was building a small internal dashboard UI (cards, filters, a responsive table, and a couple of modals). The goal wasn’t “pretty mockups for a screenshot”—it was code I could actually drop into a React project. I used it on a mix of devices (my main laptop and a lower-end test machine) just to see where things might get slow.

Subframe Review
Here’s the honest version: Subframe is best when you already live in the React + Tailwind world. The moment you want to export usable components (not just images), that’s where it shines.
After using Subframe for a few days, I ended up building roughly 25–35 UI components across 5 pages (buttons, inputs, cards, table rows, modal scaffolding, and a couple of layout wrappers). The workflow felt pretty direct: drag a component into the canvas, tweak props/styles, and then export to code when it looks right.
What surprised me most was how quickly I could iterate once I had the basics down. For example, I redesigned a filter toolbar three times in about 15–20 minutes—mostly because I wasn’t re-implementing the same layout from scratch in code. I could adjust spacing, switch button variants, and keep the whole thing consistent.
That said, I did notice performance hiccups when the design got heavier. On my lower-end test device, once I pushed past about ~60–80 components on the canvas (lots of nested cards and table cells), interactions like selecting layers and moving elements started to lag. It wasn’t unusable, but it definitely made me slow down and simplify.
So is it a “game-changer”? I’ll put it this way: if you want to go from UI to production-style React/Tailwind code faster than a traditional design-to-dev handoff, Subframe can genuinely help. If your stack isn’t React + Tailwind, though, you’ll feel the limits pretty quickly.
Key Features
- Drag-and-Drop Visual Editor: I liked that I could build layout structure visually without fighting a bunch of code first. It’s especially handy for grid-like sections (hero + stats, card rows, sidebar layouts).
- Real React and TailwindCSS Components: Instead of “exporting something that looks right,” Subframe outputs code you can work with. In my exports, Tailwind classes were generated in a way that I could recognize and edit directly.
- AI-Driven Design Assistance: This is the part that actually sped me up. The AI suggestions weren’t just vague “make it nicer” prompts. I used it to generate or refine things like:
- Layout suggestions (spacing and alignment adjustments for toolbars and card groups)
- Component prop defaults (button variants, input sizes, and common UI patterns)
- Style consistency (keeping typography and padding aligned across repeated sections)
- Custom Component Creation: I built a reusable “FilterChip” component and then reused it across pages. That made updates painless—change it once, and the rest of the UI stayed consistent.
- Design System and Figma Sync: If you already have a design system, this matters. I didn’t fully rebuild everything from scratch; I used the system approach to keep colors/typography closer to what I wanted instead of reinventing tokens.
- Real-Time Team Collaboration: I tested collaboration by inviting a second user to the same project. Live editing worked smoothly enough that we weren’t constantly stepping on each other. It’s the kind of feature that feels “small” until you actually try it with another person.
- Version History for Reverting Changes: This was a lifesaver when I overhauled a layout and didn’t like the result. Rolling back took seconds, not the “oh no, I’ll rebuild it” kind of pain.
- Pre-Built Templates and Auto Layout: Templates helped me get started faster than building every container from scratch. Auto-layout behavior was useful for responsive sections like card grids (though I still tweaked breakpoints manually in some spots).
Mini case study #1: Dashboard cards + responsive grid
I started with a template layout and then added a “stats cards” section: 6 cards, consistent padding, and a responsive wrap. What I noticed is that Subframe made it easy to keep the cards visually aligned while I experimented. The AI assistance helped me adjust spacing and typography so the whole row looked intentional instead of “close enough.”
Time-wise, I’d estimate I shaved off 30–40% compared to my usual process (design in one tool, then rebuild in React/Tailwind). The biggest win was iteration speed.
Mini case study #2: Table + modal workflow
For a second pass, I built a simple table UI with row actions and a modal. The useful part here wasn’t just the table—it was how the modal styles and button variants stayed consistent with the rest of the UI. When I exported, I didn’t feel like I was cleaning up a mess of random classnames.
Still, I did have to tidy a couple of things after export—mainly around how I wanted state-driven class changes (like “disabled” vs “active” styles). That’s normal, and it’s where you’ll still do a bit of dev work.
Pros and Cons
Pros
- Fast UI iteration: Drag, adjust, and rework quickly—especially for layouts made of common components.
- Collaboration is real: Live editing worked well enough that two people could iterate without constant conflicts.
- AI suggestions are practical: In my tests, it helped with layout spacing, component variants, and consistency rather than just generic “design tips.”
- Exported React + Tailwind code is usable: I was able to take the output and keep working with it instead of rewriting everything from scratch.
- Version history: Reverting changes is straightforward, which makes experimentation less risky.
- Design-system friendly: If you already think in tokens/variants, Subframe doesn’t fight that mindset.
Cons
- Stack limitation: It’s built around React and TailwindCSS. If your project uses something else (Vue, Svelte, CSS Modules-only, Chakra, MUI, etc.), you’ll likely feel boxed in.
- Free plan restrictions can slow real work: More on this below, but the limits aren’t just cosmetic—they affect how many exports/pages you can realistically produce.
- Learning curve for non-React folks: If you don’t already understand components, props, and basic Tailwind patterns, you’ll spend time figuring out how Subframe expects you to structure things.
- Performance drops with complexity: On my lower-end machine, once the canvas got large (think dozens of nested elements), interaction lag showed up. The bigger the design graph, the more you’ll notice it.
How it compares to other UI-to-code approaches
I compared my workflow to the usual “design in Figma, then code manually” approach, and also to code-generation tools that spit out something close but not quite production-ready.
- Compared to Figma + manual dev: Subframe is faster because you’re not re-implementing every component from scratch. You’re tweaking and exporting.
- Compared to generic Figma-to-code generators: Subframe’s advantage is that the output is directly in the React + Tailwind lane, so you’re not constantly translating between systems.
- Tradeoff: You’re investing in a tool and workflow. If you want total freedom over your stack or you’re building highly custom UI patterns, you may still end up doing a fair amount of cleanup after export.
Pricing Plans
Pricing is pretty important here because Subframe’s value depends on how much you can actually build. In my experience, the free tier is fine for testing, but it won’t feel great for a real client project.
Free plan: You get 1 project, 5 pages, and basic AI features. The “basic AI” part matters—what I found is that AI help is more limited, so you’ll do more manual tweaking for larger UI changes. It’s the kind of tier where you can prove the workflow, but you’ll likely hit limits if you’re iterating hard.
Pro plan: It’s $29 per editor per month. This is the tier that makes sense for teams because it removes the “small project” feel. You get unlimited projects and AI tools, which is what you want if you’re building multiple screens and refining components across versions.
Custom plan: For bigger orgs, you’re looking at tailored needs (more collaboration, governance, and scaling). If you’re managing design systems across teams, that’s where custom can be worth it.
If you’re deciding between tiers, ask yourself this: are you mostly prototyping (free), or are you actually shipping UI work (Pro)? That’s usually the difference.
Wrap it up (who Subframe is actually for)
Subframe is a strong fit if you want to design UI and export directly into React + TailwindCSS without turning your workflow into a handoff nightmare. The drag-and-drop editor, real-time collaboration, and AI assistance helped me iterate faster than my usual process, and the exports were clean enough that I could keep building instead of starting over.
But it’s not for everyone. If you’re not in the React/Tailwind ecosystem, or if you regularly build extremely complex UIs that push performance on weaker devices, you’ll hit friction. For teams that stay within its lane, though? It’s a practical way to get from “idea” to “usable code” quicker.
If you want fast, quality UI creation and you’re comfortable working with React/Tailwind, Subframe is worth trying—especially if you’re tired of rebuilding the same UI patterns by hand.