Table of Contents
If you’ve ever tried to “fix” a blurry video after the fact, you already know how frustrating it is. You can sharpen it in an editor, sure—but it usually turns into crunchy edges and weird noise. I wanted something that could actually make footage look cleaner and more watchable without me having to learn a bunch of complicated settings.
That’s why I tested Vance AI (their “Video AI”). In my experience, it’s one of those tools that’s easy to start with, but still gives you enough control to get decent results.
In this review, I’ll walk through what VanceAI can do—like upscaling low-res footage, denoising, and stabilizing shaky clips—plus what I didn’t love, how long it took me, and where the limitations show up.

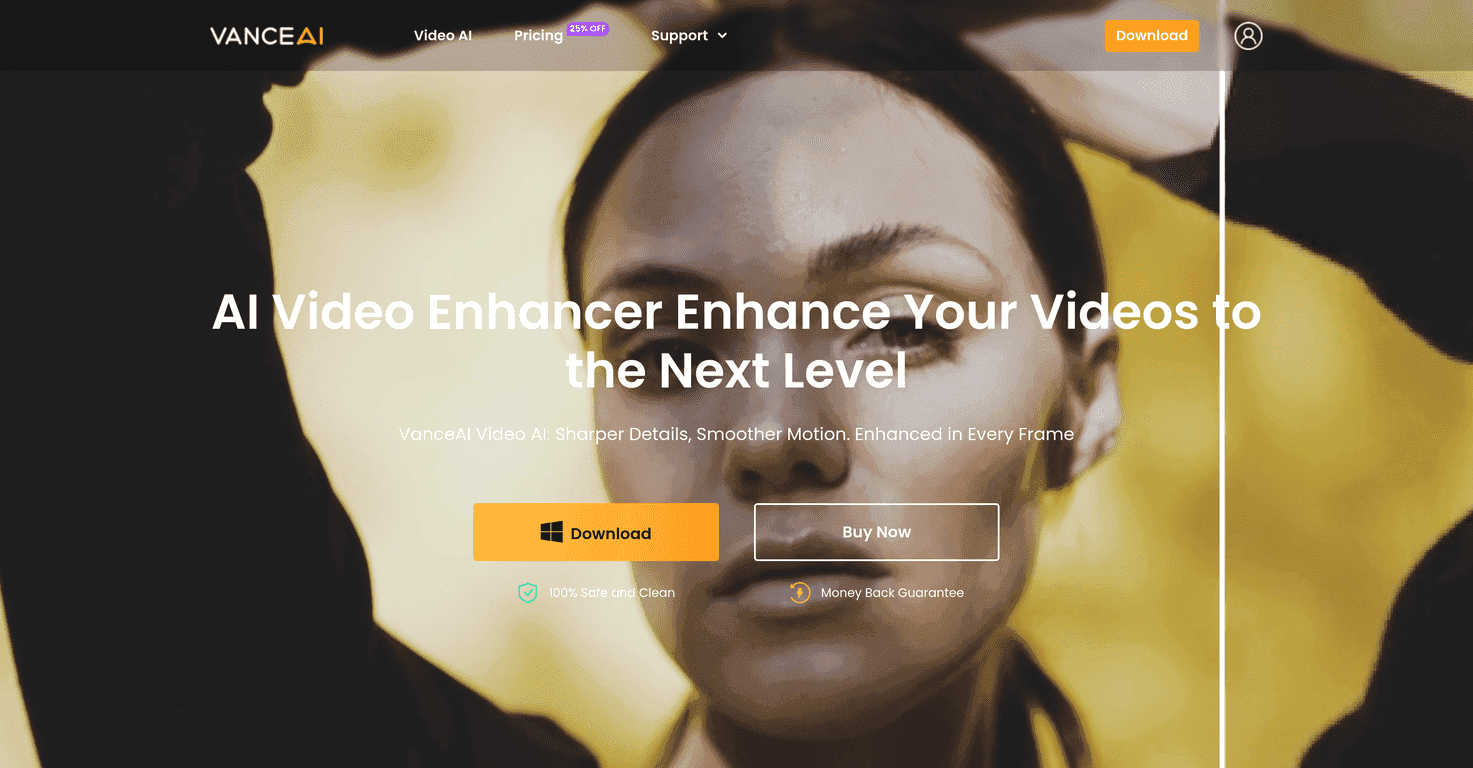
Vance AI Review
Vance AI Review is all about VanceAI’s Video AI—a tool meant to enhance your footage automatically. I tried it on a couple of “real life” clips: one was a low-resolution export that looked soft and noisy, and the other had some shaky handheld movement.
First impression? It’s straightforward. You pick what you want to improve, upload your file, and let it run. No deep technical rabbit holes. And yes, it does things like upscaling (including up to 4K and 8K), denoising, and stabilization.
Now the honest part: you won’t magically turn a badly compressed video into studio-grade footage. But for clips that are “almost there,” it can be a big improvement—especially when the goal is cleaner visuals for social media, presentations, or archiving older recordings.
Key Features
- AI-Powered Upscaling to 4K and 8K
I noticed this helps most when the original looks soft rather than completely broken. Faces and text tend to look sharper, but you may still see artifacts around very fine detail. - SDR to HDR Conversion
If your footage is SDR and looks a bit flat, converting can add punch. Just don’t expect it to match true HDR camera footage—it’s more of a “boost” than a perfect recreation. - Smoother Playback up to 120 FPS
This is useful for clips where motion feels choppy. In my tests, fast movement looked smoother, but like most frame interpolation tools, it can create odd artifacts in extreme motion. - Denoising for improved clarity
This one stood out. Grainy or noisy areas got cleaner, and gradients looked more natural after processing. - Deinterlacing for smooth progressive frames
If you’ve got older interlaced footage, this can save a lot of headache. I found it makes playback feel more consistent. - Deshake to stabilize shaky footage
For handheld movement, it helps. What I noticed is that it works best when the shake isn’t totally chaotic—otherwise you might see slight warping at the edges. - Batch Processing
If you’re enhancing a whole set of clips, batch mode is a big time saver. I like that I can queue multiple videos instead of babysitting exports one by one. - Flexible Export Options (60+ formats)
This matters more than people think. Being able to export in a format that matches your editor or platform reduces friction.
Pros and Cons
Pros
- Real, visible improvements—especially denoising, deinterlacing, and stabilization on “almost okay” footage.
- User-friendly interface with automation that doesn’t feel overwhelming. I didn’t have to tweak a million settings to get results.
- Lots of output flexibility thanks to wide format support, including 60+ export formats.
- Customer support and a money-back guarantee (when available) make it less risky to test.
Cons
- There can be a learning curve if you want the “best” settings for a specific type of footage. I had to try a couple runs to dial in what looked natural.
- Free trial limitations can be tight depending on what you’re trying to do. If you’re hoping to test a bunch of different settings, you might hit the limits sooner than you’d like.
- Processed results aren’t perfect. Heavy compression, extreme blur, or very noisy low-light footage can still look off after enhancement—usually with some artifacts around fine textures.
Pricing Plans
Pricing for VanceAI’s Video AI is listed on the VanceAI website under the Pricing section. In general, you’ll see subscription tiers and sometimes one-time purchase options, plus occasional discounts.
My tip: before you commit, think about how many videos you actually need to enhance. If it’s just a couple of clips, trial/testing options (if available) can help you confirm the output quality for your specific footage. If you’re working on a batch of content, a plan that supports multiple enhancements will usually make more sense.
Wrap up
So, is Vance AI worth it? For me, the answer is yes—with the right expectations. If your videos are decent but need help (noise, shake, low resolution, interlacing issues), VanceAI can noticeably upgrade the look without making you fight complicated tools.
Just remember: it won’t fix truly broken source footage. But for everyday creators and anyone trying to make older clips more watchable, it’s one of the more practical video enhancement options I’ve used.
Promote Vance AI