Table of Contents
Trying to get a decent microphone for audiobook recording without spending a fortune? Yeah, I get it. The options are everywhere, and half the specs sound like they belong in a physics class. What I found helps most is focusing on what actually changes your sound: pickup type, room noise, and whether the setup is painless.
I’ve tested a few budget mics in real home setups (not a perfect studio), and the biggest “pro” difference usually isn’t magic gear—it’s getting the mic positioned right, keeping background noise low, and setting your recording levels so you don’t clip. Do that, and even a $50 mic can sound surprisingly clean.
Below is a step-by-step approach I’d use if I were starting over today—so you can pick an affordable mic, get solid recordings fast, and avoid the common “why does my voice sound weird?” problems.
Key Takeaways
– For beginner audiobook recordings, aim for a budget mic in the $40-$60 range (ex: Blue Snowball, Fifine USB models).
– Choose condenser if your room is fairly quiet (more detail), or dynamic if your room has more noise/echo (more rejection).
– Prioritize a simple setup and a pickup pattern that fits your situation—most budget options are cardioid and are easier to manage.
– Many affordable mics use USB (plug in, record). XLR is great later, but it usually means paying for an interface too.
– A cardioid mic + basic room treatment (soft items, fewer hard surfaces) beats relying on software noise reduction alone.
– A pop filter and decent headphones are worth it—plosives (“p/b” sounds) and monitoring errors are where most beginners lose quality.
– Record test takes and adjust distance + gain until your voice sits consistently without peaking.
– Technique matters: I usually recommend staying 6-12 inches from the mic and keeping your mouth level with the capsule for steadier volume.
– Editing: trim silences, fix mistakes, use light EQ, and only apply noise reduction when there’s a clear noise floor (don’t “denoise” everything).
– Export to the right format per platform—don’t assume MP3 is always accepted for every audiobook program.
– For ACX-style workflows, you’ll often need specific file specs (duration limits, loudness targets, and sometimes WAV/PCM). Always check the current submission requirements.

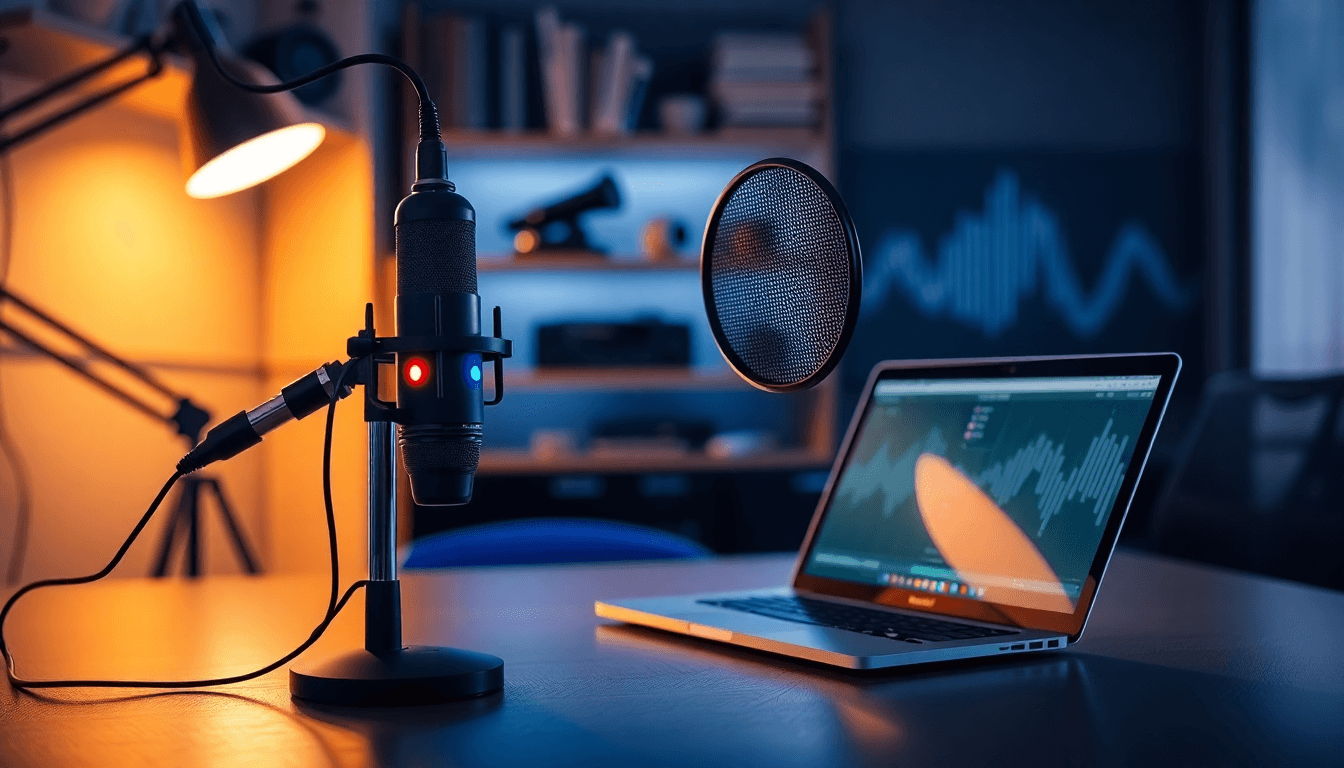
Step 1: Find an Affordable Microphone for Audiobook Recording
If you want audiobook audio that sounds “real,” start with a mic that’s reliable and easy to use. In my experience, the best budget mic is the one you’ll actually record with consistently—because consistency beats occasional “perfect” takes.
Here’s what I’d do in your shoes: pick a budget range, then choose based on your room more than the spec sheet. For many beginners, $40-$60 is a sweet spot.
Budget picks that tend to work well
Two common starter mics are:
- Blue Snowball (often around $60 on sale)
- Fifine USB condenser models (frequently around $40)
These are popular because they’re usually USB plug-and-play. You can record right away without buying an audio interface.
What I noticed when testing cardioid mics in real rooms
Most budget mics you’ll see for voice are cardioid. Cardioid helps because it’s most sensitive in front of the mic and rejects sound from the back/sides. That matters when you’re recording in a bedroom, living room, or office where you can’t control everything.
Still—cardioid isn’t a miracle. If your room is loud or echoey, you’ll hear it. The mic just buys you some time before editing has to work overtime.
Two quick scenarios to decide what to buy
- Scenario A (quiet bedroom): I used a USB cardioid condenser about 8 inches from my mouth. Result: clear voice detail, but I could hear a faint computer fan if I didn’t turn it off.
- Scenario B (busy household): Same distance, but with more background noise. Result: the mic captured more room sound, and noise reduction created a slight “watery” texture when I pushed it too hard.
Don’t ignore upgrades, but start simple
If you can stretch a little, the Audio-Technica AT2020+ is a solid “next step” option many narrators like for clarity. It’s not the cheapest, but it can feel more controlled than ultra-budget mics.
For setup help, I also recommend reading this detailed guide on making audiobooks so you’re not guessing about your recording chain.
Step 2: Choose Between a Dynamic or Condenser Microphone Based on Your Needs
This is the fork in the road. Condensers usually sound more detailed, while dynamics usually handle messy rooms better. Neither is “better” in every situation.
Condenser mics (best when your room behaves)
Condenser mics are more sensitive, so they pick up subtle vocal texture. If you’ve got a quieter room and you’re using a pop filter, a condenser can sound more “broadcast.”
A common example is the Blue Yeti Nano style of condenser recording—easy to hear details, but you’ll also hear what’s going on around you.
Dynamic mics (best when your room is unpredictable)
Dynamic mics generally reject more background noise and tend to sound less “airy.” That can be a good thing for audiobook narration because it reduces the amount of cleaning you’ll do later.
For example, models like the Rode PodMic work well when there’s more ambient sound or your room isn’t treated.
My rule of thumb (quick and practical)
- If you can record in a room where your “quiet” still sounds quiet: go condenser.
- If your quiet isn’t quiet (fans, traffic, roommates): go dynamic.
One thing that surprised me
I used a condenser in a room that seemed “fine,” and it sounded great at first. Then I listened back on headphones and realized I was capturing tiny reflections from hard surfaces. Editing got annoying fast. Switching approach (plus basic room treatment) made the biggest difference, not the mic brand.
If you want more direct comparisons, model reviews for mics like the Blue Snowball and Rode NT-USB Mini can help you understand what people hear in their own rooms.
Step 3: Look for Easy-to-Use Microphones with Good Sound Quality
Here’s the honest part: an “amazing” mic won’t help if you hate using it. For audiobook recording, I want something that’s simple enough that I don’t lose momentum mid-session.
What “easy” looks like in real life
- Clear controls (or minimal controls)
- No driver drama
- Fast monitoring so you can catch clipping immediately
USB mics like the Blue Yeti line and many Fifine USB options usually make this easy because you plug in and go.
Sound quality: the spec that actually matters
Frequency response is often listed as “20 Hz to 20 kHz.” That’s fairly standard. What I care about more is whether the mic sounds natural on voice—especially around the midrange where intelligibility lives (roughly a few hundred Hz to a few kHz).
If reviews mention the voice sounding crisp without being harsh, that’s a good sign. Also, pay attention to whether users complain about:
- too much sibilance (“s” sounds)
- muddy low end
- unwanted hiss
For more background on USB mic features and what to expect, you might find USB microphones’ user-friendly features useful as you set up your workflow.
Step 4: Check Connectivity Options Like USB and XLR
Connectivity is one of those “it sounds boring” topics that actually saves you money and frustration.
USB: the beginner-friendly default
Most budget mics connect via USB. That usually means:
- No external interface
- Less cabling
- Quick setup on Windows or macOS
In practice, I like USB for audiobook beginners because you can start recording in minutes, not hours.
XLR: great later, but budget more for the whole chain
XLR is the standard for more “pro” setups, but it typically means you’ll need:
- An XLR audio interface (or mixer)
- Correct drivers
- More configuration
So if your budget is tight right now, USB mics like the Fifine A6V or Blue Snowball are usually the smarter starting point.
Compatibility check that people forget
Before you buy, confirm the mic works with your OS and doesn’t require special drivers. Also check what it supports for recording quality (sample rate/bit depth). If your software can’t select the mic properly, you’ll waste time troubleshooting instead of recording.
For a full walkthrough of your gear setup, see this guide on setting up your recording gear.
Step 5: Consider Noise Handling and Sound Clarity
Audiobook audio lives or dies by clarity. And clarity comes from two places:
- how much background noise your mic captures
- how clean your room and technique are
Directional pickup beats “magic” noise reduction
Cardioid pickup patterns and directional mics help reject sounds coming from behind you. But you still need to control reflections and noise sources.
Quick room upgrades that actually work
If your room has echo, soft materials help. I’ve had good results with:
- blankets or a thick duvet behind/around the mic area
- recording away from windows and bare walls
- closing doors, turning off HVAC fans when possible
Test it the same way every time
Do a short test recording in your normal conditions and listen back on headphones. You’re listening for:
- background hiss (mic self-noise)
- room tone/echo
- how loud your “quiet moments” are
When noise reduction is appropriate (and when it’s not)
In editing, I only use noise reduction when there’s a consistent noise floor. Here’s the practical way to judge it:
- Use it: if your waveform shows a steady hiss/room noise during silent gaps, and your voice sounds “clean” but slightly masked.
- Avoid heavy use: if the noise reduction starts to smear consonants, create metallic artifacts, or make your voice sound like it’s underwater.
If you want more room-specific ideas, check out this room setup advice for voice recording.
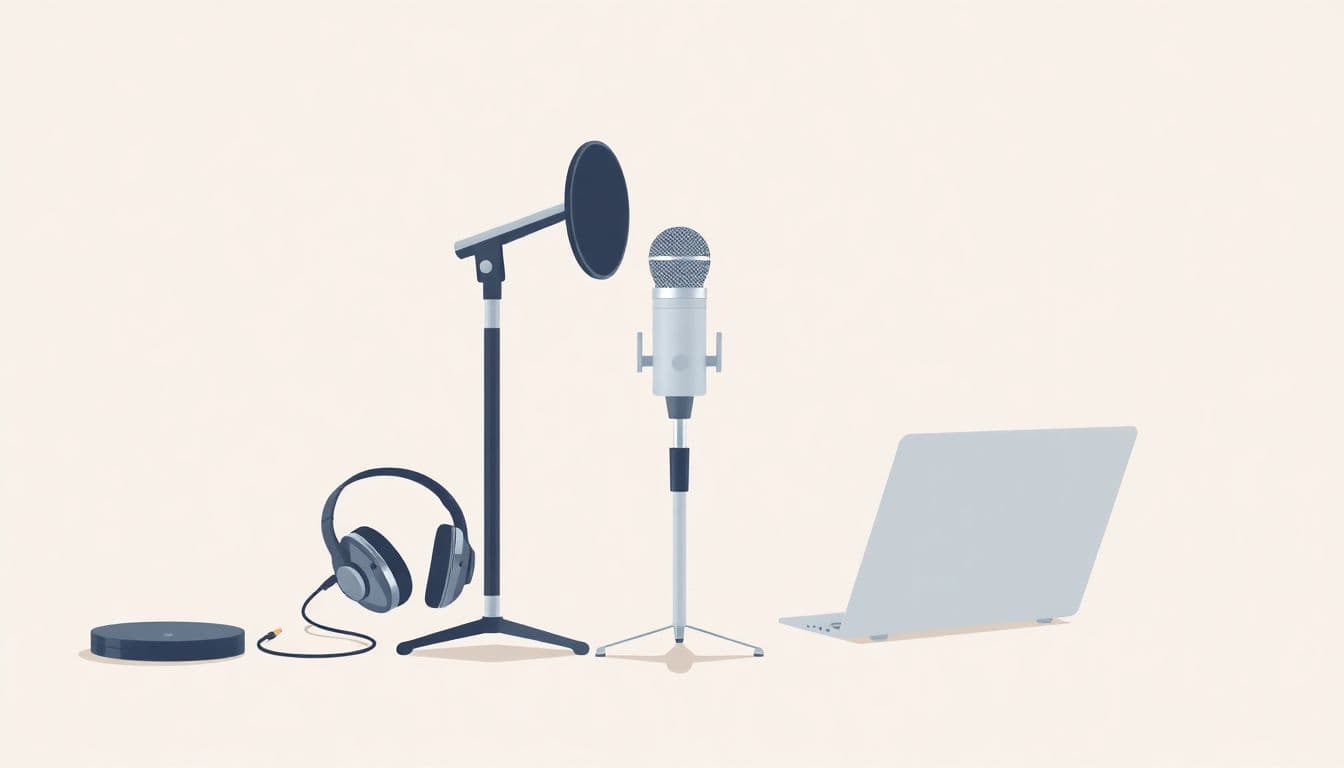
Step 6: Add Essential Accessories Like Pop Filters and Headphones
Accessories aren’t optional if you want your audiobook to sound polished. I’ve learned this the hard way: without a pop filter, the “p” and “b” sounds can distort and create harsh peaks that are annoying to fix later.
Pop filter: cheap insurance
A pop filter reduces plosives so your narration stays clean. If you record without one, you’ll often see ugly spikes in your waveform on certain words. With a pop filter, those spikes usually shrink a lot.
You don’t need an expensive one. Many solid options are under $20.
Headphones: your quality control tool
I strongly recommend closed-back headphones for recording. They help you monitor sibilance, clipping, and background noise without accidentally hearing the mic through speakers.
Decent headphones in the $20-$40 range can be enough for editing decisions—what matters is that you can hear peaks and consonant detail.
What I’d buy first (if I was starting again)
- pop filter
- headphones
- basic mic stand/arm (so your distance is consistent)
If you want a checklist-style setup, see useful tips for assembling your recording setup.
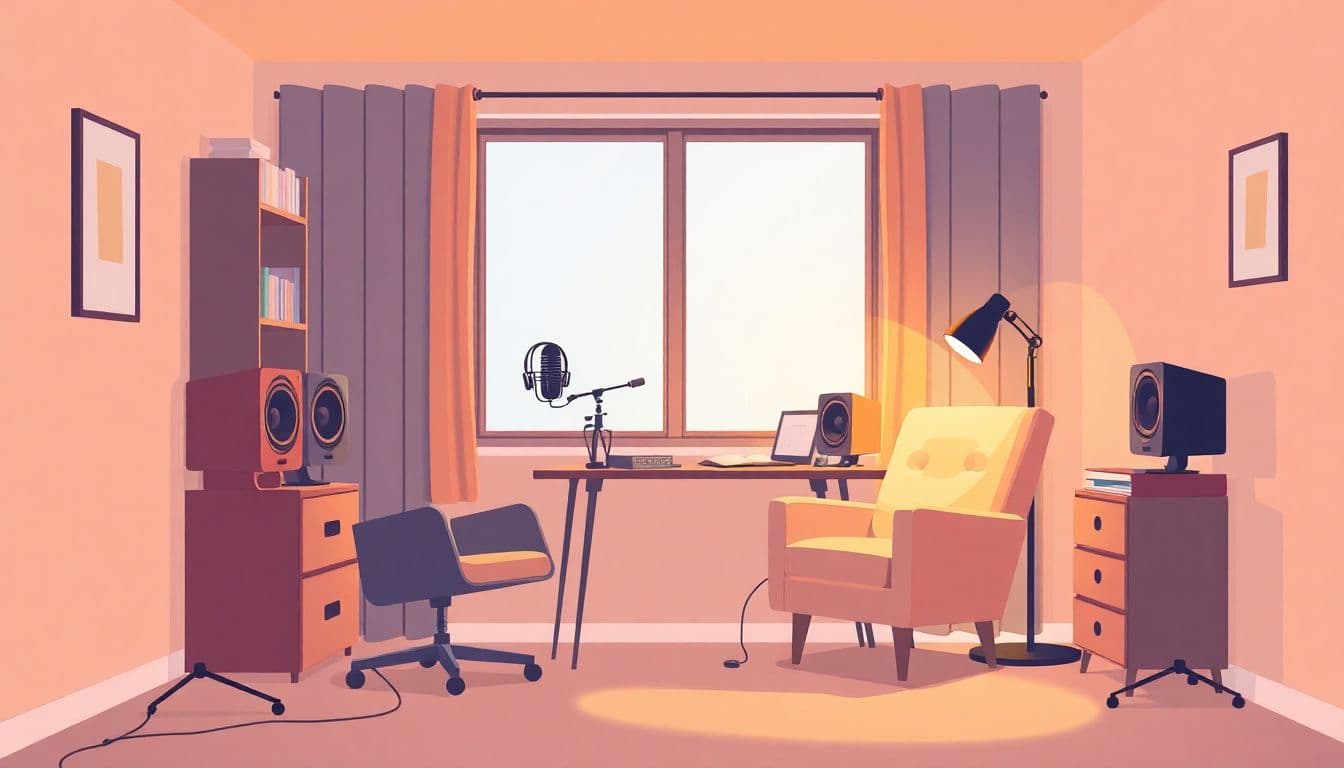
Step 7: Optimize Your Recording Environment for Better Sound Quality
Let’s be real: you can’t fully “studio” your bedroom. But you can absolutely improve it. And the improvements are usually obvious in a test waveform.
Here are the changes that consistently help in my own recordings:
- Move away from reflective surfaces (windows, bare walls, glossy furniture)
- Turn off noisy stuff (fans, AC units, anything with a steady hum)
- Add soft materials near the mic area (blankets, curtains, foam panels)
If you can, record in a corner or against a wall covered with something soft. It reduces slap-back echo.
Also, don’t forget the practical stuff: if your chair squeaks or your keyboard is close, you’ll hear it. I’ve learned to physically move anything that could make noise out of the “recording zone.”
If you want more ideas, see room setup for voice recordings.
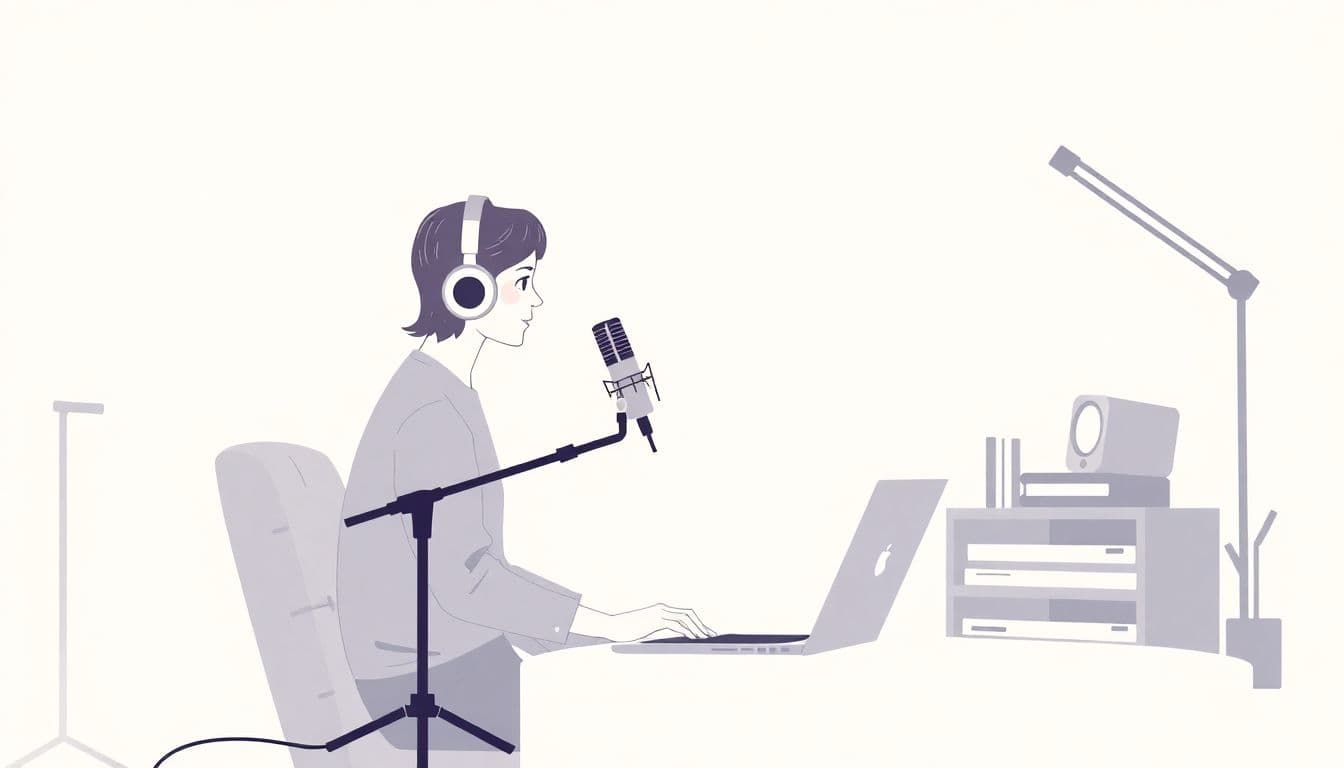
Step 8: Master Proper Microphone Technique and Voice Preservation
Technique is boring until you hear the results. Then it becomes everything.
Distance is your volume control
I usually aim for 6 to 12 inches from the mic. Too close and you can get boomy low end and harsh plosives. Too far and your voice gets quieter, and background noise becomes more noticeable.
Stay consistent (seriously)
When your distance changes mid-sentence, your volume changes too. You’ll spend more time editing and leveling than narrating.
Warm-up and breaks that help your audio
Warm up your voice, hydrate, and take breaks. Why? Vocal fatigue shows up in your recordings as:
- increased breathiness
- more inconsistent pitch
- harder consonants (which can create extra peaks)
If you notice your waveform getting spikier or your “quiet” parts getting louder, that’s often your body telling you to slow down.
For more voice care tips, check out this guide on vocal health for narrators.
Step 9: Adjust Recording Settings for Best Results
This is where I save people hours: set your levels correctly from the start. The goal is to capture a strong signal without clipping.
Pickup pattern
If your mic offers pattern selection, cardioid is usually the safe default for voice. If you accidentally switch to a different pattern (like omnidirectional), you’ll hear way more room noise.
Gain targets (simple and practical)
I don’t chase perfect numbers, but I do aim for:
- Peaks that don’t hit 0 dBFS
- Typical narration peaks often landing around -6 dBFS to -3 dBFS on loud lines
In Audacity or GarageBand, use the meters while you narrate your “loudest” paragraph. If you see clipping indicators, lower the gain right away.
Example settings I’ve used
- Audacity: record at 44.1 kHz or 48 kHz (either is fine for most workflows), then monitor peaks. Start with gain so loud lines hover around mid-to-high meters without touching the red.
- GarageBand: use input monitoring and watch the level meter. If your “S” sounds suddenly get harsh, you might be too hot on gain or too close to the mic.
Test recording workflow
Record 20-30 seconds of the same text you’ll use for a chapter. Listen for:
- background hiss during pauses
- plosives (spikes on “p/b” words)
- uneven volume (distance changes)
Then adjust one thing at a time: distance, then pop filter position, then gain.
Step 10: Practice Consistent Reading and Delivery Techniques
Once your gear is set, the real work is delivery. And delivery becomes easier when you keep your reading consistent.
Practice like you’re editing while you read
I recommend recording short passes (30-90 seconds), then listening back. You’re training your ear to catch:
- mumbled endings
- rushed phrases
- breath noises that stand out
Break chapters into sections
Instead of trying to do 20 minutes in one go, do smaller blocks. It’s easier to restart when you mess up, and your voice stays fresher. Fresh voice = more consistent volume and tone.
Emphasis matters more than you think
Use pacing and emphasis naturally, but don’t let excitement make your volume spike. If your loud lines are consistently too hot, you’ll hear it in the waveform and it’ll be harder to fix later.
Step 11: Edit and Clean Up Your Audio Files for Professional Finish
Editing is where your audiobook goes from “recorded” to “ready to publish.” The trick is to keep it clean and light-handed.
Trim and remove mistakes
Start by cutting out long silences and obvious errors. Most editors let you:
- trim awkward pauses
- remove stumbles
- use fade-in/fade-out to avoid clicks
Noise reduction: use it only when it earns its keep
Like I said earlier, noise reduction can create artifacts if you overdo it. Here’s when it’s worth applying:
- You can clearly hear a steady noise floor in the silent parts.
- The noise reduction doesn’t smear consonants or make the voice sound “phasey.”
If the noise is mostly reflections/echo, denoise won’t fix that. Room treatment and mic placement are what you need.
EQ and leveling that sounds natural
Light EQ can help intelligibility. A common approach I’ve used:
- reduce harshness if “s” sounds are too sharp
- add a touch of warmth in the low-mids (not a bass boost festival)
Then normalize or level so your volume stays consistent across chapters/sections. The goal is that listeners don’t have to adjust their volume every few minutes.
Do one final listen at normal volume and once at lower volume. If you can hear everything easily at low volume, you’re probably in a good place.
Step 12: Export and Format Your Audiobook Files Appropriately
Export settings can trip you up more than people expect. Some platforms are picky about formats, loudness, and file structure.
Don’t assume MP3 is always acceptable
Yes, many listeners use MP3 or AAC, but submission requirements vary by platform and program. Some workflows may request WAV/PCM with specific sample rates, while others accept compressed formats.
So instead of guessing, check the current submission guidelines for your target platform.
Practical export checklist
- Use a consistent sample rate (often 44.1 kHz or 48 kHz depending on the platform).
- Use the file type the platform requests (WAV/MP3/AAC).
- Keep chapter naming consistent and easy to verify.
- Make sure metadata is correct (title, narrator, etc.).
- Do a quick “upload test” on one chapter if the platform allows it.
For platform publishing workflow ideas, review upload and format tips so you don’t scramble at the last minute.
Step 13: Distribute Your Audiobook Through the Right Channels
Distribution is how people actually find your audiobook. The best channel depends on exclusivity, royalty splits, and how much control you want.
Popular options include:
- Audible via ACX
- Findaway Voices
- Selling direct through your own website (if you’re building an audience)
What to check before you commit
In my experience, the “gotchas” are usually:
- exclusive vs non-exclusive terms
- royalty rate differences
- file requirements (format, loudness targets, and upload rules)
- timelines for approvals
Take a few minutes to read the specs. If a platform wants WAV/PCM and you upload MP3, you may get rejected or asked to resubmit.
If you want more general self-publishing context, you can look at self-publishing platforms that support audiobook creators.
Step 14: Promote Your Audiobook Effectively
Promotion is where your audiobook stops being “a project” and becomes “something people can actually buy.” I like promotion that’s simple and repeatable.
Share clips that show your narration style
Make short teaser clips (15-45 seconds). Aim for:
- a strong hook
- clear audio (no background noise)
- good pacing—don’t cut mid-word
Instagram, TikTok, and YouTube Shorts are great for this.
Ask for reviews the right way
Offering a free download or a discount can work well, but I’d focus on getting honest listener feedback—not just “five stars because you asked.” If you can, send a small batch to people who match your genre.
Build an email list
An email list is still one of the best ways to reach readers/narration fans consistently. Even a small list helps when you release updates or new titles.
For more marketing guidance, check out marketing resources for authors and narrators so your promotion matches your audience, not just your enthusiasm.
FAQs
Start by picking a budget (many beginners do well in the $40-$60 range). Then choose based on your room: condenser if it’s fairly quiet, dynamic if it’s not. USB mics are usually the easiest way to begin because you can record right away without an interface.
Dynamic mics are generally less sensitive and do better in noisier or less-treated rooms. Condenser mics capture more detail and nuance, which is great for audiobook narration when your recording space is quiet enough.
Look for simple controls, reliable USB connectivity, and a pickup pattern (often cardioid) that fits your room. If you’re new, plug-and-play usability matters more than extra knobs you’ll never touch.
USB is the easiest option for beginners (plug in and record). XLR is common for more advanced setups, but it usually requires an interface or mixer. Choose the option that matches your budget and how quickly you want to start recording.