Table of Contents
Everyone wants to look good in their author photo, but it can feel tricky figuring out where to start. You might worry about looking professional, confident, or just not sure what makes a great picture. Don’t worry—you’re not alone, and the good news is that with a few simple tips, you’ll be taking photos you’ll love.
Keep reading, and I’ll show you easy steps to get that perfect author shot, including do’s and don’ts, how to take your own picture, outfit ideas, and tips for finding the right photographer. By the end, you’ll be ready to strike a pose or hire a photographer with confidence, making your author bio stand out.
In just a few minutes, you’ll learn everything you need for great author photos—no fancy equipment or professional experience required!
Key Takeaways
Key Takeaways
- Choose a well-lit, simple background using natural light or a ring light. Wear clothing that fits your brand and makes you feel confident. Position yourself at a slight angle with a relaxed smile. Use a good camera or smartphone, and consider a tripod or timer for steady shots.
- Keep your background uncluttered and avoid busy patterns or bright colors. Go for natural, genuine expressions to connect with readers. Photos should look authentic and clear, avoiding photoshoot mishaps like bad lighting or messy settings.
- Take your own photo in a tidy space with good light, experimenting with angles and expressions. Review and pick the best shot, making light edits if needed. Authentic photos help readers see the real you and build trust.
- In 2025, real, genuine photos are more trusted and memorable than stock images. Sharing authentic images makes your brand more relatable and helps readers and publishers connect with you on a personal level.
- Use your author photo consistently across websites, social media, and marketing materials. Make sure it’s current, friendly, and shows your personality. This boosts recognition and helps build a strong, approachable author brand.
- Avoid blurry images, distracting backgrounds, or unnatural edits. Update your photo every few years to keep your look fresh and accurate. Keep your expression natural and your style simple for the best impact.
- Upload high-quality images for your website and profiles. Use a current photo in your bio and on social media. Consistent, friendly images increase trust and make it easier for readers to remember you.
- Practice different expressions and experiment with lighting and backgrounds. Ask for honest feedback and keep makeup and clothes simple. Create variations for different uses, and edit lightly to enhance your natural look.

1. Take a Professional Author Photo in 5 Simple Steps
Want your author photo to stand out? First, find a well-lit, uncluttered background—natural light works best. Second, wear attire that reflects your personality and brand, avoiding busy patterns. Third, position yourself at a slight angle with a relaxed smile to appear friendly. Fourth, use a high-quality camera or smartphone with good resolution. Fifth, consider hiring a professional photographer or using a tripod with a timer for steady shots.
2. Use the Do’s and Don’ts for Better Author Photos
Do choose a simple background to keep the focus on you. Do wear clothes that match your genre or message. Don’t wear distracting patterns or loud colors. Do keep your expression natural and approachable. Don’t photoshoot in messy settings or with poor lighting. Remember, an authentic and clear image helps readers connect with you more easily.
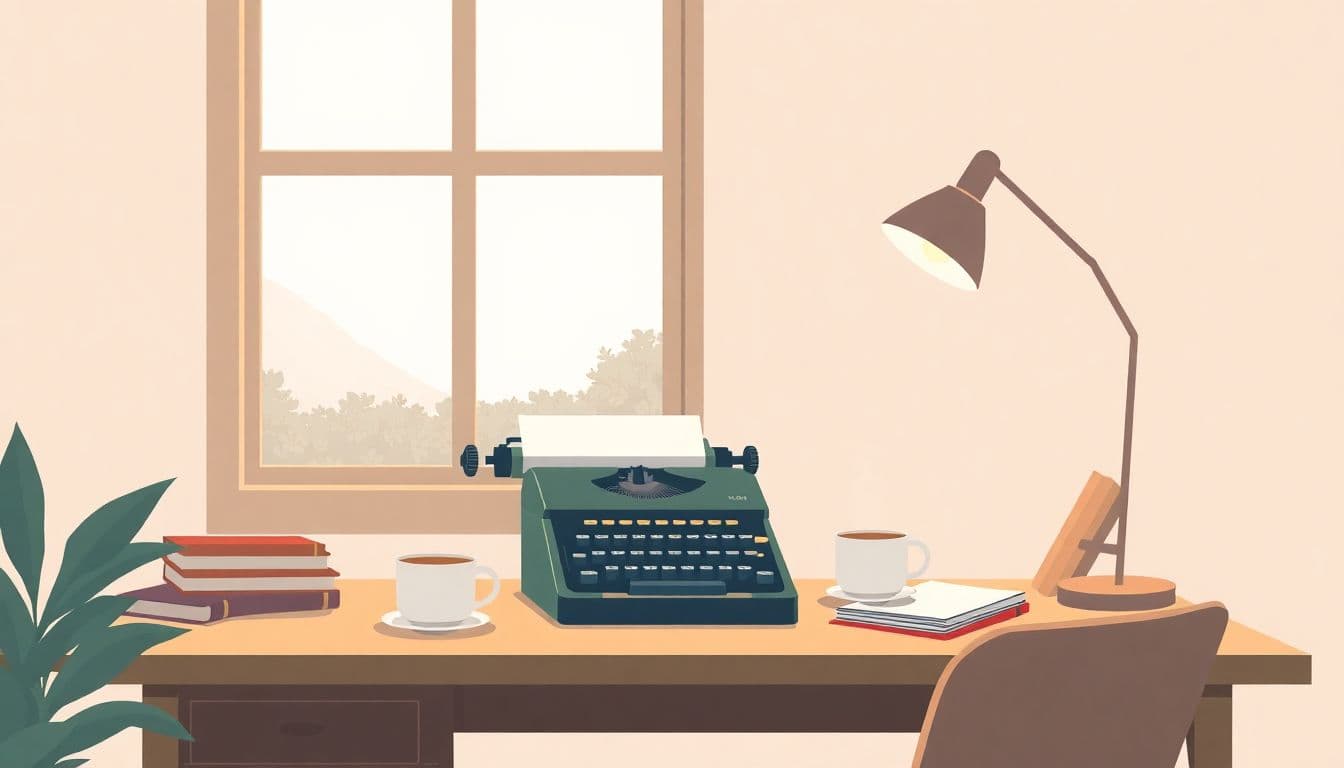
3. How to Take Your Own Author Headshot
Start with a clean, tidy space with good natural light or a ring light. Use a tripod or prop your camera steady on a flat surface. Position yourself at eye level and center yourself in the frame. Wear something that makes you feel confident and authentic. Take multiple shots, experimenting with angles and expressions. Review your photos and pick the best one—edit lightly if needed to adjust brightness or crop.

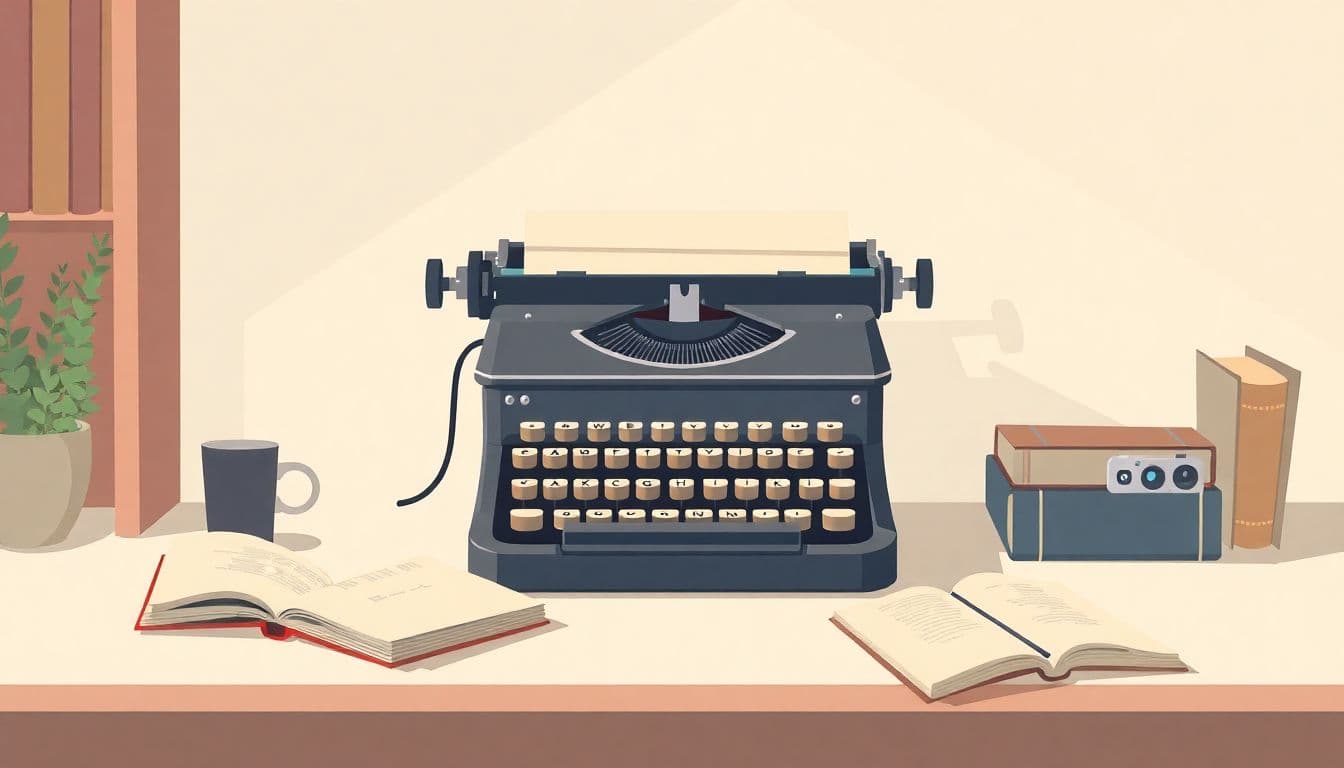
6. Why Authentic Photos Matter More Than Ever in 2026
In 2025, around 2.1 trillion photos will be snapped worldwide, with over 61,400 pictures taken every second.
This massive volume shows just how obsessed everyone is with capturing moments.
For authors, that means standing out means sharing real, genuine pictures of yourself rather than relying on stock images.
People trust real photos 35% more and are more likely to connect with an author they see as authentic.
If you don’t have a pro photo, consider investing in a good selfie or a natural shot that shows your personality—because those will get noticed.
Authentic images help readers and potential publishers see the real you, making your brand more relatable and approachable.
Don’t underestimate the power of showing your true self—your future readers want to see the person behind the pages.
Remember, almost 80% of authors use social media weekly, and your photos are your first impression—make them count.
7. Tips for Making Your Author Photos Pop on Social Media
With the sheer number of photos uploaded daily—over 5.3 billion—you need to make sure your author photo stands out.
Start with a clear, well-lit shot taken during daytime or with a ring light if indoors.
Choose a background that isn’t cluttered—nature, a plain wall, or a subtle textured backdrop work well.
Dress in colors or styles that match your book genre or your personal brand.
Use natural expressions; a genuine smile or a look of concentration can draw viewers in.
Crop your photo to focus on your face and shoulders, avoiding too much empty space.
Add a touch of personality—wear a favorite accessory or show some personality through your pose.
Lastly, keep your profile photos consistent across platforms so readers know it’s really you wherever they find you.
8. Common Mistakes to Avoid When Creating Your Author Photo
First, don’t use blurry or low-resolution images—that’s a quick way to look unprofessional.
Second, avoid overly busy backgrounds that distract from your face.
Don’t wear busy patterns or bright colors that clash or pull attention away from you.
Steer clear of awkward poses or forced smiles—authenticity beats perfection every time.
Never Photoshop yourself beyond recognition; authenticity matters.
Avoid cluttered settings like messy rooms or distracting objects.
Inconsistent lighting can ruin a good shot, so stick to natural light or a consistent artificial source.
Finally, don’t forget to update your photo every couple of years—people want to see the real you, not an outdated image.
9. How to Use Your Author Photo Effectively in Marketing
Your author photo isn’t just for your book cover—it’s everywhere your name appears online.
Use a high-quality version for your website, social profiles, and press materials.
Add your photo to your author bio on publishing platforms or book retailer pages.
On social media, your bio picture is often the first impression: keep it current and engaging.
In email signatures and newsletters, include your photo to make communications feel more personal.
If you attend events or book launches, use your author photo on posters and promotional materials.
Remember, consistent use of your photo helps build your brand identity and makes you more recognizable.
A genuine, friendly face increases trust and can boost your chances of connecting with readers or collaborating with media outlets.
10. Final Tips for Perfecting Your Author Portrait
Practice different expressions—smile, serious, confident—and see which feels most natural.
Experiment with different lighting conditions and backgrounds to find your best look.
Ask a friend or a photographer for honest feedback on your shots.
Keep your makeup and hair simple but polished—nothing too flashy or distracting.
Wear clothes that make you feel good and reflect your style or genre.
Consider creating a few variations—casual, professional, fun—to cover different needs.
Use editing lightly—adjust brightness and crop but avoid heavy filters.
Remember, the key to a great author photo is authenticity; stay true to yourself.
Lastly, if you’re unsure where to start, check out [tips for professional headshots](https://automateed.com/how-to-get-a-book-published-without-an-agent/) to ensure your image looks polished.
FAQs
Start with good lighting, choose a simple background, dress appropriately, maintain natural expressions, and consider professional editing to create a polished author photo.
Do wear solid colors and keep it simple. Don’t wear busy patterns or distractions. Keep a relaxed posture and make eye contact for a confident, approachable look.
Use a tripod or stable surface, set your camera or phone at eye level, ensure good lighting, choose a simple background, and take multiple shots to select the best one.