Table of Contents
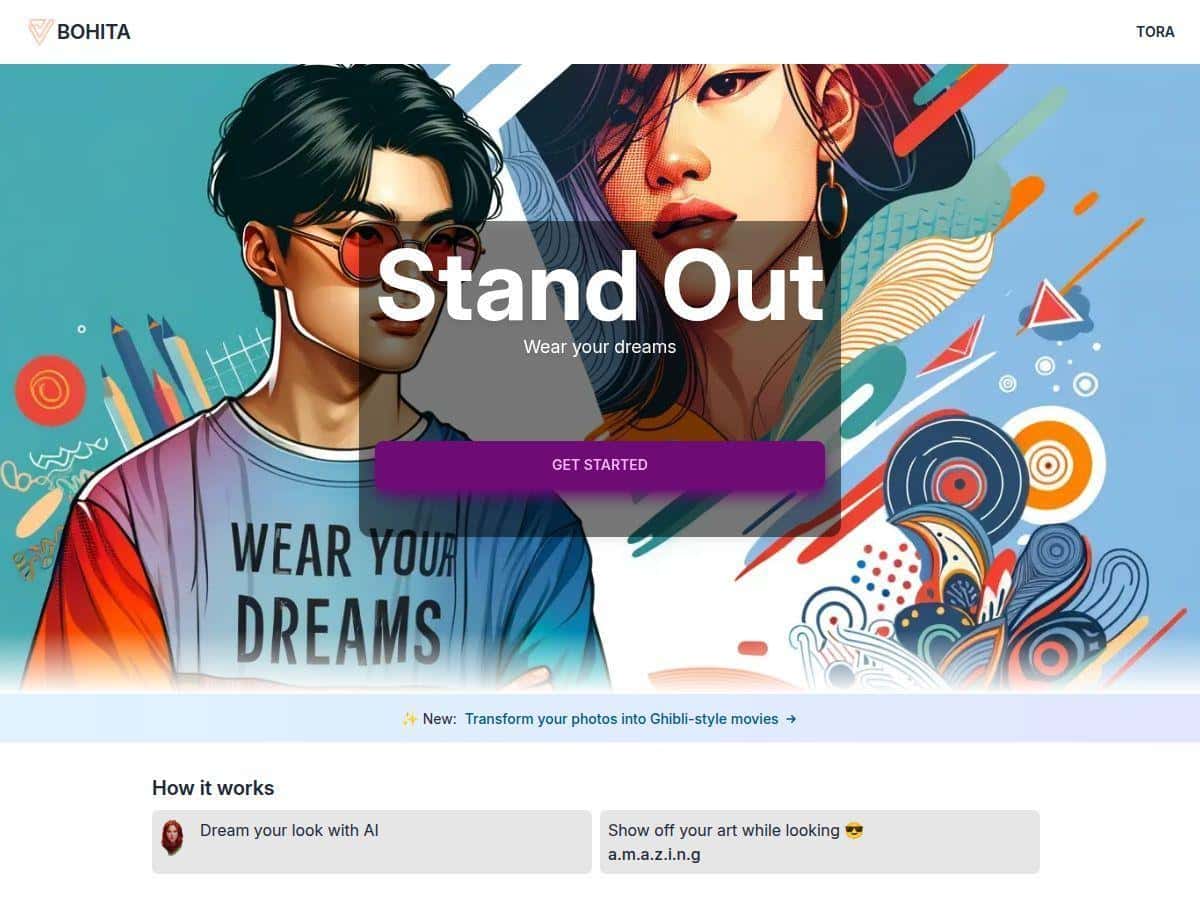
If you want to make custom t-shirts and hoodies but you don’t have Photoshop skills (like me), Bohita is exactly the kind of tool I was hoping for. I tested it by generating a few designs from scratch and then actually checking how the output looked when printed on a hoodie.

Bohita Review: What I Made (and What Actually Worked)
I’m not a designer, so my first goal was simple: can I get a decent t-shirt/hoodie design just by typing what I want? With Bohita, you basically chat with the AI and it generates artwork from your description. The interface felt straightforward—no learning curve like you’d expect from a full design program.
What I did next is where things got interesting. I ran multiple prompts, saved a few variations, and then compared what the AI preview promised versus what looked good when it was printed on a hoodie.
My test prompts (exact wording)
Here are a few prompts I used, word-for-word. I’m including them because it’s usually the difference between “cool idea” and “usable design.”
- Prompt 1: “Create a bold vector-style graphic for a hoodie: a smiling cat astronaut floating in space, big chest logo, limited color palette (navy, white, light blue), clean outlines, high contrast, no background clutter.”
- Prompt 2: “Design a t-shirt graphic: vintage mountain landscape with a sunrise, retro screen-print look, distressed texture, centered composition, include the text ‘STAY WILD’ in a chunky serif font, warm reds and oranges.”
- Prompt 3: “Make a streetwear hoodie design: abstract geometric waves forming a circle, neon accents (cyan + magenta), dark background, symmetrical layout, modern typography: ‘LOUD QUIET’.”
How many variations I got & how fast it felt
In my tests, each prompt produced several distinct design options quickly enough that I didn’t feel stuck waiting. I’d typically generate a first set, pick the closest one, then refine once or twice. Overall, I spent about 20–25 minutes from first prompt to choosing a “final” design that I was genuinely happy with.
What the AI output looked like (the honest part)
For Prompt 1 (cat astronaut), the AI nailed the vibe—clean outlines, strong contrast, and the character centered nicely for a chest print. What I noticed most: the artwork read clearly even when shrunk down to “logo size” on screen.
For Prompt 2 (“STAY WILD”), the retro mountain/sunrise concept came through well. The distressed texture looked more convincing than I expected, but the text sometimes needed a second attempt. The first version had the right words, yet the spacing looked a little off—like the letters were slightly too close together. After I asked for “tighter letter spacing” and “centered text,” it improved.
Prompt 3 (“LOUD QUIET”) was the most stylish. The geometric waves and neon accents worked nicely as a hoodie graphic. Still, I did see occasional “typography artifacts” (tiny weird joins in the letter shapes) when the font got too detailed. When I simplified the prompt to “clean bold lettering,” the text looked smoother.
Printing on a hoodie: what I checked
After choosing a design, I focused on a few practical things that matter for prints:
- Placement: The chest placement matched what I saw in the preview closely. I didn’t get the “why is this shifted downward?” surprise.
- Color matching: Colors were close to the preview. The neon accents were a bit less “electric” in the final print than on-screen, but they were still recognizable and didn’t turn muddy.
- Line clarity: The clean vector-style outlines held up well. The designs with heavy small details were slightly less crisp than the bold ones—totally normal for printing, but worth knowing.
- Fabric feel: The hoodie material felt soft and wearable. It didn’t feel like a thin costume hoodie, and the print didn’t make the fabric feel stiff.
So yeah—Bohita isn’t just generating pretty pictures. The print experience felt genuinely usable.
Key Features I Actually Used
- AI-Driven Design Process: You describe what you want in plain language. I found that more specific prompts produced better results—especially when I mentioned “centered composition,” “limited color palette,” or “clean outlines.”
- Custom Apparel Focus: Bohita is geared toward apparel designs (t-shirts and hoodies). That matters because the AI output is more “print-minded” than generic art generation.
- User-Friendly Interface: No design background required. You basically chat, generate, and choose a variation. I didn’t have to hunt through menus to figure out how to proceed.
- Customization Controls: There’s room to tweak colors/graphics/text. The biggest improvement I saw came from refining typography instructions (font style, spacing, and “bold/clean” wording).
- “Animated styles” / photo-to-style tools: The feature list mentions transforming photos into animated styles. In my testing, I didn’t see true animation output (like an actual GIF/video). What I did see were style transformations—more like “animated-inspired” visuals—so if you’re expecting moving artwork, just be aware it may be static images styled to look lively.
- Integration Support: It mentions compatibility with platforms like Bing and Microsoft Edge. I didn’t test every integration deeply, but it did feel flexible depending on how you access the tool.
A quick before/after example (prompt refinement)
For Prompt 2, my first version was close, but the text spacing looked a little cramped. I followed up with: “Keep the same design, fix the text so it’s centered and the letters have more spacing.” The next iteration looked noticeably cleaner—more “real merch” and less “AI almost.”
Pros and Cons (Based on My Test Results)
Pros
- Beginner-friendly: I didn’t need design skills. The workflow is basically prompt → generate → pick → print.
- Good variety: I got multiple distinct options per prompt, which made it easier to land on something that felt “me.”
- Print-ready output: The designs generally translate well to hoodie printing—especially bold, high-contrast graphics.
- Prompting flexibility: You can steer the result (palette, composition, style). Specific instructions mattered.
Cons
- Typography can be hit-or-miss: If the text is too detailed or complex, you may see spacing issues or minor shape weirdness. Fixing it usually requires a second prompt.
- You’ll probably iterate: Best results came after tweaking the wording, not on the first try. That’s not a dealbreaker—just be ready for it.
- 3D visualization is limited: I didn’t get a true “3D mockup” experience beyond basic preview-style presentation.
- Pricing transparency: Pricing details aren’t clearly shown in a straightforward way in the content I reviewed.
- AI originality limits: It can feel less “human-art” and more “best-guess style.” You can improve it with better prompts, but it’s still AI output.
Pricing Plans: What I Could (and Couldn’t) Confirm
In the info I saw, specific Bohita pricing isn’t publicly listed in a simple “$X/month” format. I’d recommend checking Bohita (or bohita.com) directly for the latest subscription options and any print/order pricing.
One thing I wish was clearer before checkout: the cost breakdown. In my opinion, when you’re buying custom apparel, you want to know what you’re paying for (design credits, print size, shipping, and turnaround). Bohita does the creative part well—just make sure you confirm the full total before you hit place order.
Wrap up
Overall, Bohita is a solid way to create custom t-shirts and hoodies without being a graphic designer. The big win for me was how quickly I could go from a rough idea to something that actually looked like merch—then get it onto a hoodie without the process turning into a headache.
Just go in expecting to iterate a little (especially for typography), and double-check pricing/checkout details on the site before ordering. If you want an easy, prompt-driven path to wearable designs, it’s worth trying.