Table of Contents
Ever tried figuring out just how wide a book’s spine should be? It sounds simple until you’re staring at a cover template wondering why nothing matches. In my experience, the spine width is the one measurement that can make or break the whole cover fit—too narrow and your pages feel tight; too wide and the cover won’t fold cleanly.
So here’s what I do instead of guessing: I calculate it from your page count and paper thickness, then I add the exact allowances printers expect (bleed, and board thickness for hardcovers).
What You’ll Calculate (with a real example)
By the time you’re done, you’ll have:
- Raw spine thickness (the paper block thickness, in mm or inches)
- Finished spine width (raw thickness + safety/feature adjustments)
- Hardcover add-on if you’re using cover boards
Example inputs → outputs:
- Page count: 300 pages
- Trim size: 6" x 9" (only matters for paper caliper assumptions)
- Paper thickness assumption: 0.0021" per sheet (typical for ~60lb uncoated text, non-coated caliper varies by printer)
- Safety margin: 3 mm bleed tolerance (0.118")
- Binding: standard paperback (no cover boards)
Steps: 300 pages ÷ 2 = 150 sheets. Raw spine thickness = 150 × 0.0021" = 0.315". Then add safety margin (and any feature offsets if needed) to get your finished spine width.

How to Calculate Book Spine Width Accurately
Let’s make this reproducible. The spine width you want is basically the thickness of the paper block, adjusted for what the printer needs for trimming and (sometimes) extra materials.
Step 1: Convert pages to sheets (this part matters)
Printers and paper thickness specs are usually given per sheet, not per page. A sheet becomes 2 pages (front + back), so:
Sheets = Pages ÷ 2
Quick example: 300 pages ÷ 2 = 150 sheets.
Step 2: Get paper thickness per sheet (caliper)
This is where people usually hand-wave. Don’t. You have two realistic options:
- Best option: use your printer’s provided paper caliper or thickness per sheet (they’ll often list it for each stock option).
- If you don’t have that: use a reference caliper value that matches the stock you selected, and be consistent.
Reference thickness per sheet (use as a starting point)
Caliper varies by manufacturer, coating, and press settings, so treat this as a starting estimate—not gospel. Still, it’s good enough to get your cover template sized correctly before you confirm with your printer.
- 50lb text: ~0.0020" to 0.0022" per sheet (≈ 0.050–0.056 mm)
- 60lb text: ~0.0021" to 0.0023" per sheet (≈ 0.053–0.058 mm)
- 70lb text: ~0.0023" to 0.0026" per sheet (≈ 0.058–0.066 mm)
If your printer gives you caliper in microns or mm, use that directly. If they only give basis weight (like “60lb”), you’ll usually need a caliper estimate or their stock sheet.
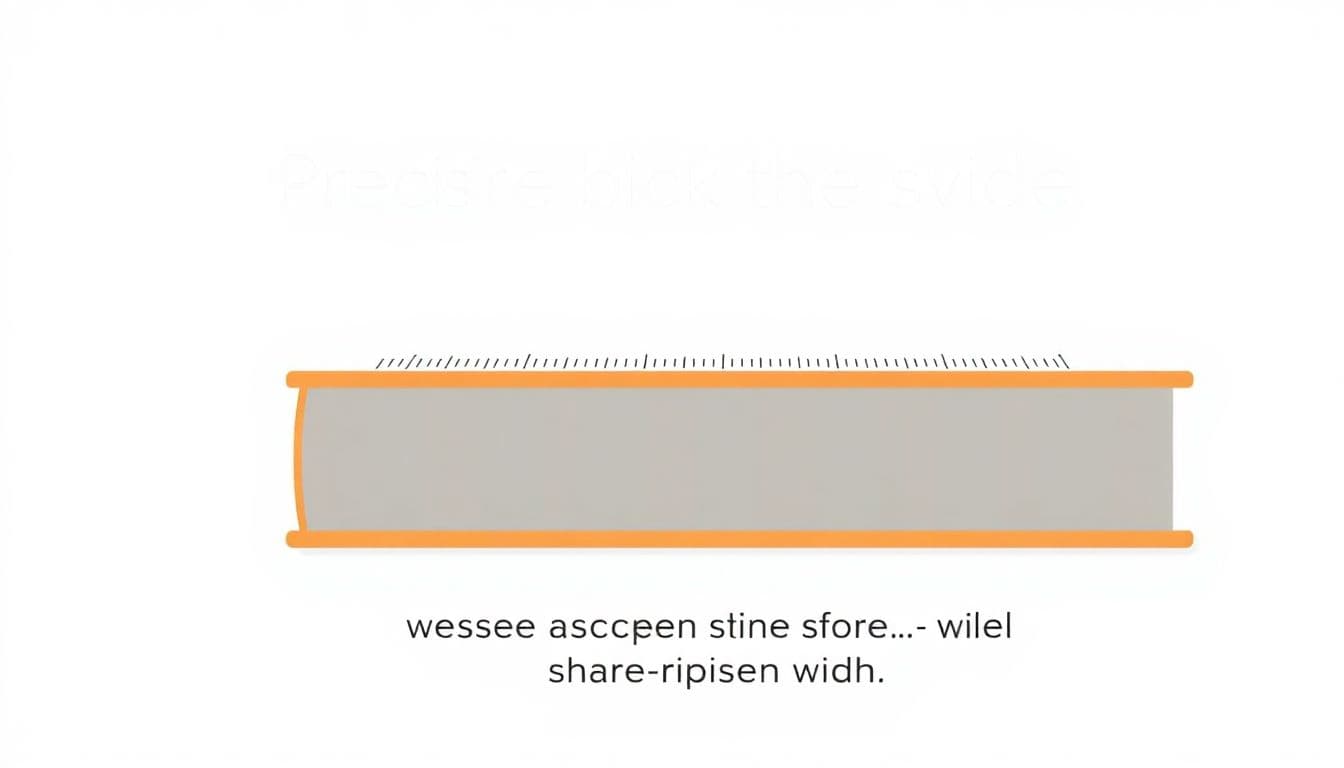
Step 3: Calculate raw spine thickness
Raw spine thickness = Sheets × Thickness per sheet
Example (continuing):
- Sheets = 150
- Thickness per sheet (assumption) = 0.0021"
Raw spine thickness = 150 × 0.0021" = 0.315" (about 8.0 mm).
Step 4: Add the safety margin for trimming/bleed
Most cover templates already account for bleed on the artwork, but the spine width still benefits from a practical tolerance. A common adjustment is:
- Safety margin: ~3 mm (≈ 0.118")
Important: Some printers want specific spine width tolerances and may round to a template-friendly number. If their template says “spine width must be X,” follow that.
Step 5: Adjust for hardcover cover boards (if needed)
If you’re doing a hardcover, you typically add an extra allowance for the boards. A commonly used add-on is:
- Hardcover boards: 6.35 mm (0.25")
So your finished hardcover spine width is usually:
Finished spine width = Raw thickness + Safety margin + Board allowance (hardcover)
For a quick, printer-friendly workflow, I like using a dedicated spine width calculator (it forces you to enter the variables instead of guessing). Just remember: the “exact” result is only as accurate as the thickness/caliper value you choose.
Common Mistakes to Avoid When Measuring Spine Width
Here are the mistakes I’ve seen (and made) that cause covers to not fit:
- Using pages instead of sheets. If you multiply thickness-per-sheet by page count, you’ll overshoot by about 2×. Always convert pages ÷ 2 first.
- Assuming one “60lb = 0.75 inches” number for every printer. That kind of example can be true for one specific stock/caliper and binding setup. In real life, caliper changes.
- Forgetting rounding rules. Printers round template measurements. If you calculate 7.9 mm and the template rounds to 8.0 mm, that’s normal—don’t fight it.
- Ignoring special finishing. Foil, embossing, and certain laminations can add bulk. If you’re adding foil blocking, plan extra clearance—many printers expect around 4 mm minimum for feature-heavy spines, but confirm with them.
- Not checking with the printer’s template requirements. Templates sometimes include gutters, hinge tolerances, or specific spine width bands. If you ignore those, the cover can look “right” on your end and still fail in production.
Design Tips for Narrow or Thick Spines
Spine width isn’t just a measurement problem—it’s a design readability problem too. What I noticed the first time I redesigned a narrow spine: the typography looked fine in the mockup, but once it was printed, the letterforms got cramped fast.
Narrow spines (under ~5 mm)
- Keep text minimal: title + maybe author name (not a full blurb).
- Use bold fonts and larger sizes.
- Don’t rely on thin strokes or small tracking—shelves are unforgiving.
Thicker spines
- You can fit more info, but don’t turn it into a poster.
- Make sure you’re not stretching text unnaturally to “fill” the space.
- If you’re scaling artwork, preview at 100% and double-check legibility.
Special Considerations for Hardcovers and Books with Features
Hardcovers are where spine math gets a little more “real-world.” It’s not just paper thickness anymore.
Hardcovers
For a hardcover, plan for cover boards. A common allowance is:
- +6.35 mm (0.25") for the boards
In practice, I treat this as a baseline and then confirm against the printer’s hardcover spec sheet. Some printers have slightly different board thicknesses depending on cloth/laminate or case binding style.
Feature-heavy spines (foil, embossing, metallic finishes)
If you’re adding foil stamping, embossing, or metallic treatments, you usually need extra room so the materials don’t interfere with folding and binding.
- Plan for at least 4 mm clearance in many cases
- But always confirm with your printer because feature thickness and placement can vary
Understanding How Book Dimensions Affect Spine Calculations
Book dimensions affect spine width mostly through two things: how many pages you have and what paper caliper you end up with.
- More pages → more sheets → thicker spine.
- Different trim sizes → different paper usage and sometimes different stock options. Even if the basis weight is the same, the caliper can vary by stock line.
- Printing method and paper finish matter. Coated vs uncoated, and different press runs, can change effective thickness.
If your book is non-standard (tall vertical format, unusual trim, odd page count), I’d rather you confirm the caliper with the printer than rely on generic examples.
Tools and Resources for Precise Spine Measurements
Honestly, the easiest path is using a calculator that asks for the right inputs. The Ironmark calculator is one example: it takes your page count, paper weight/stock, and dimensions and outputs a spine width you can plug into your cover template.
For DIY, I’ve also built a simple spreadsheet that uses the formula below:
Raw spine thickness = (Pages ÷ 2) × Thickness per sheet
Then I add:
- + 3 mm safety margin (or the printer’s requested tolerance)
- + 6.35 mm if hardcover boards apply
Also, if you’re working in design software like Adobe InDesign, set up your cover template using the spine panel width you calculated. That way you’re not “eyeballing” alignment at the last second.
How to Incorporate Spine Width into Your Book Cover Design
Once you have your spine width, the design part is straightforward—but it’s easy to mess up the panel layout.
Cover layout checklist
- Set the spine as its own panel (don’t just overlay it).
- Use the exact calculated spine width (mm vs inches—double-check your units).
- Add bleed where required (commonly 3 mm / 0.118" on cover artwork).
- Keep critical text away from edges so trimming doesn’t cut letters.
- Preview a mockup if your software supports it—misalignment is easier to catch on-screen than after printing.
Final Tips for Shooting for the Perfect Spine Measurement
Here’s my “don’t get burned” routine:
- Measure or confirm caliper whenever possible (printer spec sheet beats assumptions).
- Use the same units across your whole workflow (mm in the spine calc, mm in the template).
- Account for features upfront (foil/embossing can change what the spine needs to safely fold).
- Request or download the printer’s cover template and match their spine width rules.
It’s not glamorous work, but it’s the difference between a cover that looks professional and one that doesn’t quite line up. I’d rather spend 10 minutes verifying now than redo the cover after it’s already on press.
FAQs
If you can measure a finished copy, stack books so the block sits flat and measure from edge to edge with a ruler or—better—a caliper. Try not to compress the pages when you close the jaws. Write down the value and use it as your benchmark.
A digital caliper is the most accurate for measuring thickness. For calculations, a spine width calculator is helpful because it forces you to enter the right variables (pages, stock/caliper, and trim). A spreadsheet works too if you’re comfortable using the per-sheet thickness value.
Because cover fit affects everything: how the cover wraps, whether the spine folds cleanly, and how the book sits on shelves. If the spine width is off, you can end up with misalignment or a cover that doesn’t close properly.
Adjust based on binding type (paperback vs hardcover) and how your printer’s stock behaves (caliper). If you can, measure a sample or ask for the printer’s caliper spec for your exact paper option. That’s the easiest way to reduce surprises.