Table of Contents
I get it—figuring out the illustrations for a children’s book can feel overwhelming. Between picking styles, planning characters, and dealing with feedback, it might seem way harder than just doodling cute animals.
But don’t worry, you don’t need to stress anymore—stick around and you’ll soon see just how simple the whole illustration process can be, from choosing the perfect style to getting your artwork ready to publish.
Read on, we’ve got eight easy steps that’ll clear this up for you in no time!
Key Takeaways
- Pick an illustration style that fits your audience age group and your story’s emotion. Simple cartoons are great for younger kids and digital formats.
- Choose a medium you’re comfortable using—traditional pencils, watercolors, or digital tools like Procreate and Photoshop.
- Do quick thumbnail sketches to plan page layouts clearly before drawing detailed artwork.
- Give your characters distinct personality traits and draw them from different angles to create consistency throughout your book.
- Select colors that suit your book’s mood and readers’ age—bold primary colors appeal to toddlers, while pastels and subtle tones better fit older children.
- Accept revisions calmly and communicate clearly with authors and publishers—it’s normal to make some adjustments.
- Double-check your illustrations to ensure visual consistency and continuity across all pages.
- Format your final artwork correctly (size, resolution, format) and keep backups, making the publishing process smoother and safer.

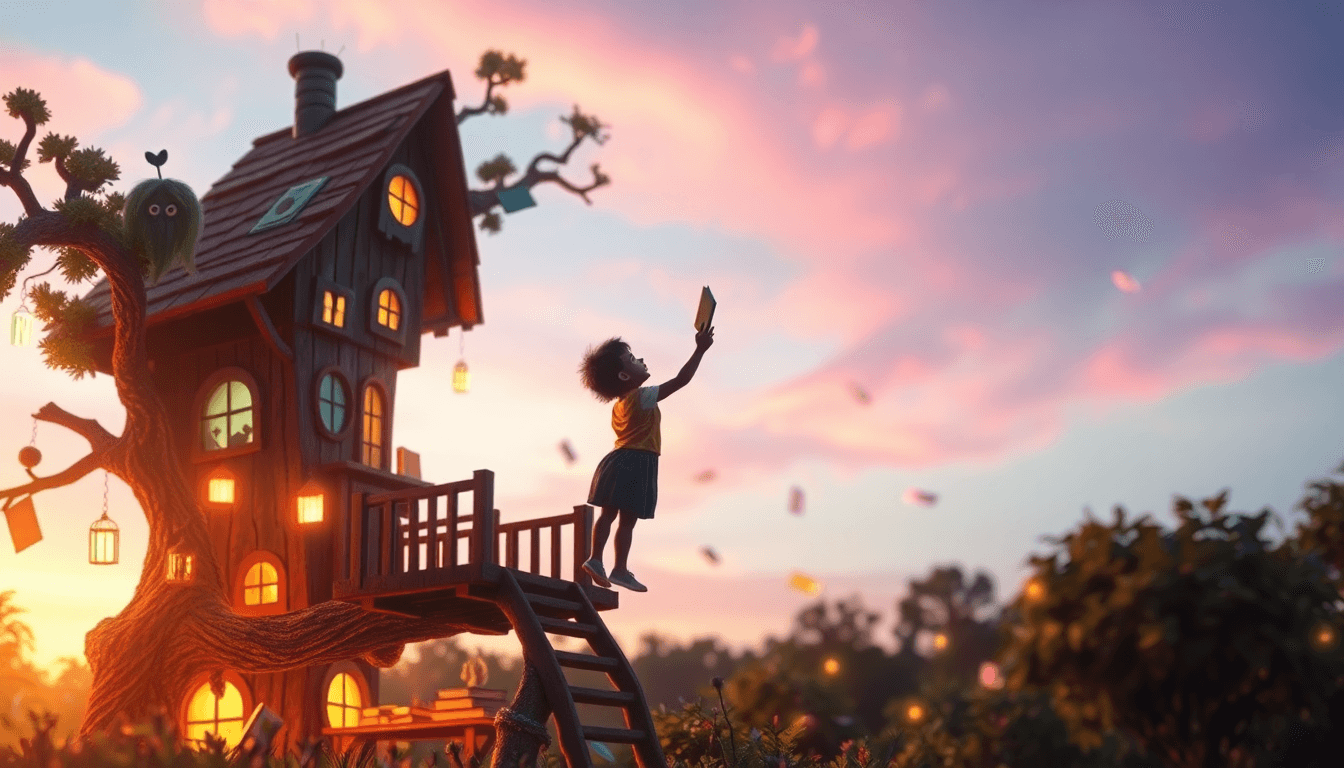
Step 1: Choose an Illustration Style for Your Children’s Book
The first step in illustrating your children’s book is picking a style that matches the vibe and age range you’re targeting.
There’s no “one-size-fits-all” here—styles can range from whimsical illustrations reminiscent of classic fairytales to playful, simple digital styles perfect for toddlers.
Think about popular illustrators you love, like the dreamy watercolor worlds of Anita Jeram (“Guess How Much I Love You”) or the quirky, bright colors of Christian Robinson (“Last Stop on Market Street”), and what makes their styles stand apart.
Also, considering demand for dynamic illustrations, especially for e-books which saw a rise in popularity last year, you may want to lean into styles that work in digital formats without losing their charm.
In fact, according to a recent report from the Rocky Mountain College of Art + Design Blog, children’s book print sales dropped 6% between 2022 and 2023, while e-book sales requiring dynamic illustrations grew significantly.
This means exploring digital-friendly styles, such as cartoon-style vector art easily created in Adobe Illustrator, might be particularly helpful.
Take time to explore platforms like Pinterest, where thousands of creative ideas can spark inspiration and help you pinpoint your unique style.
Step 2: Pick the Best Medium for Your Illustrations
After you’ve settled on your illustration style, it’s smart to decide what medium you’re going to use to make your sketches come alive.
Are you a pencil-and-paper kind of person, gravitating towards watercolors and colored pencils?
Or maybe you’re leaning towards digital tools like Procreate or Adobe Photoshop, which offer flexibility and easier corrections (trust me, the Undo button will become your best friend!).
For instance, Bologna Children’s Book Fair reported receiving a record-breaking 21,870 artworks from 4,374 artists worldwide for their 2025 exhibition—with digital and mixed-media works increasingly popular because of their adaptability for digital publishing.
If you’re interested in combining traditional methods (such as scanned pencil sketches) with digital enhancements, mixing media could be a practical option.
The key is to try a few approaches and see what clicks with your workflow.
Also, think ahead about how your illustrations will be formatted in your final published book, especially since there’s a clear trend towards e-books for children.
Picking something visually striking yet flexible for both print and e-book versions can really help maximize your impact.
Step 3: Sketch Your Illustration Layouts (Thumbnailing)
Thumbnailing is a step you shouldn’t skip—think of these sketches as the rough blueprint of your book.
Here’s where you quickly scribble down your ideas and storyboard your pages without worrying about mistakes or details.
Grab some cheap paper or a sketchbook, and try to loosely sketch your book’s sequence of images, page by page, making sure they work comfortably with the text.
A useful trick is to draw thumbnails at a tiny scale (just an inch or two)—it’s easier to see if the overall composition flows naturally without getting distracted by details at this stage.
Here’s an extra tip: try thumbnailing several layout ideas for critical scenes or pages.
You might find that your first layout isn’t necessarily the best one.
Experiment with positioning characters, perspectives, and visual emphasis—think of it like staging a mini play scene in your head.
Remember, your goal here isn’t perfection; you’re just figuring out what works visually so the illustrations clearly tell your story.

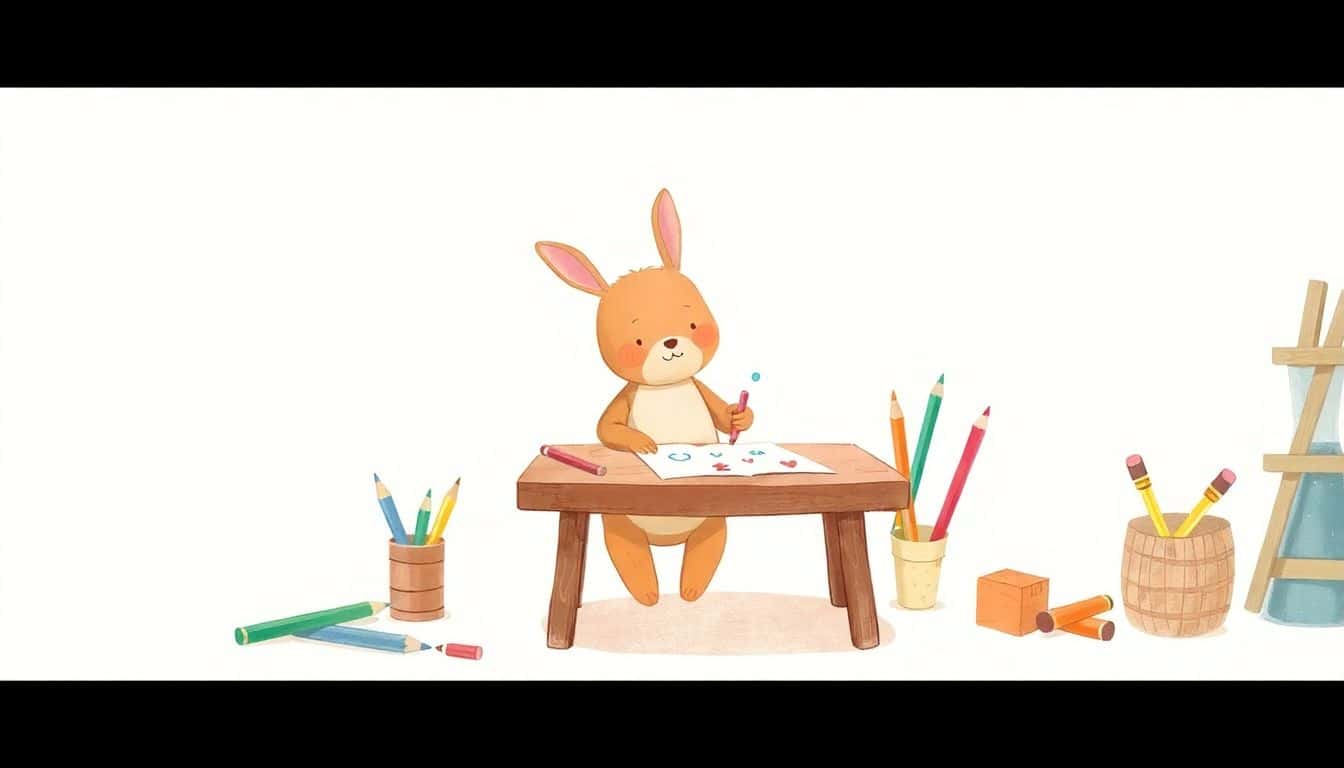
Step 4: Create and Develop Your Book Characters
Creating relatable characters for your children’s book can be a little tricky, but it doesn’t have to feel overwhelming.
Start by thinking about your readers’ age group—toddlers might love characters with exaggerated features and cheerful expressions, while slightly older kids might relate better to nuanced emotions or quirky details.
A great trick for bringing characters to life is to write down a few personality traits, like “adventurous,” “goofy,” or “shy,” which will help keep your illustrations consistent and distinct as you draw them throughout the story.
Another handy tip is to sketch your characters from different angles and in different poses (laughing, curious, sleepy), which provides visual continuity through your book.
Consider looking at the characters from classic children’s literature or modern best-sellers: the curious and lovable character design of Mo Willems’s “Elephant & Piggie” series is a fantastic example.
Don’t forget—characters don’t always have to be humans. Animal characters, talking fruits, or even friendly robots can seriously charm young readers if executed well!
Step 5: Select Colors That Match Your Story and Audience
Wondering how important color choice is in your children’s book illustrations? Very!
Colors set the tone and mood for the entire story, so you’ll want to pick shades that match your narrative and audience vibe.
Toddlers respond best to bold primary colors and high-contrast palettes, such as bright reds, blues, and yellows.
Think of classics like “The Very Hungry Caterpillar” by Eric Carle—bright and playful hues attract younger eyes instantly.
Older kids might appreciate more sophisticated palettes, like subtle pastels or harmonious earthy tones, which help tell deeper stories or emotional journeys.
For example, “The Day the Crayons Quit” by Oliver Jeffers uses clever, muted tones to complement witty storytelling—something older kids enjoy.
Check out trending palettes on color inspiration platforms like Coolors.co to find something fresh, and always remember the psychological effects of colors (such as blue calming or red energizing) to help guide emotions within your illustrations.
Step 6: Make Changes Based on Author and Publisher Feedback
No illustrator ever gets everything exactly right the first time—you’ll always have tweaks based on feedback from authors or publishers.
Brace yourself; revisions are normal, expected, and part of the creative process.
When you receive notes, don’t rush into revisions. Take a deep breath, read feedback carefully, and maybe even sleep on it.
Prioritize the requested changes and tackle one at a time. Be sure to ask for clarification if you’re confused about any comment.
If you strongly disagree with a suggestion, communicate calmly and professionally, explaining your reasoning clearly.
Remember, it’s a team effort between you, the author, and the publisher—and they really do just want the best for your book.
The Bologna Children’s Book Fair in 2025 attracted 4,374 illustrators submitting over 21,870 artworks (Publishing Perspectives)—competition is huge, and successful artists learn how to balance their vision with feedback gracefully.
Step 7: Double-Check for Illustration Consistency Across Pages
I can’t stress enough how important consistency is for children’s book illustrations.
Characters and scenes need to feel connected visually from the first to the very last page to keep readers immersed in the world you’re building.
To help with consistency, create a reference sheet (often called a model sheet) for your main characters showing their expressions, proportions, and colors.
This reference makes it easy to double-check if the eyes, clothing details, or hairstyle stays the same across the book.
Also, pay attention to backgrounds and settings, making sure they’re created in a similar style from cover to cover—watercolor textures on one spread and vector shapes on the next can be very distracting.
Check key details such as lighting, colors, shapes, and perspectives to ensure they flow naturally throughout your story.
And here’s a pro illustrator tip: If you’re unsure, flip through all illustrations quickly, almost like you’re flipping through an animation sequence—this highlights visual inconsistencies rapidly.
Step 8: Finalize and Prepare Your Illustrations for Publishing
Your illustrations are finally done—but wait, you’re not finished just yet!
You need to make sure your files are properly formatted for print or digital purposes.
Double-check the publisher’s guidelines for file sizes, formats, resolution (normally a minimum of 300 DPI for print), and color profiles (CMYK for printing, RGB for digital).
Labels matter—name each illustration clearly to avoid any mix-ups, something like “Page_03_ForestScene_Final”.
Make sure you include a message or document explaining corrections you’ve made from earlier feedback for easy reference by publishers.
Also, always keep backup copies—digital illustrations without backups are scary business, trust me.
And last but not least, know your publishing options: self-publishing can be tempting (and quick), but always research the pros and cons of self-publishing on Amazon before deciding what route suits your needs best.
Speaking of publishing, if you’re thinking about taking it to the next level and turning your artwork into something interactive and fun, consider checking out this guide on how to create an interactive ebook for free, which offers practical tips tailored specifically for illustrators like yourself.
And if you’ve ever wondered about making it big in the kids’ literature industry as an author, illustrator, or both, here are actionable tips on how to become a children’s book author, covering everything from ideation to publishing.
Lastly, to combine your skills more entrepreneurially, check out this useful advice on publishing your own coloring book—it’s an exciting niche, particularly popular in digital formats these days.
FAQs
Popular styles include whimsical cartoons, realistic watercolor paintings, minimalist line drawings, and digital fantasy art. The optimal style matches your story’s theme, the target audience age group, and sets the book’s overall tone effectively.
Select colors based on your book’s theme, mood, and intended reader age group. Bright, cheerful palettes appeal to younger readers, whereas subtle or softer colors usually resonate more effectively with older kids or calm storylines.
Strong, well-defined characters create emotional connections with young readers. Recognizable traits and clear visual consistency across pages help maintain children’s engagement and make the storytelling experience enjoyable and memorable.
Double-check consistency such as character appearances, color schemes, and background details across pages. Also, verify technical specs like image resolution, printing dimensions, and formatting requirements set by your publisher for a smooth production process.