Table of Contents
Ever open your drafts and think, “Why does this look like it belongs to a completely different creator?” Yeah, same. In my experience, most consistency problems aren’t about talent—they’re about not having a clear style guide to fall back on.
I built my first creator brand style guide the “messy” way: I copied what I liked from my own posts, wrote down the rules I kept breaking, and turned it into a document I could actually use while making content. The result? Faster decisions, fewer last-minute panics, and a feed that looks like it belongs to one person.
If you want that same consistency, I’ll walk you through a simple, creator-friendly style guide you can start today. No fancy design skills required—just clear rules, examples, and a few measurements you can repeat.
Key Takeaways
- Build your creator brand style guide around real decisions: identity, color palette (with HEX codes), typography (with a scale), logo rules (with spacing/clear space), imagery style, and tone of voice.
- Include templates and “do/don’t” examples so you’re not guessing every time you publish.
- Write guidelines that are specific enough to be repeatable (sizes, spacing, caption formats, thumbnail layout rules), but flexible enough to let you evolve.
- Revisit your guide every 6–12 months and update it based on what’s actually performing—not what you “think” should work.
- Use a simple review cadence and a decision log so your style guide improves over time instead of staying stuck.
- Share your guide with collaborators so everyone can match your look and sound in joint projects.

1. How to Create a Creator Brand Style Guide (Step-by-Step)
Let me make this practical. Your style guide should answer one question: “If I’m making content today, what do I do?” Not “What does branding mean?”
Here’s the exact structure I use when I’m building (or rebuilding) a creator brand guide. You can copy it into Google Docs and fill it in as you go.
Define Your Brand’s Identity (So your visuals have a reason)
Start with three things: mission, vision, and core values. Keep them short—like, copy-and-paste short.
Mission (1 sentence): What do you create and who is it for?
Vision (1 sentence): What do you want to change long-term?
Core values (3–5 bullets): The “rules” you won’t break.
In my experience, this is where most guides get too vague. Instead of “authenticity,” write what authenticity looks like. Does it mean “no over-edited photos”? “Say the hard parts out loud”? “Use real examples from your own life”?
Mini fill-in example (niche: meal prep):
- Mission: Help busy people eat better without spending hours cooking.
- Vision: Make healthy food feel doable, not intimidating.
- Values: Simple steps, honest results, budget-friendly, no shame language.
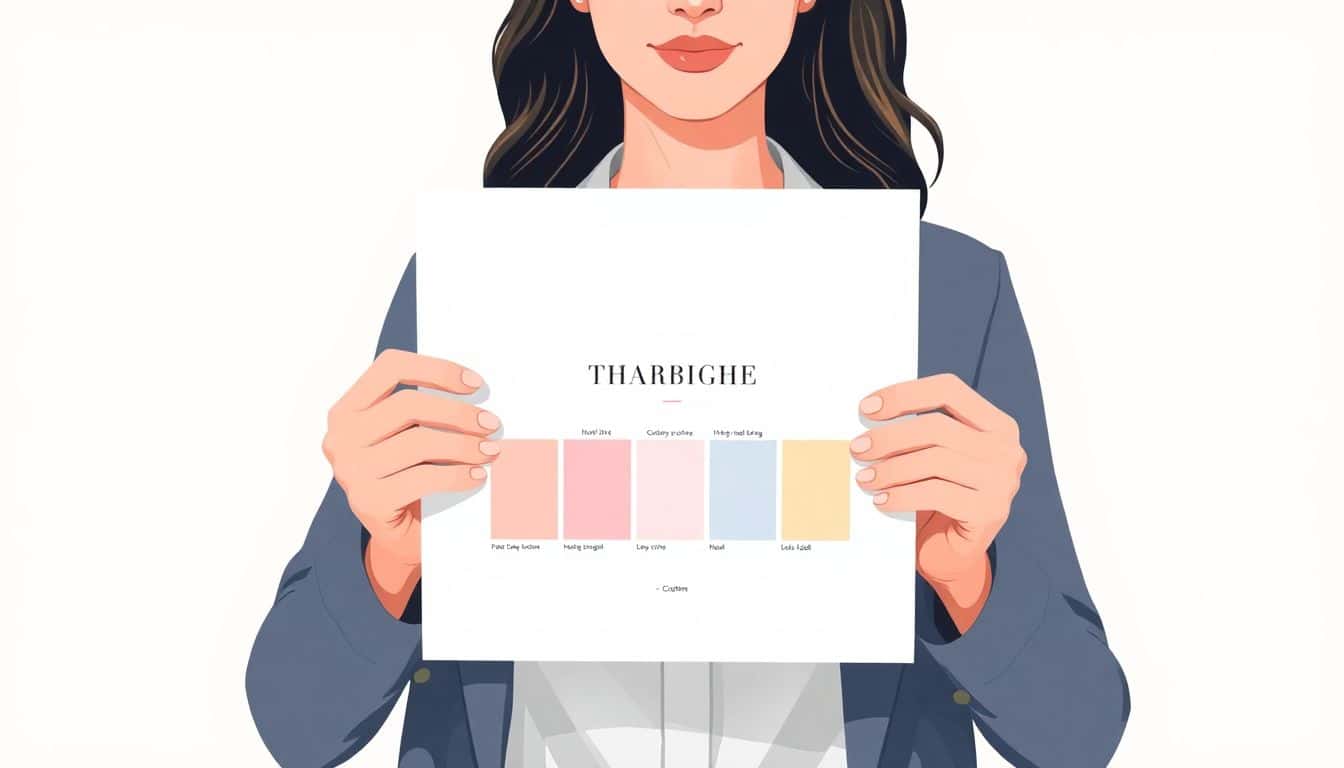
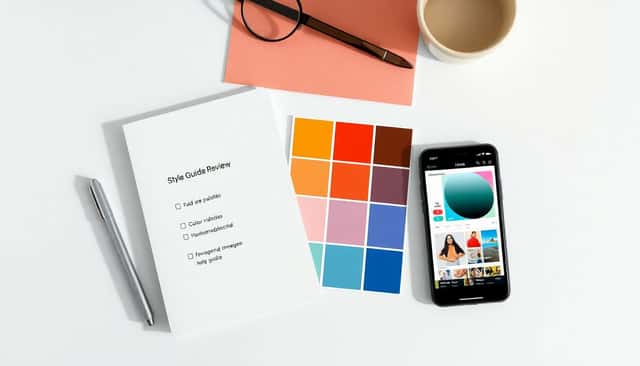
Choose Your Color Palette (Use HEX codes, not vibes)
Pick 3–4 colors, but don’t just pick colors—define how they’re used.
When I’m building a palette, I label them like this:
- Primary: Used for buttons, key headings, and “main character” elements.
- Secondary: Used for backgrounds, accents, and secondary highlights.
- Accent: Used sparingly for emphasis (like a callout box).
- Neutrals: Background + text support (white/cream + dark gray).
Example palette (copy this format):
- Primary: #2E7DFF
- Secondary: #EAF2FF
- Accent: #FFB020
- Text: #1F2937
- Background: #FFFFFF
Use tools like Adobe Color or Coolors to generate options, then lock them in.
Do / Don’t for colors:
- Do: Use the primary color for the same purpose every time (like title bars).
- Do: Keep text contrast readable (dark text on light backgrounds, not “pretty gray on gray”).
- Don’t: Change colors per post because you found a new “cool” gradient.
- Don’t: Add more than one accent color unless it’s for a specific series.
Set Fonts and Typography Guidelines (Create a real scale)
Pick 1–2 fonts, but specify the rules. Otherwise you’ll end up with five different sizes and it’ll look random.
Write your typography like a simple scale:
- H1 (main title): 40–48px, bold, line-height 1.05
- H2 (section title): 28–32px, semi-bold
- Body: 16–18px, regular
- Captions: 13–14px, medium
- CTA text: 16–18px, bold
Example rules I actually use:
- Headings use the bold font weight.
- Captions never use all caps (unless it’s a signature style you love).
- Line length stays short for readability (especially in thumbnails).
If you’re using Canva, I recommend creating a “Brand Kit” so your fonts/colors are available as you design.
Logo Usage and Variations (Measure it so it can’t drift)
Logo rules are where consistency quietly breaks. People resize logos differently, crop them weirdly, or place them too close to edges.
Add these sections to your guide:
- Logo files: Full color, white version, and transparent background.
- Clear space: “Keep empty space around the logo equal to the width of the letter ‘A’ in the mark.” (Or a simple measurement like 20px on social graphics.)
- Minimum size: “Don’t use smaller than 200px wide for Instagram posts” (or your platform’s typical export size).
- Placement: Top-left for thumbnails, bottom-right for carousels, centered for story covers.
- Background rules: Use white logo on dark backgrounds, full color on light backgrounds.
Do / Don’t:
- Do: Keep logo placement consistent across templates.
- Don’t: Stretch the logo to fit text.
- Don’t: Add shadows unless your whole brand uses them.
Visual Elements and Imagery Style (Make it repeatable)
Describe your imagery like you’re giving instructions to a friend.
Include:
- Lighting: bright + airy / warm + cozy / moody + dramatic
- Composition: face-forward / top-down / hands + tools / negative space
- Framing: close-up vs wide shots (and where the subject sits in the frame)
- Backgrounds: clean studio, textured walls, outdoor scenery
- Editing: saturation level, contrast, and whether you use grain
Filters / color grading: Instead of “use a consistent filter,” write something measurable.
- Example: “Warm highlights, slightly reduced saturation (-10% to -15%), soft contrast, skin tones stay natural.”
- Example: “Never use heavy blur backgrounds—keep depth-of-field subtle.”
Also, define the content types you use. For instance, if you’re a fashion creator, your guide should say whether you prefer:
- Flat lays for product shots
- Candid outfit photos
- Mirror selfies (and what angle you like)
- Close-ups for textures
Establish Your Tone of Voice (Write examples, not just adjectives)
“Friendly” is not a tone of voice. It’s a feeling.
Write a short “voice sheet” with rules and samples:
- Sentence style: short sentences + occasional longer ones
- Word choice: plain language, not corporate
- Humor level: low / medium / spicy
- Emojis: use 0–2 max per caption (or never)
- CTA style: ask a question at the end, not “link in bio” every time
Example voice sample (meant to be copyable):
- “If you’re stuck, start with the smallest step. Seriously—one change today beats a perfect plan next week.”
- “Here’s what I’d do if I were starting over: [step]. Then I’d [step].”
Do / Don’t:
- Do: Use “I” when sharing personal lessons (“I noticed…” “I tried…”).
- Don’t: Sound like a robot brand page.
- Don’t: Switch between formal and casual in the same post series.
Provide Examples and Templates (This is where your guide becomes useful)
Here’s the part I wish more guides included. Templates. Not “a template exists,” but what it should contain.
Thumbnail template (YouTube / Shorts / podcast clips):
- Canvas size: 1280 × 720
- Safe area: keep text within 80px of the edges
- Logo: bottom-right, width 200–260px
- Title text: 1–4 words, bold, high contrast
- Background: one of your 3 approved background styles
- Accent: use accent color for only one element (arrow, underline, or highlight)
Instagram carousel layout rules:
- Slide 1: Hook + topic (primary color bar)
- Slides 2–5: 1 idea per slide, lots of whitespace
- Slide 6: “Do this next” step list (accent color callouts)
- Footer: consistent handle placement (bottom-left)
Caption formatting template:
- Line 1: hook question
- Line 2–3: short explanation
- Line 4: “Try this:” then 3 bullets
- End: one engagement question
When I made my own templates, I noticed something: I stopped rewriting the same intro three different ways. My content got more consistent because the structure did the heavy lifting.
And yes, you can keep your style guide simple. But if you’re going to make it light, at least include the “hard rules” (colors with HEX codes, font scale, logo placement, tone sample, and 1–2 templates you use constantly).
For context on why consistency matters in creator growth, the creator economy has been projected to keep expanding—one estimate puts it at $528 billion by 2030. More creators means more competition for attention, so your brand needs to be recognizable fast.
5. How to Maintain Consistency Over Time
Consistency doesn’t happen once. It happens because you keep your guide alive.
Here’s what I do to keep my style guide from turning into a forgotten PDF:
- Schedule a review every 6–12 months: not “when you remember,” but on a calendar.
- Update only what’s proven: if a trend isn’t helping your performance, don’t rewrite your guide for it.
- Create a “new ideas” section: collect experiments without changing your core rules.
- Lock your templates: if you change the thumbnail layout every week, you’ll never know what worked.
- Get feedback from people who actually make content: collaborators will spot inconsistent spacing and weird font sizes fast.
Simple decision log (copy/paste):
- Date: 2026-04-10
- Change: Increase title font size from 56px to 64px
- Reason: CTR dropped on small text thumbnails
- Where it applies: YouTube thumbnails + Shorts covers
- Metrics to watch: CTR, average view duration
6. How to Use Your Style Guide for Content Creation
Your style guide shouldn’t sit there looking pretty. It should reduce friction.
When I’m creating, I use a quick pre-publish checklist. It takes me 3–5 minutes, and it catches mistakes before they go live.
Pre-publish checklist (works for most creators):
- Colors: Did I use the approved palette (and not a random new gradient)?
- Typography: Are headings/body/captions using the right scale?
- Logo: Correct placement + clear space + correct background version?
- Imagery: Does it match the editing style (warm/cool, contrast, saturation)?
- Tone: Does the caption sound like “me,” or like a generic brand?
- Template: Did I follow the carousel/thumbnail structure?
Also, don’t underestimate how much faster you’ll get once your templates are real. I used to spend time “rebuilding” layouts. Now I start from a known structure and only swap the content.
7. How to Handle Rebranding or Refreshing Your Style
Rebranding can be smart. But it can also be risky if you change everything at once. I’ve seen creators lose momentum because their audience couldn’t instantly recognize them.
If you’re refreshing, do it in a controlled way:
- Pick one “hero change”: new palette, new font pair, or a new logo lockup. Not all three.
- Update your style guide immediately: so new posts follow the new rules from day one.
- Explain the change: post a short video or carousel that says what’s changing and why.
- Roll out gradually: keep your old template structure for a few weeks while you swap visuals.
- Keep a recognition anchor: same logo placement, same tone of voice, or same thumbnail text style.
Authenticity rule: if your new look doesn’t match your actual values and content, it won’t feel right—and your audience will notice.
8. How to Incorporate Trends Without Losing Your Authenticity
Trends can help. But they’re also loud. The trick is to borrow the trend while keeping your brand’s “signature.”
Here’s how I decide if a trend is worth using:
- Does it fit your palette or imagery style? If the trend requires a completely different color world, skip it.
- Can you keep your tone? If it forces you into a personality you don’t have, it won’t last.
- Can you use it inside your templates? If you can’t, it’ll derail your consistency.
Trend usage rule: think of trends like spices. Use them in one element (a sound, a layout pattern, a background effect), not the whole meal.
It also helps to track which trends match your niche values—because your audience can feel when something is “for them” versus “for the algorithm.”
9. How to Collaborate with Others Using Your Style Guide
Collaborations are where consistency usually breaks—because multiple people bring multiple styles.
When I share my guide with a collaborator, I include two things:
- The full style guide: colors, fonts, imagery rules, tone samples, logo rules.
- A brand kit summary: a short page with the “must-follow” items.
Brand kit summary (what to include):
- Palette with HEX codes
- Font pair + typography scale
- Logo placement rules
- Thumbnail/carousel template links or screenshots
- Caption tone examples (2–3 samples)
- Do/don’t list (the stuff that breaks the brand fast)
Use tools like Canva or Google Drive to share assets and templates. If you can, label folders clearly: “Thumbnails,” “Carousels,” “Logo files,” “Cover images.”
10. How to Use Data to Improve Your Style Guide
Here’s the part I love: your style guide shouldn’t be based on guesswork. It should be based on what your audience actually responds to.
Track metrics based on what you’re changing. Don’t mix them up.
What to measure (quick map):
- Thumbnails / covers: CTR (click-through rate), saves from the post, and first 3–5 seconds retention (for video)
- Video hooks: average view duration + drop-off point
- Carousels: completion rate, saves, and shares
- Captions / messaging: comments that mention the topic (not just “nice!”)
- Brand consistency signals: are people tagging you, sharing your work, or recognizing your series?
Review cadence I recommend:
- Weekly: scan top 5 posts and bottom 5 posts (10 minutes)
- Monthly: decide 1–2 style tweaks max (so you don’t thrash your brand)
- Every 6–12 months: update your guide and archive old versions
Then log decisions like: “We changed title font weight” or “We changed caption structure.” That way, when something improves, you know what to repeat.
11. Final Tips for Building a Successful Creator Brand Style Guide
- Be specific: “Use accent color” is too vague. “Use accent color for one element in the top-right” is actionable.
- Keep it short enough to use: if it’s 60 pages, you won’t open it. Aim for a guide you can skim in 2 minutes.
- Make your templates your “source of truth”: if the template says one thing and the guide says another, the template wins.
- Leave room to grow: create a “future experiments” section so you can test without breaking your core look.
- Don’t copy other creators blindly: borrow structure, not identity. Your audience follows you for you.
- Most importantly—use your own voice: your style guide should support your personality, not replace it.
FAQs
Start with your core identity: mission, values, and who you’re creating for. Once you know that, it’s way easier to make consistent choices about visuals, messaging, and tone.
Choose colors, fonts, and logo usage rules that match your personality and your audience’s expectations. Then lock them into repeatable guidelines (like HEX codes, a font scale, and logo placement rules) so they don’t drift.
Document the visual and tonal rules clearly, then share your guide (or a brand kit summary) with anyone who creates content for you. The biggest consistency boost comes from using templates for your most common formats.
It keeps your visuals and messaging cohesive, helps your audience recognize you faster, and makes content creation easier—especially when you’re busy or collaborating with others.