Table of Contents
Creating your first audiobook can feel overwhelming—I get it, especially with all the recording gear and editing hoops to jump through. It might even make you wonder if it’s worth the hassle.
But stick around, because together we’ll simplify each step—from choosing the easiest recording method to distributing your audiobook online—in a way that’s practical, budget-friendly, and even enjoyable!
Ready? Let’s get started.
Key Takeaways
- Choose between self-recording for more personal storytelling or AI tools for non-fiction and educational audiobooks.
- Your basic recording set-up includes a decent USB microphone, quality headphones, a pop filter, a mic stand, and free software like Audacity.
- Create a quiet recording space easily by using things like blankets and carpets to reduce echo and background noise.
- Editing your audio for noise reduction, volume consistency, and removing mistakes is key to sounding professional.
- Make sure your audiobook meets ACX standards: MP3 format at 192kbps minimum, correct volume levels, and proper spacing at chapter starts/ends.
- Upload your audiobook through popular distribution platforms such as ACX (Audible), Findaway Voices (Spotify, Apple Books), and more for maximum reach.

Step 1: Choose Audiobook Production Method (Self-Recording vs AI)
If you’re planning to create an audiobook, the first big decision you’ll need to make is whether to record it yourself or use AI narration. Both options have their pros and cons, so let’s hash this out briefly.
If you’ve got some charisma, decent vocal clarity, and perhaps enjoy the idea of doing voiceovers yourself, self-recording can be the way to go. This gives your audiobook that authentic, personal touch listeners often prefer. For example, imagine Stephen King reading his own horror stories—the narration becomes uniquely personal and adds value because listeners enjoy hearing the author’s interpretation of characters and story tone.
But let’s get real—self-recording takes time, patience, and practice, especially when it comes to editing your narration and mastering audio. You’ll have to manage noise control, breath sounds, stumbles, and editing out mistakes. On top of that, audiobook quality requirements set by major distributors like ACX or Audible (by Amazon) can be a bit tricky. This option suits you best if you’re comfortable doing voice work and willing to invest in some simple recording gear or software.
The AI route, on the other hand, is attractive if you hate hearing your own voice or don’t have the recording environment or skills to deliver consistent quality. Yes, machine-generated voices have improved dramatically, sounding surprisingly human and natural nowadays. Platforms such as Amazon Polly or Google’s Text-to-Speech are popular choices to produce audiobook scripts quickly and affordably. However, there’s a catch: listeners might notice subtle robotic patterns, and many platforms like ACX still actively discourage or prohibit purely AI-generated narrations.
My advice: For fiction, memoir, or emotionally engaging non-fiction, lean toward self-recording to capture rich character voices and storytelling nuance. For informational non-fiction, technical or educational audiobooks, AI tools might suffice—as long as the platform you distribute with allows it.
Step 2: Gather the Tools for Recording Audiobooks
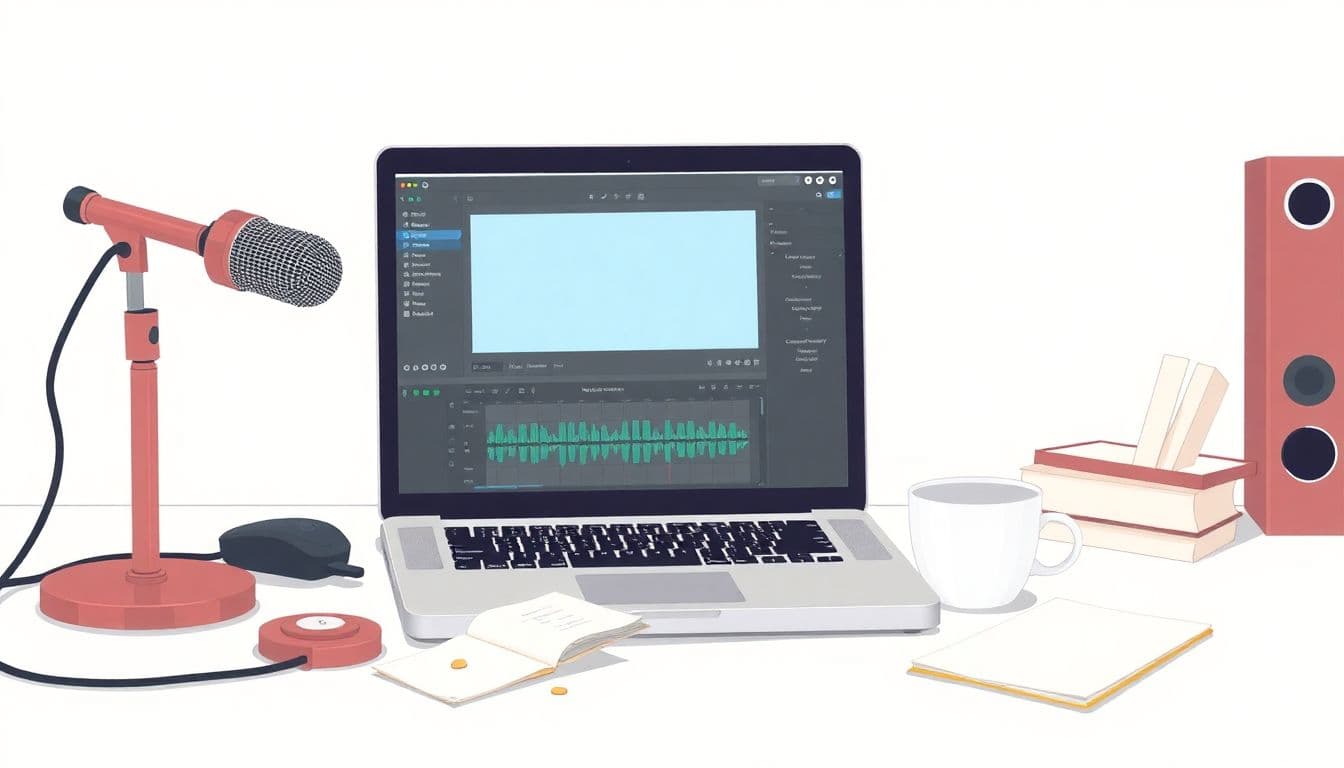
Great audio doesn’t start with $1,000 microphones or fancy studios, but you still need some basics. Here’s the shortlist of must-haves if you go DIY:
- Microphone: Start with a decent USB mic like Blue Yeti, Audio-Technica ATR2100x, or Rode NT-USB Mini. They range from around $70-150 and provide clear, crisp audio that’s perfect for audiobook quality.
- Headphones: Don’t skimp here. You want quality headphones that let you catch subtle background noises or vocal inconsistencies. I personally recommend closed-back headphones like Audio-Technica ATH-M20x or Sony MDR7506.
- Recording Software: Luckily, excellent recording tools don’t have to cost a dime. Audacity is an awesome free audio editor and recorder that’s user-friendly and lets you clean up audio effectively after recording.
- Pop Filter: This inexpensive piece of gear (around $10-20) is priceless—it helps reduce “plosive” sounds (those harsh P’s and B’s) that pop into the mic.
- Mic Stand or Boom Arm: Holding a microphone gets tiring and causes subtle vibrations (extra noise). A minor upgrade like an adjustable boom arm ensures your microphone remains steady and positioned optimally throughout your session.
A quick real-world example: If you’re turning your Kindle novel (by the way, here’s a helpful guide on how to make an audiobook) into audio format, investing less than $200 could be enough to give you a nice set-up, adequate for audiobook distribution and meeting ACX quality standards.
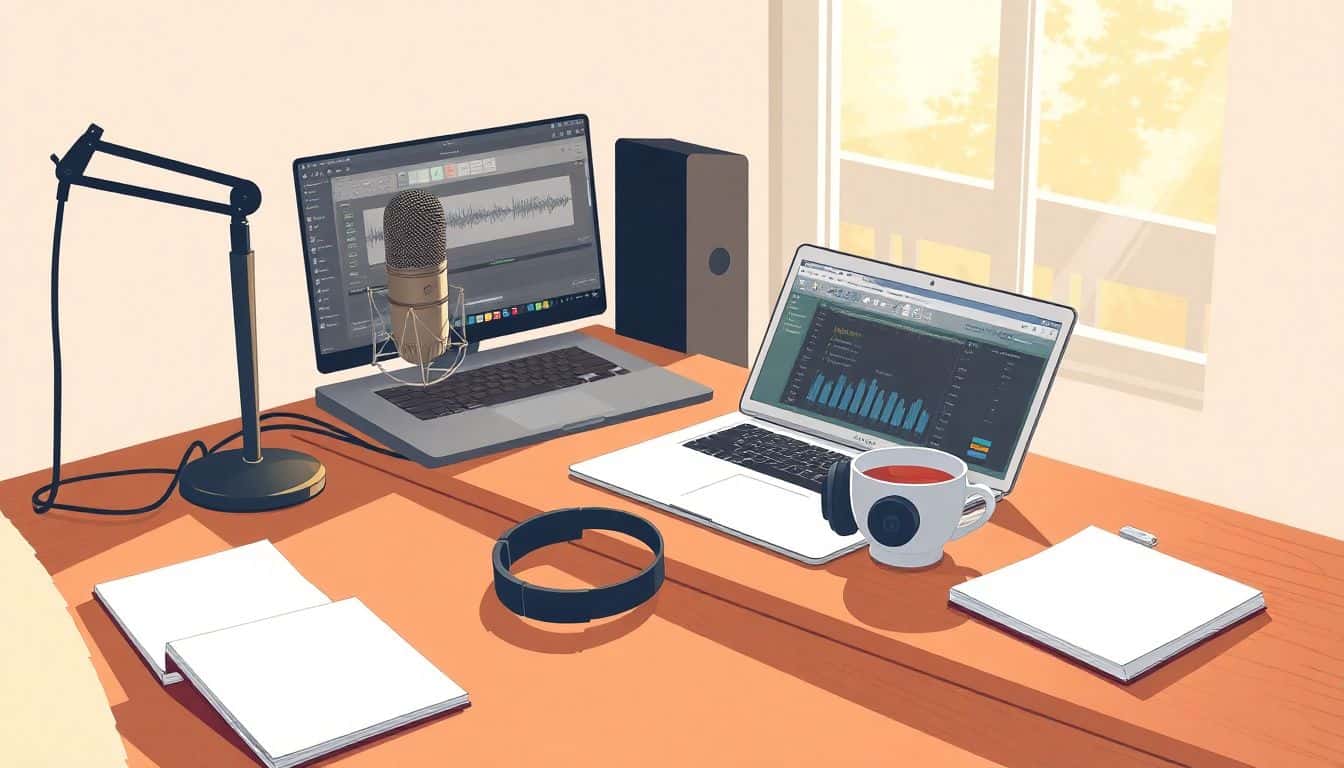
Step 3: Set Up Your Audiobook Recording Workspace
Let’s say you have your tools in hand; next comes giving your space some attention. Here’s how to make your recording space audiobook-friendly:
- Choose your space wisely: Quiet places, ideally away from windows, noisy street corners, loud neighbors, and air conditioning or heating units buzzing constantly. Sometimes even closets packed with clothes work wonders to dampen sound and echoes.
- Soft surfaces help: Concrete or empty rooms may produce unpleasant echoey vibes. You can fix this easily with low-budget tricks—add carpets, quilts, blankets, or acoustic foam panels. Hanging blankets behind and on either side of you drastically reduces echoes. Quick hack: literally recording with a blanket hung over your head and mic works amazingly (as silly as you might look!)
- Eliminate background noise early: Turn off your fridge temporarily (set a reminder so groceries don’t spoil!), silence your phone notifications, tell your family or roommates to respect your quiet time during recordings, and record short test segments to reveal any hidden noise distractions.
- Comfort matters: Set up your mic comfortably at mouth height so you’re not slouched or straining. Keep a glass of water nearby and consider standing to improve breath control and vocal clarity.
A real-life tip: Following simple recording techniques provided in how to write an ebook and make money, I learned a walk-in closet or small quiet room is ideal for many independent audiobook creators. With just some clothes or blankets hanging around to absorb the echoes, you’re giving yourself studio-level comfort without spending studio-level money.

Step 4: Record Your Audiobook Using Free or Affordable Software
So, you’ve got your space and gear set up—awesome. Now it’s actually time to hit record. The good news is you don’t have to spend big bucks on fancy programs to record your audiobook properly.
The go-to software many people start with is Audacity. It’s entirely free, open-source, and easy enough for beginners. You can plug in your USB mic, set your recording level to avoid “clipping” (too loud moments), and start narrating chapter by chapter. Always do a quick audio level check first by speaking naturally into the mic and checking to see if your waves are peaking around -12dB to -6dB, as this leaves enough space to edit without running into distortion.
If you’re on a Mac, you might also check out GarageBand—a super easy-to-use program included with any Mac computer. It records clear audio, lets you make simple edits, and exports right away in good quality.
Pro tip: Always record around 10 seconds of ambient room sound at the start or end of each chapter—it’s handy in the editing stage for noise reduction.
Step 5: Edit and Improve Your Audiobook Audio (Noise Reduction, Volume Levels)
After recording your chapters, it’s completely normal to end up with imperfect audio—you’ll probably have background hiss, mouth clicks, pops or even breathing sounds in your recordings. Fortunately, audio editing can clean this up quickly.
The first editing step is noise reduction. Highlight your 10-second ambient noise, click “Noise Reduction” under Audacity’s Effects menu, then apply that profile across your chapter. Instantly, your audio becomes cleaner—like magic.
You can also manually cut any cough, sneeze, or stumble with easy editing techniques. Simply highlight unwanted bits and delete them. Try crossfading cuts (fading audio slightly in and out around edits) to avoid harsh, awkward transitions.
The next important step: evening out your volume with compression. Compression reduces loud peaks in your audio, giving your audiobook a more consistent sound. Look for the “Compressor” effect in Audacity or GarageBand and apply gently—not overdoing it—or your audio might sound flat.
Finally, double-check volume levels after edits. ACX audiobook submission guidelines recommend files to measure around -23dB to -18dB RMS (average loudness), with peaks not exceeding -3dB.
Step 6: Check Your Audiobook Files to Match ACX Requirements
Platforms such as ACX (Audiobook Creation Exchange by Amazon) have strict audiobook submission requirements. To avoid rejection and having to fix everything later, take lessons learned from people who have successfully self-published their work as teachers on how to get a book published without an agent: prepare carefully first.
ACX guidelines for audiobooks mainly include proper file format (192kbps or higher MP3 files), accurate RMS volume, appropriate peak volumes, consistent background noise levels (below -60dB), and silence at the start and end of chapters (0.5 to 1 second at start, 1 to 5 seconds at end).
You can use handy (and free!) audio check tools like ACX Check (an Audacity plugin) to verify your MP3 audio meets pretty much every ACX standard, saving you headaches down the line—a simple lifesaver.
Step 7: Export Audiobook Files in Required Formats (MP3/WAV)
On exporting your lovingly crafted audiobook publicly, you need to ensure files are formatted right. Audiobook distribution platforms like ACX usually accept MP3 at a specific bitrate (minimum 192kbps) or WAV as an alternate method. MP3’s smaller file size typically makes it preferable.
In Audacity, exporting is simple: Click “File” → “Export” → Choose “Export as MP3,” set quality as 192kbps or higher, and make sure you select “Constant” bitrate mode. For WAV, choose “Export as WAV.”
Make sure filenames clearly indicate chapters for easy upload and organization, e.g., “Chapter_01_Title.mp3.”
Step 8: Create Audiobooks with AI Tools (Optional)
If recording an audiobook yourself honestly doesn’t appeal, AI tools could be an alternative method—but proceed carefully.
AI-generated narration by platforms like Amazon Polly, Google’s Text-to-Speech, or IBM Watson is quick, simple, and increasingly human-like. But distributors like ACX largely reject purely machine-generated audiobooks, so verify your chosen platform’s AI policies before fully investing in AI narration.
If you opt for AI because your audiobook is technical, non-fiction, or instructional, you could still consider recording intros, announcements, or formulations yourself to combine the clarity of AI and the personal feel of human voice.
Step 9: Distribute Your Audiobook Online (ACX, Spotify, Apple Books)
Distribution is where your audiobook actually meets listeners worldwide. The most well-known gateway is ACX, which feeds directly to Amazon’s Audible and Apple Books, providing a potentially huge audience.
You can alternatively publish directly through platforms like Findaway Voices, which distributes to around 40+ audiobook retailers (including Spotify, Kobo, Google Play Books), significantly expanding your reach.
Carefully compare these distribution methods: ACX remains popular commercially, but Findaway gives expanded reach and flexibility with different royalty models.
Real-life example: uploading through Findaway Voices allows your audiobook into Spotify’s catalogue, which has seen explosive audiobook listenership growth over the past year.
Step 10: Decide Between Royalty Share vs Pay Per Hour Model
It essentially comes down to this question: do you want to pay your audiobook narrator upfront or share royalties earned? If you self-record, you’re obviously getting around this, but if hiring narrators, these are your two main choices.
Royalty share (offered through ACX) means splitting the audiobook royalties 50/50 with your narrator for usually seven years. This works great if initial investment funds are tight but consider carefully since your future income is forever shared.
Pay-per-hour (or PFH) involves paying your narrator a fixed cost per completed hour of audio—usually ranging from $50 to even $400 or more an hour depending on narrator experience. This costs upfront, but keeps full royalty control for you, potentially more profitable long-term.
Step 11: Improve Audiobook Quality with Simple Recording Techniques and Tips
Quality might sound daunting—but good news: It doesn’t require expensive equipment or audio degrees.
Speak closer to the mic to boost vocal quality; this naturally reduces ambient noise and gives voices a warmer, fuller sound.
Place your mic off-center slightly rather than directly in front of your mouth to cut down popping P’s.
Record multiple shorter sessions instead of long marathons—fatigue impacts vocal quality and introduces frustrating editing issues.
Also, read slowly and naturally. Rushing messes the pace, clarity, and listener engagement.
If you’re narrating fictional stories, imagine vividly and put personality into your characters by experimenting with tones and speeds, just as you would when following good storytelling advice such as these creative horror story plot examples.
Practicing these simple tips consistently makes a huge difference—instantly elevating your audiobook from amateurish to professional-sounding without extra money or stress.
FAQs
If you prefer the genuine appeal of your voice and storytelling style, self-recording works best. AI narration provides a fast, cost-effective alternative but may lack natural speech intonation. Consider your audience expectations, budget, and availability before deciding.
A simple yet reliable setup includes a USB microphone, headphones, a computer, and free or affordable recording software like Audacity. It’s helpful to create a quiet space, using blankets or acoustic panels to prevent echo and background noise.
ACX requires MP3 files with consistent volume, low background noise, and specific bitrate settings. Check your audio using tools like ACX Check (in Audacity), adjust noise levels, and carefully follow ACX audio guidelines to pass quality control.
The Royalty Share splits profits evenly between author and narrator without upfront costs, suitable for smaller budgets. Pay Per Hour involves paying narrators upfront, resulting in full profit ownership for authors, ideal when anticipating high audiobook sales.