Table of Contents
Setting up a DIY audiobook home studio sounds simple until you actually try it. I’ve helped friends troubleshoot their first recordings, and the pattern is always the same: they pick a mic, hit record, and then wonder why the audio sounds “boxy,” hissy, or way too quiet. I get it—when you don’t have a dedicated studio, it’s easy to feel like you’re fighting your room more than your script.
Here’s what I did (and what I’d do again) to get clean, consistent audiobook-style narration without going broke. I’ll walk you through choosing a room, picking the right basics, setting up your recording distance and levels, and then editing in a way that doesn’t turn into a never-ending project. If you follow along, you should be able to go from “rough takes” to “ready for distribution” pretty quickly—especially if you measure what’s happening instead of guessing.
In this post, I cover how to: prep your space, select gear, optimize your recording environment, record with better consistency, monitor levels like a pro, and do practical post-production. I’ll also show a DIY sound booth approach that’s realistic for a normal home (not just for people with a spare room the size of a closet… or a warehouse). Let’s build your home studio.
Key Takeaways
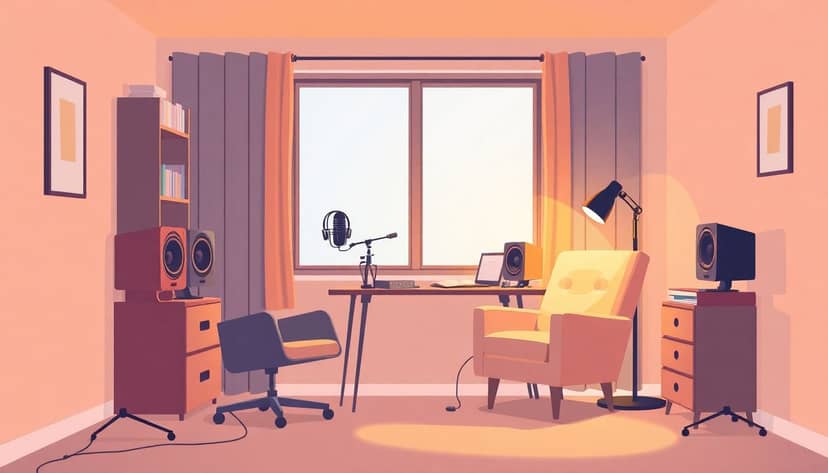
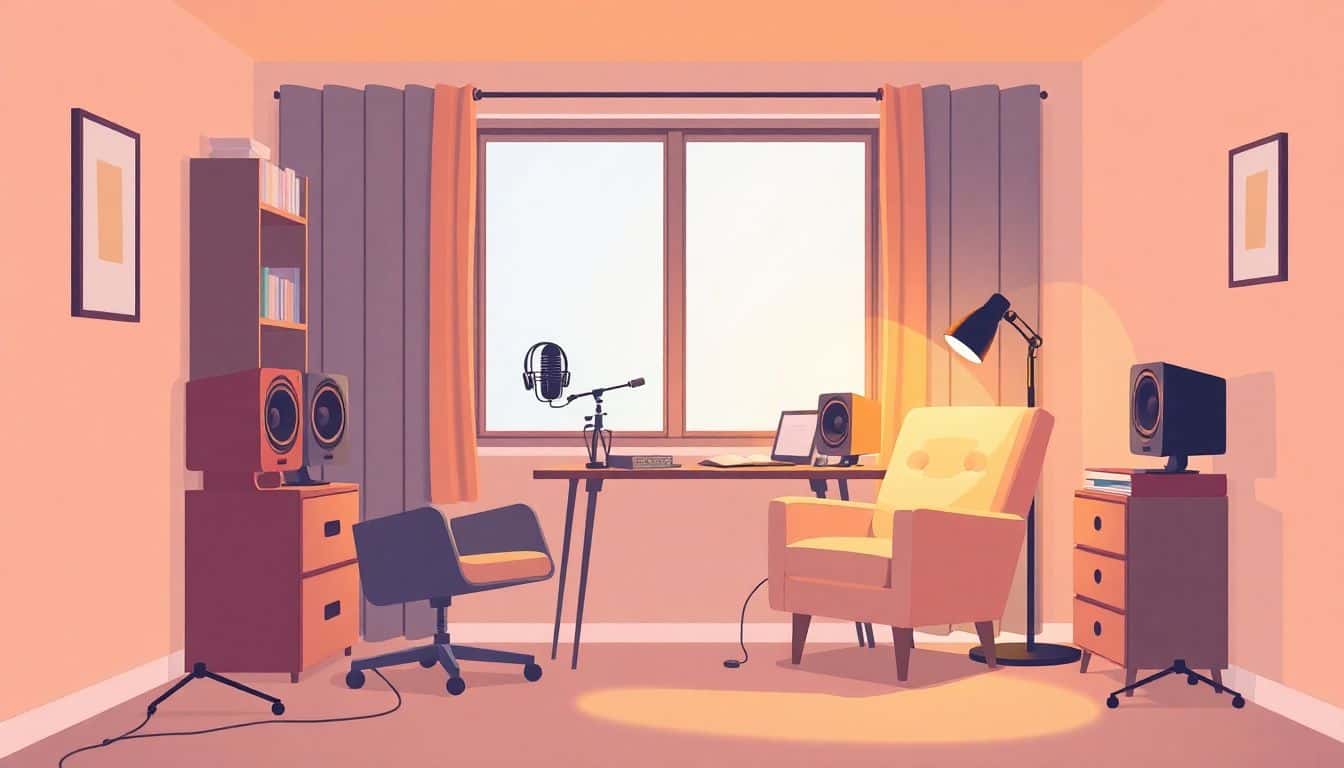
- Pick the right room first: aim for low traffic + low echo. Soft surfaces (curtains, rugs, bookshelves) help control reflections more than people expect.
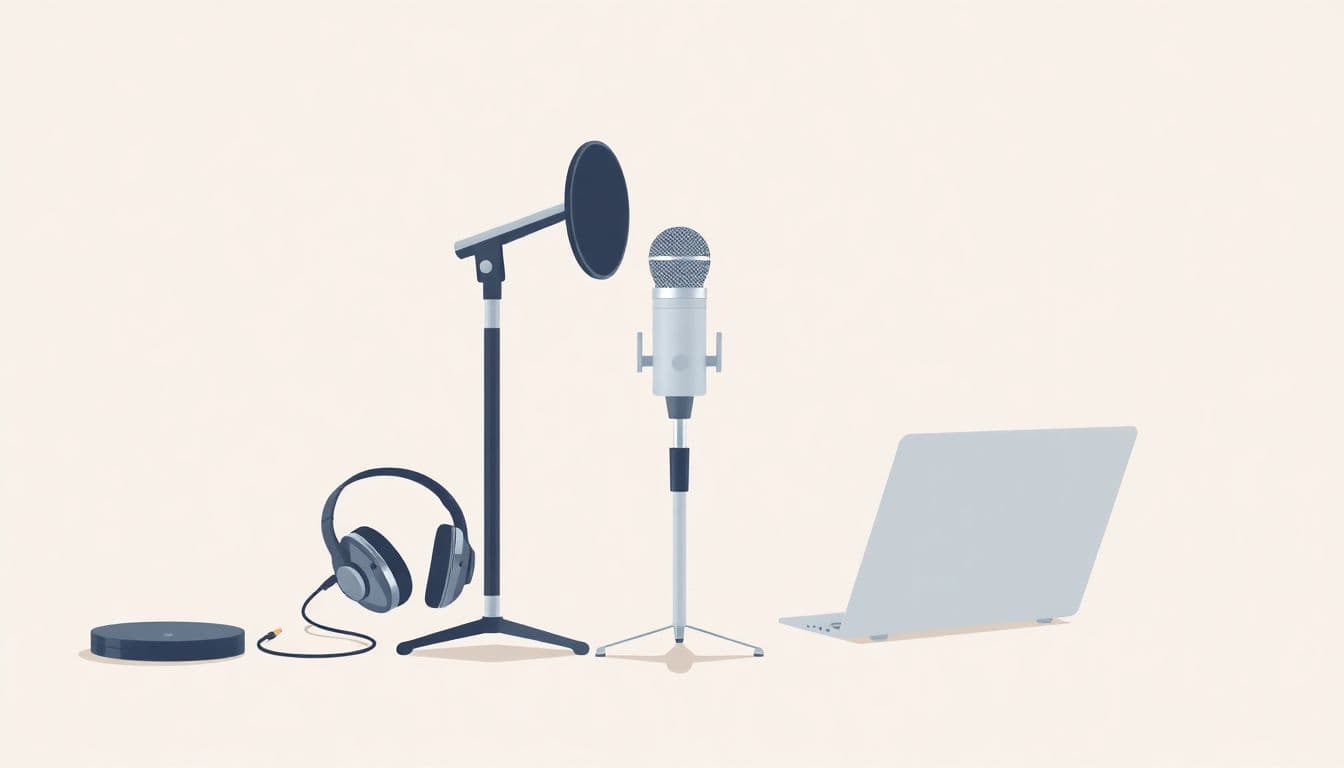
- Start with the basics: a solid condenser mic, closed-back headphones, a pop filter, and an audio interface if your mic needs phantom power.
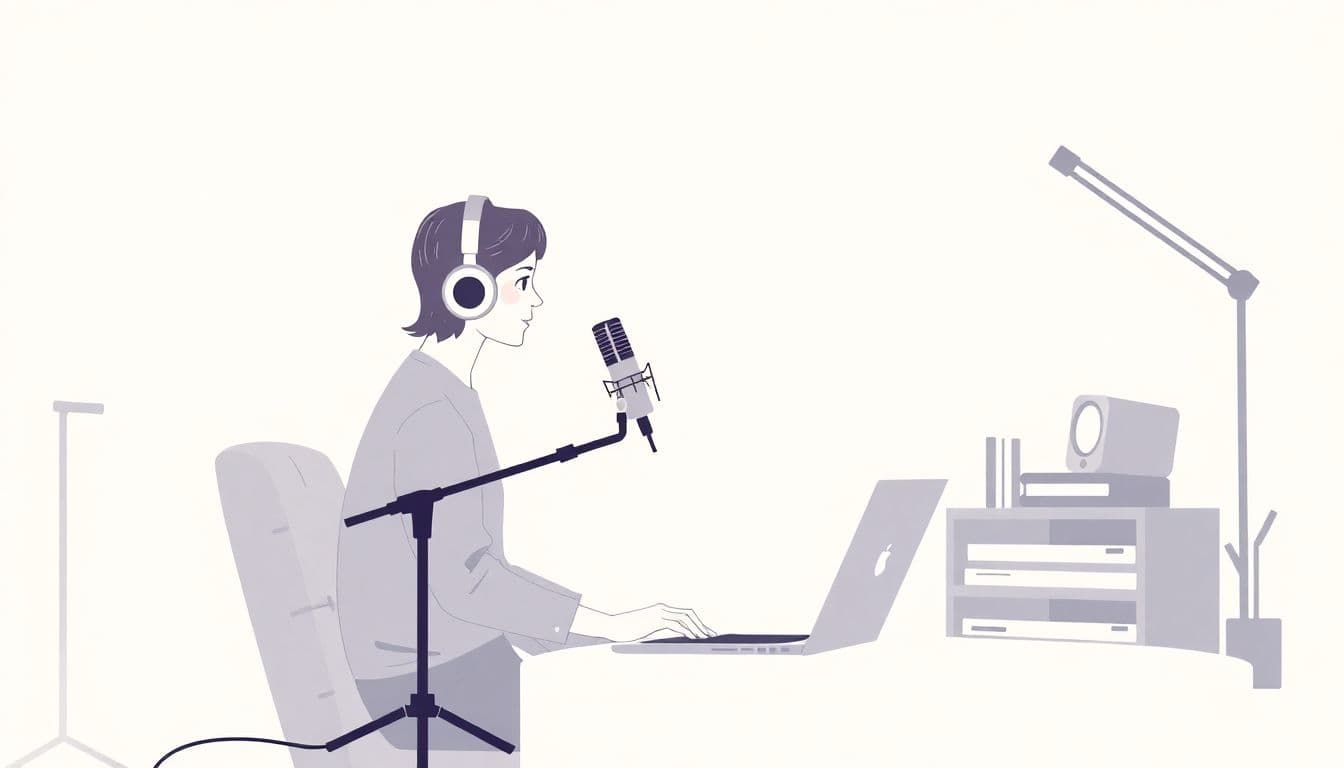
- Get consistent mic technique: 6–12 inches from your mouth, slightly off-axis, and the same posture every take. Consistency beats “perfect settings” every time.
- Record to WAV (lossless): you want headroom for editing. Keep peaks around -6 to -3 dB to avoid clipping.
- Control noise at the source: turn off fans, close windows, mute notifications, and—if possible—record on a separate device to reduce computer noise.
- Edit with a repeatable workflow: noise reduction profile, subtractive EQ, light compression, and loudness targets. Don’t just “normalize and hope.”
- DIY sound booth = reduce reflections: a semi-enclosed setup (blankets/curtains over a frame) can noticeably improve clarity and reduce the amount of cleanup you need.
Quick reality check: blankets and foam don’t “soundproof” like a professional booth. They mainly reduce reflections and some outside noise. If you want true soundproofing, you’re talking construction. For most home narrators, reflection control is the win.