Table of Contents
When I first looked into recording my own audiobook, I honestly thought it was going to be one of those “just buy a bunch of gear and hope for the best” situations. Spoiler: the costs can be pretty reasonable—if you’re realistic about what you need and what “good” actually means.
In my experience, the budget mainly comes down to three things: (1) how clean your room is (echo matters more than people think), (2) whether you edit yourself or pay someone, and (3) whether you’re aiming for a “publish-ready” sound or just “sounds fine to me.” If you’re comparing DIY vs hiring out, you’ll want to look at the full chain, not just the microphone price tag.
Below, I’ll break down the real DIY audiobook recording costs, what I consider the “minimum viable” setup, and a couple of worked budget examples so you can estimate your own project without guessing.
Key Takeaways
- You can start DIY for about $50–$200 if you already have a computer and you’re okay with entry-level audio quality. For a more reliable, “listeners won’t wince” setup, most people land around $200–$455 on basics like a mic, pop filter, headphones, and an audio interface.
- Editing/post-production is the big variable. If you hire professionals, it’s common to see rates around $100–$200+ per finished audio hour depending on what’s included (cleanup, noise reduction, editing passes, mastering). Doing it yourself can save thousands—if you’re willing to invest time.
- Your room is part of your “equipment.” If your space has noticeable echo or you hear HVAC/street noise, you’ll either need treatment or you’ll pay for it later in editing (and sometimes listeners will still notice).
- A practical planning rule I use: 2–3 hours of recording time per 1 finished hour for first-time narrators. If you’re doing multiple takes, mispronouncing names, or your voice needs warm-up, that ratio can creep up.
- DIY can absolutely beat studio pricing. Studios often bill by the hour, and post-production adds up fast. The trade-off is time + learning curve.
- Recording yourself is empowering—you control pacing, tone, and revisions. But it’s also work: mic technique, gain staging, and editing discipline are what separate “DIY” from “professional.”
- If you want DIY to stay cheap, build a budget that includes software (even if it’s free), optional acoustic treatment, and a “contingency” line for things you didn’t plan for.
- There are tons of tutorials and communities. Just be picky about which advice you follow—microphone placement and room treatment are usually the difference between “great” and “meh.”
What Are the Costs to Record an Audiobook Yourself?
The short answer? DIY audiobook recording costs can be surprisingly low at the start, then jump when you realize the “real work” is editing and room control.
Here’s how I think about it:
- Equipment (one-time-ish): microphone, headphones, interface (if needed), plus basic accessories.
- Software (often $0): recording + editing + cleanup tools.
- Time (the sneaky cost): learning mic technique, doing takes, and cleaning audio.
- Post-production (variable): you can do it yourself, hire it, or do a hybrid.
1) Starting DIY (basic)
If you already have a decent computer and you’re okay with “good enough,” you can get moving for $50–$200—usually by using free software (like Audacity or GarageBand) and entry-level audio gear.
2) A setup that’s actually reliable
For most first-time narrators, I’d plan for $200–$455 for the basics: a dynamic or condenser mic in the right category, a pop filter, closed-back headphones, and an audio interface (if you’re not using a USB mic).
3) Editing and post-production (where money can disappear)
When people say “editing costs $150 per hour,” they’re usually talking about editing per finished hour of audio (not the raw recording time). The rate depends on what they’re doing—cleanup only vs. multiple edit passes vs. mastering/leveling to audiobook specs.
In practice, editing services commonly quote something in the neighborhood of $100–$200+ per finished audio hour. For budgeting, a reasonable working range is:
- $100–$150 per finished hour for lighter cleanup
- $150–$250+ per finished hour for heavier editing and tighter deliverables
Worked example: 10-hour audiobook
Let’s say your final deliverable is 10 finished hours. If editing lands at $100–$200 per finished hour, that’s about $1,000–$2,000 for editing. If you also need heavier cleanup or mastering included, it can go higher.
4) Hiring professionals
If you’re not narrating yourself (or you want a pro voice), narration costs often get quoted per finished hour too. A common range you’ll see is $100–$400 per finished hour, depending on experience and project needs.
So a 10-hour professionally narrated audiobook might run:
- Narration only: $1,000–$4,000
- Narration + editing/mastering + any studio time: it can easily reach $4,000–$8,000+
If you want a broader look at professional publishing expenses, this overview can help: https://automateed.com/how-much-does-it-cost-to-write-a-book/.
Basic Equipment Needed and Their Prices
Here’s the gear list I recommend for DIY audiobook recording—no fluff, just what tends to matter once you’re actually recording.
Microphone
A solid mic is usually $100–$200 for a dependable “starter” option, with more expensive models above that. The key isn’t just price—it’s whether the mic type fits your room. In a lively room, a dynamic mic often helps more than you’d expect.
Pop filter + stand
Add $20–$60 for a pop filter and a decent stand if you don’t already have one. This is one of those purchases that feels boring until you hear the difference in plosives.
Headphones
Closed-back headphones are the move so you don’t leak sound back into the mic. Expect $50–$150.
Audio interface (or not)
If you go with an XLR mic, you’ll need an interface. A basic one is commonly $100–$150. If you choose a USB mic, you can skip this, but I’ll be honest: some USB setups sound fine, and others sound “fine until you compare.”
Typical DIY budget (equipment only)
When you combine those basics, it’s why you’ll often see the $200–$455 range for a setup that’s ready for audiobook-level work.
Software
Recording/editing software can be free. If you’re starting out, I’d use something like Audacity (or GarageBand on Mac) and focus on getting clean takes rather than chasing fancy plugins immediately.
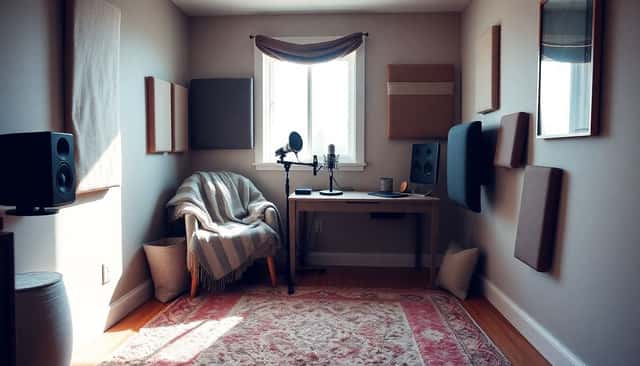
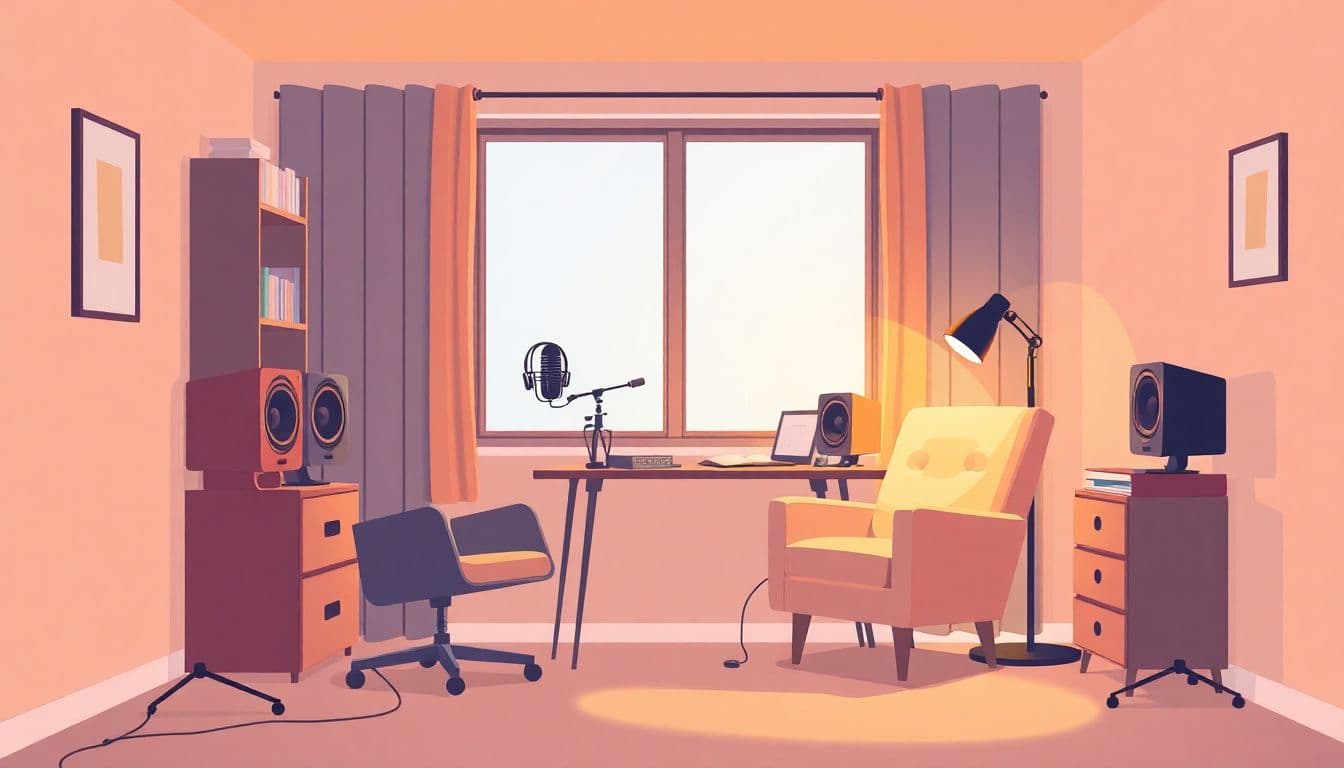
Setting Up Your Recording Space on a Budget
This is the part that surprised me most. I thought buying a better mic would instantly fix everything. It helped—but the room was the real limiter.
Here’s what I’d do if I were starting from scratch today:
- Pick a quiet corner: choose a spot away from outside walls and where you can control noise (fans, traffic, neighbors, even your own plumbing).
- Do a quick noise test: record 30 seconds of “silence” with the mic set up. If you hear a constant hum or hiss, you’ll fight it later in editing.
- Reduce echo first: aim to kill reflections. A small room with rugs, curtains, and soft furnishings is usually better than a bare living room.
- DIY treatment works: hanging a duvet behind your mic position or using foam panels can help. Foam isn’t magic, but placement matters.
- Seal gaps: weather stripping around doors and window draft stoppers can reduce outside noise more than you’d think.
- Don’t face the mic toward hard surfaces: windows and bare walls create reflections that show up as “ring” or hollow tone.
My “before and after” reality check
When I improved my setup, the biggest audible change wasn’t the mic upgrade—it was moving the mic away from reflective surfaces and adding soft absorption behind and beside the mic. The voice sounded closer and more consistent. That’s what you want for audiobook narration: stable tone, fewer reflections, and less cleanup.
How Much Time and Skill Will You Need?
Recording your own audiobook isn’t “press record and read.” It’s a workflow. And workflows take time.
Here’s a realistic breakdown of what you’ll spend time on:
- Learning mic technique: distance from the mic, consistent volume, and avoiding plosives.
- Finding your gain settings: too low means you’ll boost noise later; too high means clipping and distortion.
- Warm-ups: even 5–10 minutes helps reduce mouth noise and vocal fatigue.
- Retakes: you’ll reread lines, fix pacing, and correct pronunciation.
- Editing: removing breaths/noise, tightening pauses, leveling, and exporting to the right format.
A rule of thumb I actually use: plan for 2–3 hours of recording for every 1 hour of finished audio when you’re new. Why that ratio? Because you’re not just recording—you’re learning your voice in the mic, and you’ll likely redo takes to fix consistency.
Setup time
If your space is already decent, you can get rolling in a couple hours. But if you need to add treatment, test placement, and dial in levels, it can take longer—especially the first week.
Skill level
You don’t need to be an audio engineer. What you do need is patience and a willingness to listen critically. If you can hear “something sounds off,” you’re already halfway there.
Comparing DIY Costs to Professional Studio Prices
Let’s compare the money in a way that makes sense.
Studio pricing
Studios are often billed per hour (commonly around $50–$55/hour for recording time), and then you still have post-production costs on top. The post-production part is where the total gets bigger fast, because you’re paying for cleanup, editing, and mastering.
Why the studio totals can feel high
If you need 15 hours of studio time for a 10-hour finished audiobook, you’re already at $750 just for the room. Then add post-production—often quoted as a separate line item.
Narration hiring
Narration costs commonly run $100–$400 per finished hour. So a 10-hour book might land around $1,000–$4,000 for narration alone. Again: per finished hour matters.
DIY equipment + software
If you handle the recording yourself, your upfront spend might be closer to $200–$500 (equipment + whatever you choose to buy). If you also do editing yourself, the “cash out” can stay low.
The trade-off
DIY saves money, but you pay with time. And if your room is noisy, you’ll pay with editing time too (and sometimes you can’t fully fix echo with cleanup).
My practical decision rule
If you can record without obvious echo and your “silence test” sounds clean, DIY is usually worth it. If your room is bouncing sound all over the place, you’ll either need treatment or you’ll end up spending more than you expected in post-production.
Pros and Cons of Recording Your Own Audiobook
Here’s what I like about recording my own audiobook—and where it can get annoying.
Pros (the real ones)
- Creative control: you control pacing, emphasis, and character voice choices. No waiting on someone else’s schedule.
- Revisions are easier: if you mess up a line, you can redo it immediately.
- You learn a useful skill: once you get your workflow down, you can reuse it for future projects.
- Cost control: you choose whether you do everything, or you outsource only the parts you don’t want to learn (like mastering).
Cons (what actually trips people up)
- Room problems show up fast: untreated rooms can create comb filtering and a “hollow” or “boxy” tone that no amount of EQ fully fixes.
- Editing can be time-consuming: if your takes are inconsistent, you’ll spend hours trimming breaths and smoothing levels.
- Equipment mismatch hurts: for example, a mic that picks up too much room sound will make your life harder.
- Your schedule matters: if you’re doing this alongside work, audiobooks can take weeks or months, not days.
So yeah, DIY can be great. But it’s not “free.” It’s just a different kind of cost: time + effort + learning.
Putting Together a Budget for Your DIY Audiobook
If you want DIY to stay affordable, you need a budget that reflects the whole process—not just the mic.
Use this budgeting checklist
- Recording gear: mic, pop filter, headphones, stand, and interface (if needed).
- Acoustic fixes: even $30–$150 in soft materials can reduce echo (duvets, rugs, panels, weather stripping).
- Software: often free (Audacity/GarageBand), but you might buy plugins later.
- Time: estimate your hours and decide whether you’re comfortable trading that time for money you’d otherwise pay to pros.
- Optional help: plan for the possibility that you’ll hire editing or mastering if you want a more polished result.
- Contingency: I always add 10–20% buffer because something unexpected happens (a new mic needed, a noisy fan, a deadline shift).
Worked budget example #1: 10-hour fiction audiobook (DIY recording + DIY editing)
Let’s assume you already have a computer and you’re building a solid starter setup.
- Microphone + accessories: $200–$455
- Headphones: included in the above range (or $50–$150 if separate)
- Acoustic treatment (optional): $30–$150 depending on how DIY you go
- Software: $0 to start
- Editing: $0 cash, but plan for time (often 20–30+ hours for first-timers)
Estimated cash cost: roughly $230–$605 (plus time).
Worked budget example #2: 10-hour audiobook (DIY recording + paid editing)
This is a hybrid approach I like because it keeps you in control of narration while outsourcing the parts that require specialized ears or faster turnaround.
- Equipment: $200–$455
- Acoustic treatment: $30–$150 (if needed)
- Editing: $1,000–$2,000+ for 10 finished hours (using $100–$200 per finished hour as a budgeting range)
Estimated cash cost: roughly $1,230–$2,605+ (again, plus your recording time).
See how the editing line item is the real decision-maker? That’s why “DIY is cheaper” is true only if you’re okay doing the work (or paying for targeted help).
Helpful Resources for DIY Audiobook Recording
When I was getting started, the best resources weren’t the flashy ones—they were the practical ones that talked about mic placement, gain staging, and editing workflow. Here are some places to start:
- How to Make an Audiobook for a step-by-step overview of narration and production basics.
- Audacity and other free tools if you want to avoid software costs early.
- GarageBand if you’re on Mac and want something beginner-friendly.
- YouTube tutorials specifically about microphone placement (this is where most people save themselves hours of editing).
- Communities and forums where other producers share what actually worked for their room—because “buy this mic” is less useful than “here’s where I put it and why.”
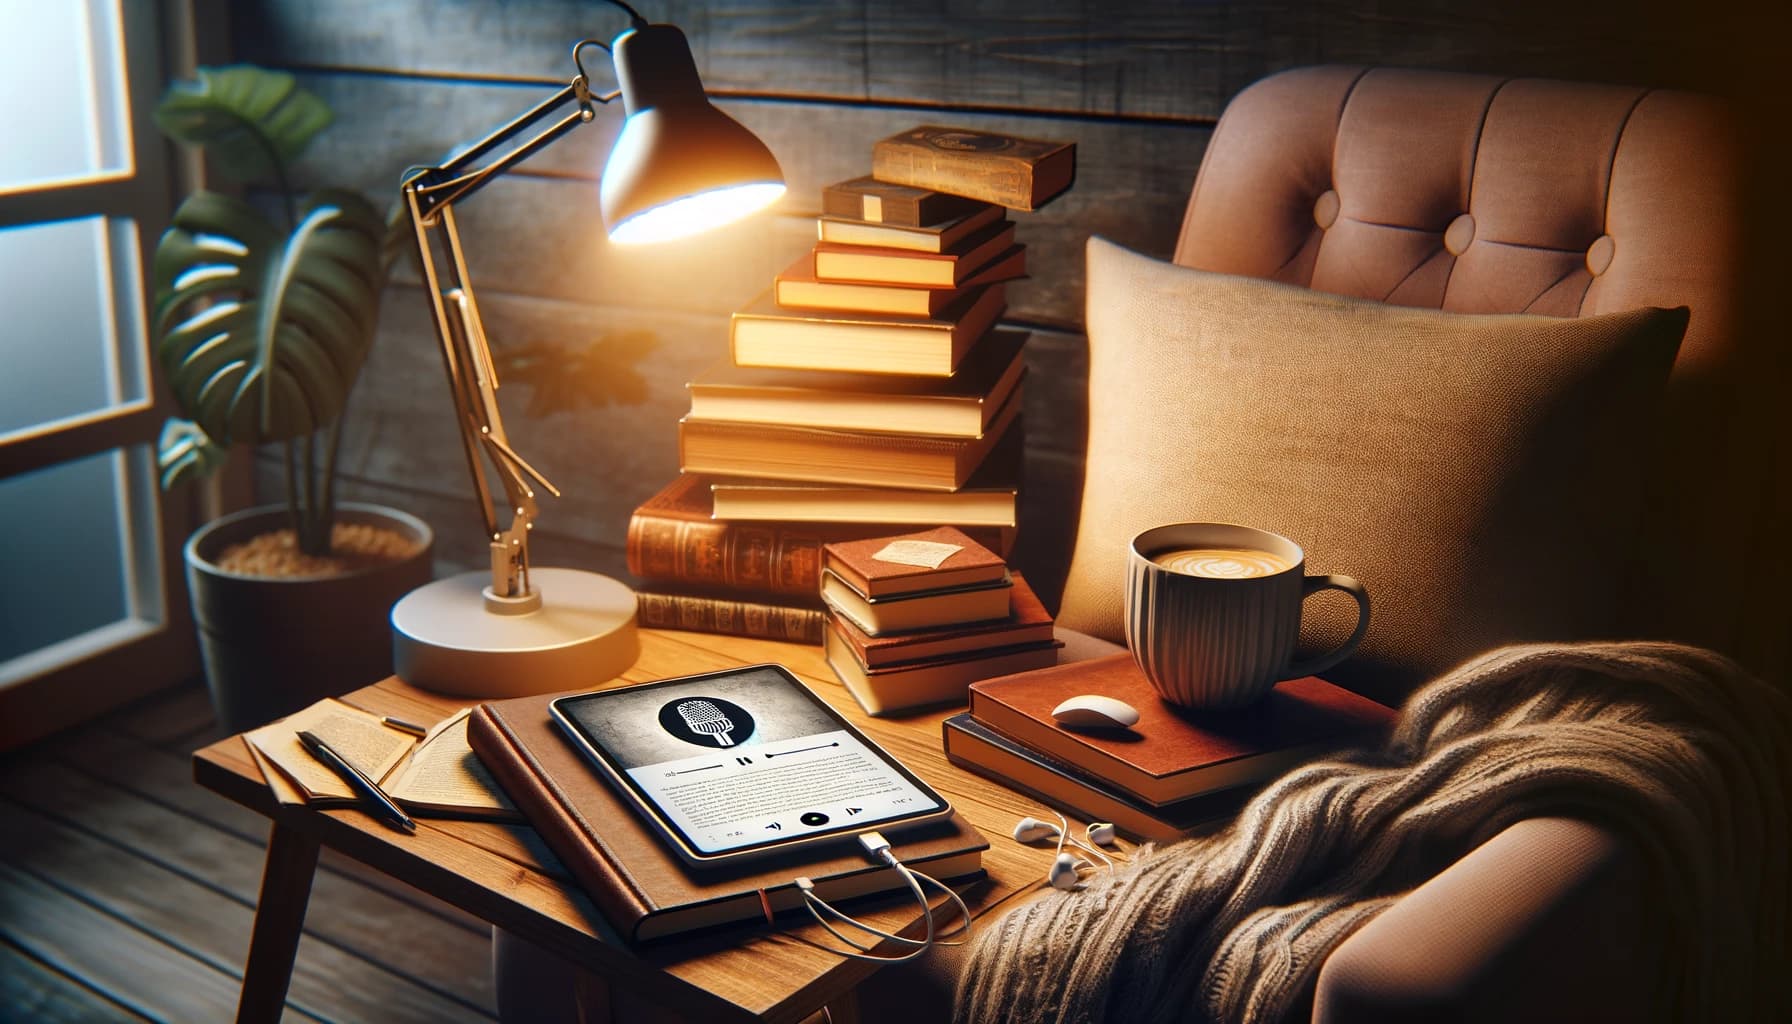
- Sample audiobook listening for pacing and tone references. Audible can help you calibrate what “good” sounds like.
If you take one tip from all of this, make it this: record a short test, listen back immediately, and don’t proceed until it sounds clean enough that you won’t hate editing.
FAQs
The big buckets are equipment (mic, headphones, and often an interface), room setup (soft treatment to reduce echo/noise), and post-production. If you hire editing, it’s often quoted per finished hour, so the real number depends on how much cleanup and mastering you’re paying for.
At minimum, you want a decent microphone (USB or XLR), closed-back headphones, and a computer with recording software. If you go XLR, add an audio interface. Optional but very helpful: a pop filter and some basic sound absorption (duvet/rug/curtains or simple panels). In many cases, you can keep a starter setup under a few hundred dollars.
Setup can take anywhere from a couple hours to a few days, depending on how much acoustic work you need. Recording time depends on retakes and consistency, but a practical estimate for first-time narrators is 2–3 hours of recording for each 1 finished hour. After that, editing and mastering add more time unless you outsource them.