Table of Contents
Amazon A+ content isn’t hard in the “mystical” sense—it’s hard in the “there are a lot of rules and you can waste time if you guess” sense. What I’ve noticed working with listings is that most sellers don’t struggle with design. They struggle with structure, eligibility, and getting approved on the first try.
So here’s how I approach it: I start with what Amazon will actually allow, I map modules to real buyer questions, and then I write copy that’s specific enough to be useful (but not so salesy it triggers a rejection). Want a quick win? Build your A+ like a mini sales assistant: feature → benefit → proof → “here’s why it matters.”
Quick reality check: if you’re not eligible, nothing else matters. And if your images/text don’t match Amazon’s style and policy rules, you’ll sit in review limbo. Let’s fix both.
Key Takeaways
- A+ content is for brand owners in Amazon Brand Registry (and some additional programs like Launchpad). Use only approved module types and follow Amazon’s style guide so you don’t burn days on re-submissions.
- Set goals that you can actually measure. In my experience, “increase sales” is too vague—pick metrics like CTR on the listing or conversion rate for the ASIN.
- Choose modules based on buyer intent. For example, tech products usually need specs/comparison; lifestyle products usually need imagery + brand story + use-case education.
- Use keywords naturally in headlines and supporting text (and in image text only when it’s accurate). Keyword stuffing doesn’t help and can hurt approvals.
- Upload through Seller Central (A+ Content Manager). Double-check image quality and spelling before you submit—Amazon reviewers are picky about clarity and formatting.
- Avoid common rejection triggers: false claims, competitor branding, low-resolution/incorrectly cropped images, or cluttered layouts that are hard to read on mobile.
- Improve over time using data. Review performance weekly, make one change at a time (layout or headline copy), and keep a simple test log.

1. Know the Amazon A+ Content Requirements and Eligibility
Before you touch a design tool, make sure you’re eligible. I’ve seen teams spend hours writing modules only to learn they can’t publish them.
Who can use A+ content? In general, A+ content is restricted to brand owners enrolled in Amazon Brand Registry. Some sellers in programs like Launchpad may also qualify.
What Amazon cares about: your content has to meet Amazon’s standards for image quality, text length, and formatting. And yes—if you miss something, Amazon will reject it or delay approval.
Also, A+ content is meant to enhance the product listing—not replace it with marketing claims. Amazon expects honest, useful information that helps shoppers decide.
Module limit: Amazon allows up to seven modules per product (for the A+ module set you’re creating). The exact module availability can vary based on your account and the module types you choose in the A+ Content Manager.
If you want the rules straight from Amazon, check the A+ Content Style Guide here for detailed requirements. (I always keep that open while I’m building copy and image text, because it’s easier than guessing.)
2. Define Clear Goals for Your A+ Content
Start with one simple question: What problem is your A+ trying to solve for the shopper? That’s usually where the best layouts come from.
Here are common goals I see work (and how I’d map them to content):
- Increase conversions: focus on benefits, key differentiators, and “how it works” education. If customers hesitate because they don’t understand the product, your A+ should remove that friction.
- Reduce returns: explain fit, compatibility, materials, care instructions, and limitations. This is where comparison charts and technical specs can quietly save you money.
- Build brand trust: use brand story modules and lifestyle images that look consistent with your off-Amazon brand.
- Improve perceived value: show what’s included, dimensions, warranty info (only if accurate), and real-world use cases.
Now, about measurement—don’t just “hope it helps.” I recommend picking one metric and a baseline.
Realistic measurement approach:
- Where to look: use Amazon’s reporting in Seller Central to track listing performance (sessions, unit session percentage, conversion rate, and sometimes CTR depending on the view/report you have access to).
- How long to wait: give it at least 2–4 weeks after publishing A+ (longer if your sales volume is low).
- What to compare: compare against a pre-publish baseline for the same ASIN, and if possible, compare to similar ASINs that didn’t change.
- Be honest about confounders: promotions, ad spend changes, pricing changes, and inventory issues can all move metrics. If you change five things at once, you won’t know what helped.
In my experience, “aim for a 10% CTR increase” is a nice stretch target, but the real win is finding which module improves conversion. CTR can fluctuate for lots of reasons. Conversion usually tells you whether your message matched the buyer’s intent.
3. Choose the Right Modules for Your Content
Modules are your building blocks. The trick is choosing the ones that answer the questions your customers already have.
Here’s the way I think about it:
- Start with the “what is it?” block: a standard image + text module or equivalent that clearly explains the product in plain language.
- Then go to “why should I care?” benefits and differentiators (and yes, keywords can fit here naturally).
- Then handle objections: comparison charts, specs, compatibility, materials, what’s included, and use-case scenarios.
- End with reassurance: brand trust, warranties (only if accurate), and “how to use” or “what to expect.”
Module selection by category (quick guide):
- Electronics / gadgets: technical specs + compatibility + comparison charts. People want numbers and clarity.
- Beauty / personal care: ingredients, usage instructions, skin/hair type guidance (careful: avoid medical claims).
- Home / tools: dimensions, materials, included parts, and “before/after” style education using lifestyle images.
- Fashion / lifestyle: lifestyle imagery, fit guidance, and brand story. Specs still matter, but presentation matters more.
What I’d avoid (based on rejections I’ve seen):
- Too many text-heavy modules that look cramped on mobile.
- Images with text that’s not readable or that’s inconsistent with the module’s allowed formatting.
- Copy that repeats the same claim in multiple modules without adding new info (Amazon reviewers notice patterns).
Sample module layout (a practical template):
- Module 1 (Hero): Headline: “Designed for [use case]” | Copy: 2–3 lines explaining the main benefit.
- Module 2 (Benefits): 3 bullets in image text or short copy: “Faster setup,” “Comfort fit,” “Easy clean” (only if true).
- Module 3 (Comparison chart): “Our [product] vs. standard [category]” with 3–4 truthful differences.
- Module 4 (Specs): Key specs: dimensions, materials, compatibility, capacity, etc.
- Module 5 (In the box / how it helps): What’s included + how to use it in the first 5 minutes.
- Module 6 (Brand story): Why you exist, what you stand for, and a short proof point.
- Module 7 (Reassurance): Care/warranty/expectations (accurate and policy-safe).
If you’re wondering how many modules you should use: Amazon allows up to seven modules, but I don’t automatically fill all seven. If you don’t have enough unique information to justify each module, fewer modules with better content tends to look cleaner.
5. Optimize Your Content for Engagement and Search
This is where A+ stops being “pretty” and starts doing actual work.
Step 1: Build keyword intent around buyer questions. Don’t just grab high-volume keywords and sprinkle them everywhere. I look for phrases that match what someone would type before buying. Then I place those phrases where they naturally belong:
- Headlines: best place for the main keyword (but keep it readable).
- Supporting copy: use synonyms and related terms to explain benefits.
- Image text: only if it’s accurate and not cluttered—Amazon reviewers don’t love messy typography.
Step 2: Run a competitive module audit (the method I use). Here’s a simple process that doesn’t take forever:
- Pick 5–10 competitor ASINs in your category (ideally products with similar price and rating).
- Open each listing and note which A+ modules they use (hero, comparison, specs, brand story, etc.).
- Write down what they don’t cover (for example: no compatibility info, no dimensions, no “how it works,” no care instructions).
- Map those gaps to your modules (if competitors lack specs clarity, you can win with a strong specs module).
Example (real-world style): say you sell a “cordless handheld vacuum.” Competitors often show suction power and lifestyle shots, but many don’t clearly explain attachments, battery runtime expectations, and what surfaces it works on. If you add a module that lists attachment types + “works best on” surfaces (accurately), you’re not just adding keywords—you’re answering the exact decision questions shoppers have.
Step 3: Make headlines click-worthy without being vague. A headline like “Premium Quality” is forgettable. A headline like “Built for Pet Hair Cleanup (No Guesswork)” is much more useful—if you can back it up.
Step 4: Don’t ignore formatting and mobile readability. If your text looks small on a phone, it’s probably too dense. I aim for short lines and larger font sizes in image text so the message survives shrinking.
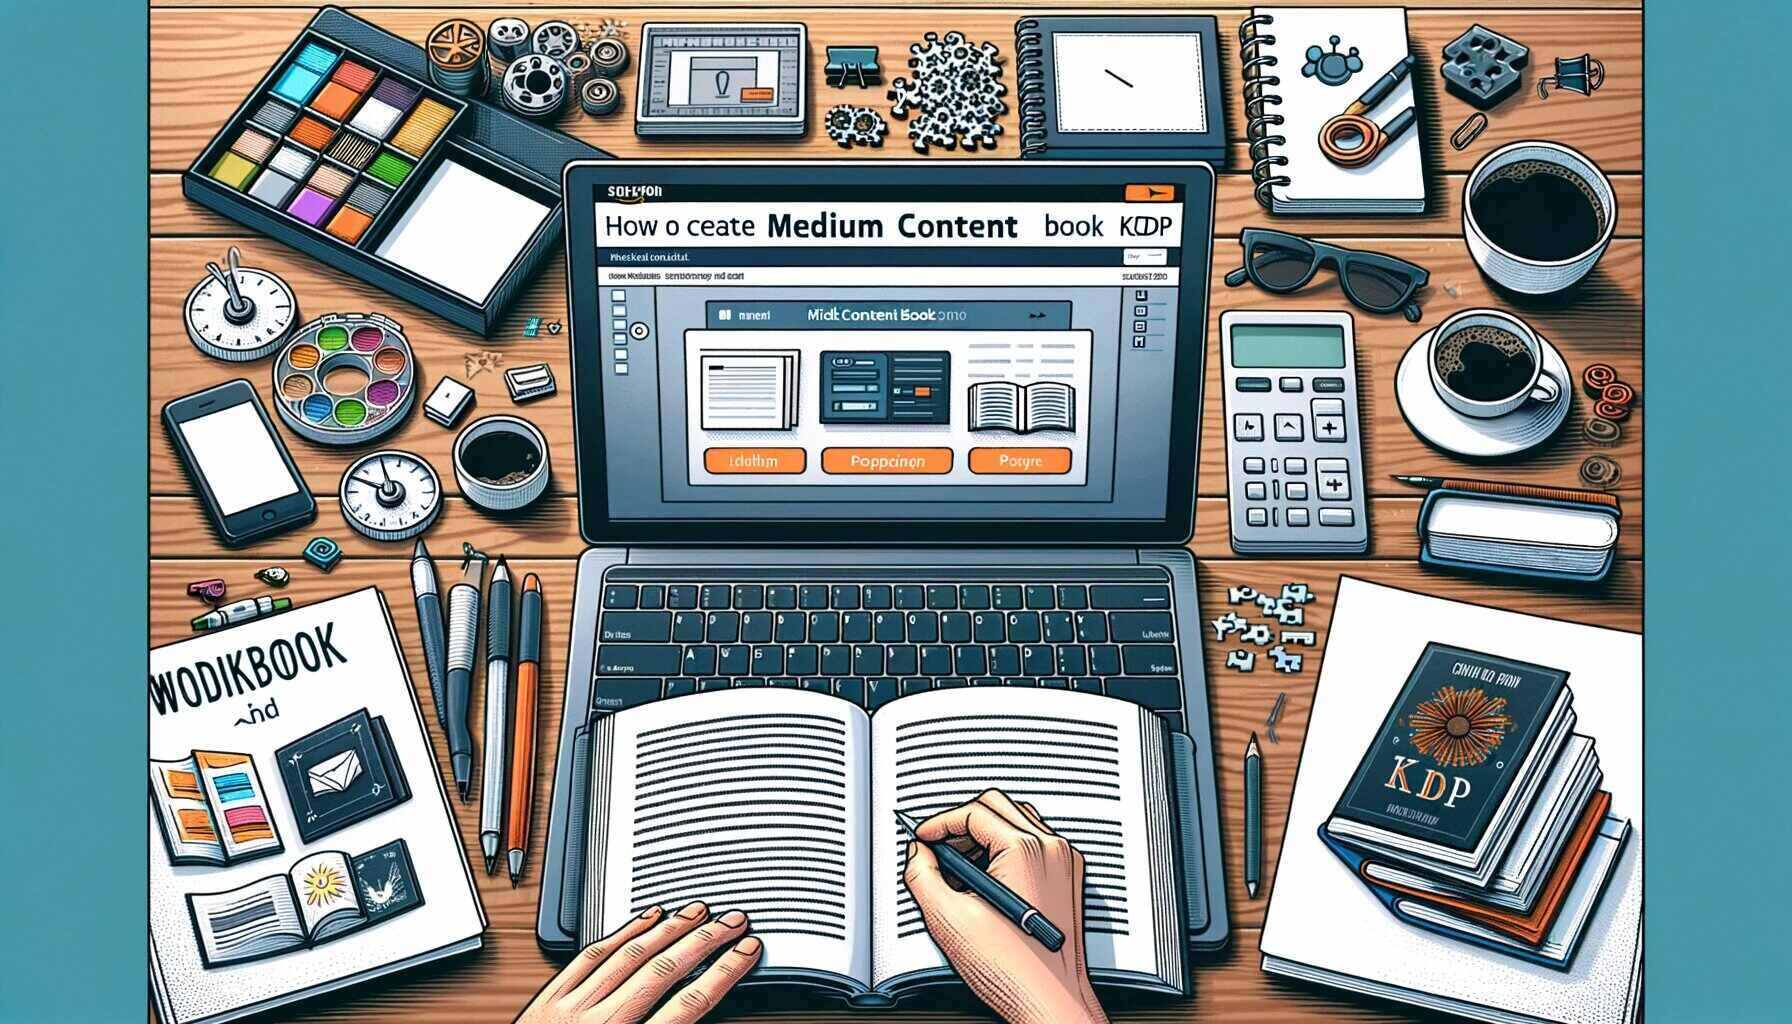
6. Upload and Submit Your A+ Content in Seller Central
Once your modules are ready, submission is pretty straightforward. The part that usually trips people up is image sizing and text consistency.
Where to upload: Seller Central → Advertising tab → A+ Content Manager.
What to do inside:
- Create a new A+ project.
- Assign it to your product ASIN(s).
- Select the module types you’re using.
- Upload images and paste copy into the module fields.
Image dimensions (quick reference): module image requirements can vary by module type, so verify inside A+ Content Manager or the A+ Content Style Guide. That said, many sellers use these common target sizes when designing:
- Standard image modules: often around 970 × 600 px
- Comparison chart modules: may require different sizing based on the template
- Text + image modules: sizing can differ slightly depending on the module template
Because dimensions vary, I don’t rely on a single “magic number.” Before exporting, I check the exact module slot in the A+ Content Manager and match it.
Approval timing: Amazon typically reviews within about 7 business days (sometimes faster, sometimes slower depending on volume and complexity). Plan for that.
What I do before submitting (so I don’t get bounced):
- Search for typos and inconsistent terminology (example: “waterproof” vs “water resistant”).
- Confirm any claim is true for your product. If it’s a “maybe,” remove it.
- Check that image text matches the copy and doesn’t contradict the listing.
- Make sure your branding looks consistent with your storefront and packaging.
If your module gets rejected: don’t just fix the obvious. Amazon usually flags the specific issue (image quality, prohibited content, formatting, or policy claim). Treat it like a checklist: resolve every reason listed, then resubmit.
7. Follow Amazon’s Guidelines and Avoid Common Mistakes
Most approval problems come from a few repeat offenders. Here’s what I’d avoid if you want faster approvals.
- False or unverifiable claims: “#1,” “guaranteed,” “cures,” or anything that implies medical outcomes. If you can’t support it, don’t write it.
- Competitor branding: don’t use competitor logos, comparison language that includes brand names you don’t own, or unauthorized badges.
- Low-quality images: blurry, pixelated, or poorly cropped images are a common rejection reason.
- Cluttered layouts: if the module looks packed, mobile shoppers won’t read it—and reviewers may reject it for clarity.
- Hard-to-read typography: tiny text in image modules is a problem. Make sure the message survives on a phone.
- Unclear comparisons: comparisons must be truthful and relevant. If you can’t explain the basis of the comparison, don’t do it.
In my experience, the fastest way to improve approval odds is to keep a “compliance checklist” at the end of your workflow. I literally run through: claims, images, competitor references, mobile readability, and formatting consistency. It’s boring. It works.
8. Use Advanced Tools and Tips to Improve Your A+ Content
Once you’ve launched A+, don’t treat it like a “set it and forget it” project. I usually do a quick performance review after a couple of weeks and then iterate.
Tools that actually help:
- Canva / Adobe Express / Spark: for consistent module image design (templates help a lot so your typography stays uniform).
- Helium 10 / Viral Launch: for finding search terms and category keywords you can translate into module headlines and supporting copy.
- Amazon reporting (Seller Central): to monitor listing performance and spot whether changes correlate with improvements.
Iteration plan (simple and effective):
- Weekly: check listing performance for the ASIN(s) with A+ live (conversion trend, unit session percentage, and any CTR-related views you have).
- Monthly: review which modules are likely underperforming based on engagement (if you have any A+ engagement metrics available, use them; if not, infer from conversion shifts).
- Test one variable at a time: change one module headline or one comparison chart layout, then observe.
A/B test idea you can run without overcomplicating things:
- Test A: Module 2 headline focuses on “benefit” (e.g., “Designed for Quick Cleanup”).
- Test B: Module 2 headline focuses on “who it’s for” (e.g., “Made for Pet Owners”).
- Keep the rest the same so you can tell which messaging style resonates more.
And if your product benefits from visuals like showing the steps, consider adding supported media formats (where applicable). Visual explanations can reduce confusion—and confusion is what drives returns.
FAQs
In general, A+ Content is available to brand owners enrolled in Amazon Brand Registry. Some sellers in programs like Launchpad may also qualify. Regardless of eligibility, your A+ content must follow Amazon’s style and policy rules for truthful claims, image quality, and formatting.
Pick one primary outcome and one supporting outcome. For example: primary = improve conversion rate; supporting = reduce returns by clarifying fit/compatibility. Then track performance after publishing (usually at least 2–4 weeks) and compare to your ASIN’s baseline, while accounting for changes like price and ad spend.
Choose modules based on the questions buyers have: what it is, why it’s better, how it works, and what to expect. For tech products, specs/comparison often outperform generic lifestyle sections. For apparel, fit and use-case imagery usually matters more. And don’t fill all seven modules just to “use them”—only include what you can explain clearly and accurately.
Use keywords naturally in module headlines and supporting copy, but prioritize usefulness. The best A+ content matches intent: if shoppers are searching for “compatibility,” your A+ should actually explain compatibility. Also keep image text readable on mobile—if people can’t read it, it won’t convert.
Start with the exact rejection reason Amazon provides in Seller Central. Common fixes are: swapping low-resolution or incorrectly sized images, removing prohibited claims (or claims that sound too absolute), and cleaning up formatting/text length. If you used competitor references, remove them immediately. Then resubmit after you’ve checked mobile readability and consistency between image text and module copy.
You can often reuse parts of your A+ structure, but you should update anything that changes per variation—dimensions, compatibility, included items, and any claims tied to a specific version. In practice, I treat reusable modules like templates and customize the “specs” and “what’s included” sections for each ASIN so the content stays accurate.
Eligibility is primarily tied to Brand Registry (and certain programs). Module limits generally apply to the A+ module set you create. If you’re seeing different options in your A+ Content Manager, it’s usually because your account/module access differs—so always verify inside Seller Central and follow the module templates you’re allowed to use.