Table of Contents
If you don’t want to wrestle with desktop photo software, Image Editor Online is one of those tools that’s easy to test in a few minutes. I gave it a real try with a mix of photos—one portrait, one product shot, and a landscape—and I focused on the stuff people usually care about: background removal, quick enhancements, and adding text without it looking weird.
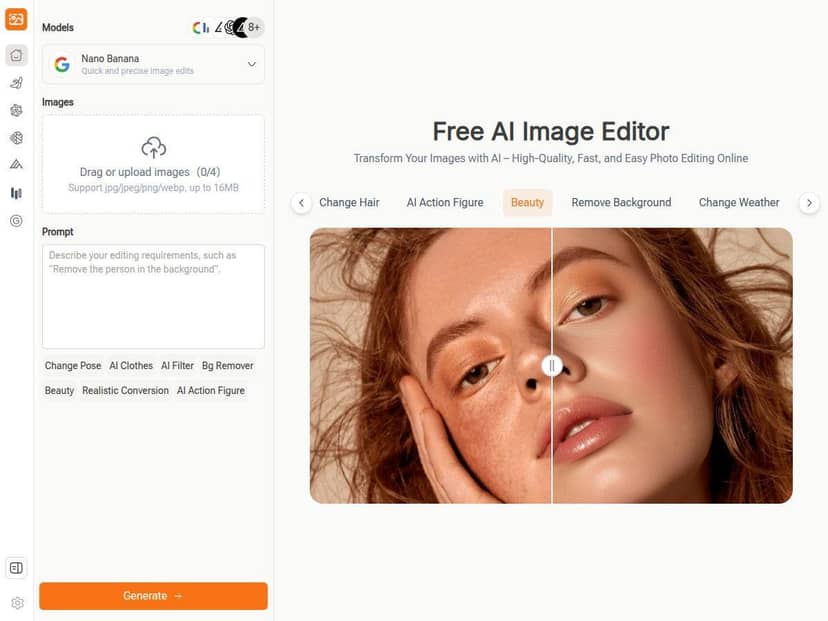
Image Editor Online Review (What I Actually Tested)
Here’s what I did, step by step, so you can judge for yourself. I tested it on Chrome (desktop) with three different images: a portrait (with hair strands), a product photo on a plain background, and a landscape with mixed lighting. I ran the same general workflow each time: upload → use an AI prompt → check the result → download.
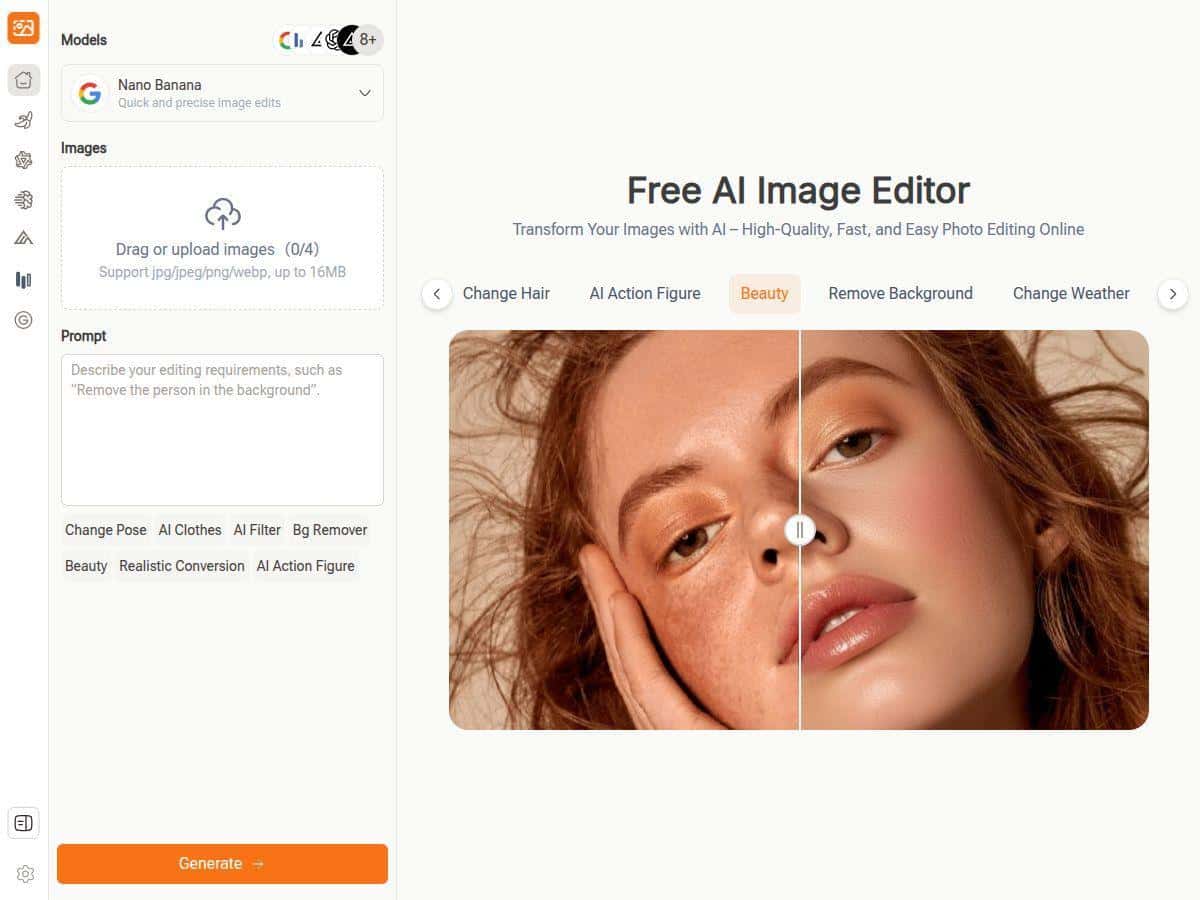
1) Background removal test (portrait + product)
On the product photo, background removal was pretty clean. The edges around the object looked crisp, and I didn’t see the common “halo” effect as much. On the portrait, it handled the general outline well, but the fine hair was where it got a little messy—some strands blurred into the background instead of staying razor-sharp. That’s not a dealbreaker, but it’s something you’d want to fix manually if you’re going for a perfect cutout.
2) Prompt-based enhancement (what I typed)
For the portrait, I used prompts like:
“enhance the photo, brighten the face, reduce noise, keep skin natural”
On the landscape, I tried:
“increase clarity, improve contrast, make colors vibrant but not oversaturated”
What I noticed: the AI is quick, but it’s not magic. When the prompt asked for “vibrant,” it did boost color, but it also slightly sharpened edges. If your photo already has strong texture, that can make it look a bit crunchy. I ended up doing one extra pass with a softer prompt (more “natural” language) to get results that looked less processed.
3) Text overlay test (social post style)
I added a short caption and picked from the built-in styles/templates. The text looked fine at a glance, but zooming in, the fonts didn’t always match the crispness you’d expect from a dedicated design tool. It was totally usable for quick posts, though—especially if you’re exporting for Instagram stories or Facebook banners where most people won’t zoom in.
Speed check
In my tests, the AI responses typically landed in the 10–25 second range depending on the photo and the complexity of the prompt. Uploading was fast (a few seconds). The editing itself is responsive enough that you can iterate without feeling stuck waiting forever.
Key Features (And How They Show Up in Real Use)
- AI-powered editing for common tasks like background removal and quick enhancements—good for “I need this edited now” situations.
- Natural language prompts so you can describe the result you want instead of hunting through sliders.
- Templates and styles that help you get from “blank canvas” to a finished social image faster.
- Multiple edit steps in one flow (you don’t have to constantly switch tools or export/import between apps).
- Download outputs aimed at high-quality sharing, with some limits depending on what plan/export option you choose.
- Use cases that fit marketing and social: product promos, profile pics, and quick banner-style edits.
Pros and Cons (Based on My Results)
Pros
- Fast and beginner-friendly: I didn’t have to learn a bunch of settings to get decent results.
- Background removal is strong on simple subjects: product shots on clean backgrounds came out noticeably better than the hairier portrait.
- Prompting is genuinely useful: I could steer the edit toward “natural” vs “overly processed” with small wording changes.
- Good for quick iterations: I could try one prompt, review, tweak, and re-run without starting over.
- Text overlays are practical: not perfect like a full design suite, but solid for social media.
Cons
- Fine hair/transparent edge handling isn’t always clean: expect a bit of cleanup work if you need professional-level cutouts.
- Free vs premium limits can be annoying: you may hit export restrictions depending on the output quality/resolution option you choose.
- AI sharpening can be a little heavy: on detailed photos, it can make textures look harsh if you don’t ask for “natural” or “reduce noise.”
- Text quality isn’t “designer-grade”: it works for fast posts, but it’s not the same as building typography in Photoshop/Illustrator.
Pricing Plans (What’s Free vs What Costs Extra)
Pricing can change, so I can’t honestly quote exact numbers without checking the live checkout page. In my testing, the core editing features were available for free enough to validate the tool (upload, basic AI edits, and downloading usable results). Where things started to feel “gated” was around advanced tools and higher-quality exports.
Here’s the practical breakdown I observed:
- Free tier: good for trying background removal and basic enhancements, plus exporting results that are suitable for quick sharing.
- Premium/paid options: where you typically get access to more advanced editing and higher-resolution downloads (the kind you’d want for print-like use or higher-quality social assets).
If you want, I can help you pick the right tier—just tell me what you’re editing most (portraits, product images, or social templates) and where you’re posting (stories, feed, ads, etc.).
Wrap up
My take: Image Editor Online is a solid choice when you want quick, AI-assisted edits without downloading anything. It’s especially good at the “make it look better fast” tasks, and the prompt workflow is easy to get the hang of. Just don’t expect perfect hair-edge cutouts every single time, and be ready for export limits if you’re trying to push for the highest quality. For everyday social edits and simple promos, it’s genuinely convenient.