Table of Contents
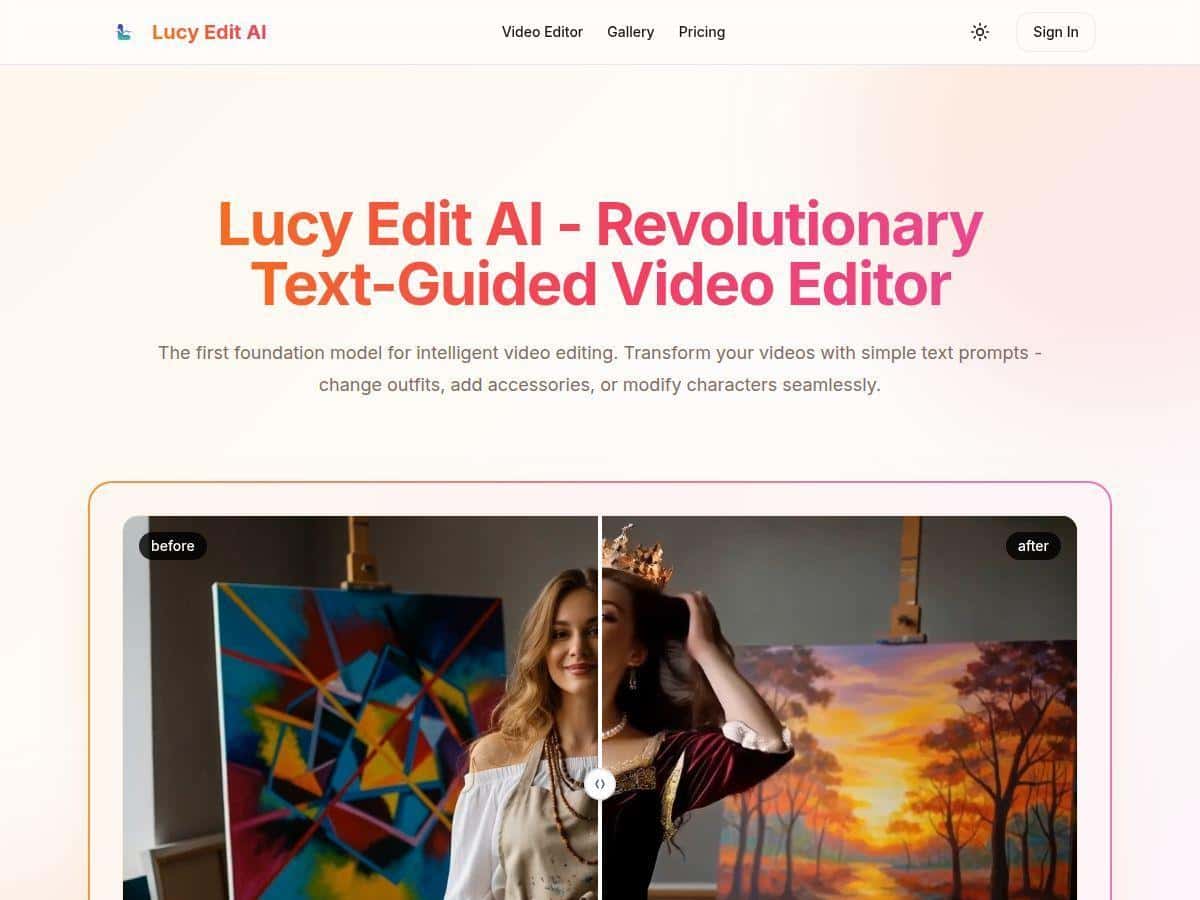
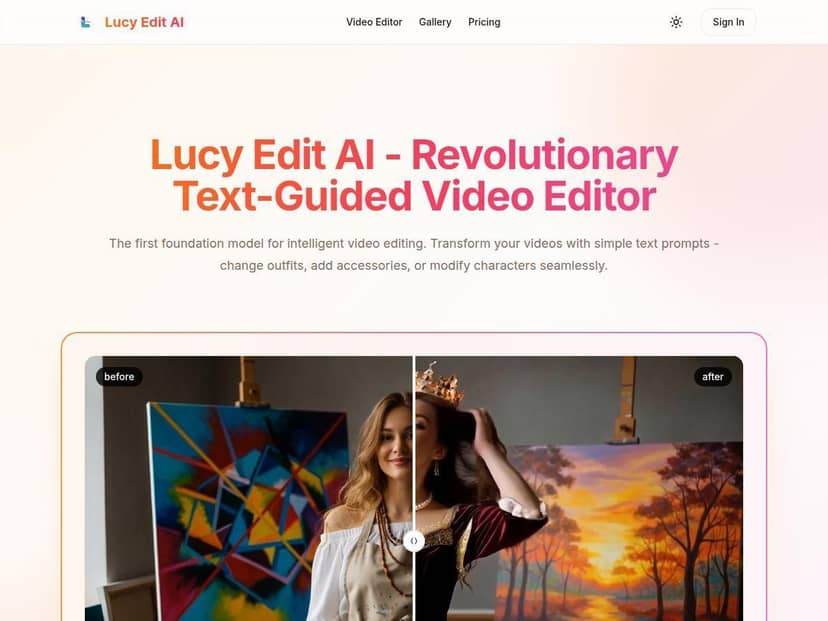
I’ve used a bunch of “AI video editor” tools over the years, and honestly? Most of them sound better than they work. Lucy Edit AI is different in a way I can actually feel: you’re not wrestling timelines or layers. You upload, describe what you want, and it tries to do the edit for you.
That said, I’m not going to pretend it’s magic. Some edits come out great on the first try, and others need a second prompt or a simpler request. If you’re the type of person who wants quick, creative changes (outfits, small scene tweaks, stylized transformations), this is worth a look. If you need complex continuity across a full cinematic sequence… you’ll probably want a traditional editor for the heavy lifting.
Lucy Edit AI Review
My test (real-world, not just impressions)
I tested Lucy Edit AI on Windows 11 using a regular desktop browser (Chrome). My goal was simple: see how well it handles text-guided edits and whether it keeps the “same person” look consistent across frames.
Test video: 1080p MP4, about 30 seconds, medium lighting, one subject centered. No fancy camera moves—just a normal clip I could judge accurately.
Prompt style I used: short, specific, and action-oriented. I learned quickly that vague prompts (“make it better”) don’t help. You want something like “change outfit from X to Y” and include constraints (keep face, keep background mostly the same, etc.).
What I did in the UI (so you know what to expect)
Here’s the flow that felt most consistent:
- 1) Upload: I selected my MP4 file and waited for it to process in the editor workspace.
- 2) Prompt: I typed a plain-language instruction in the text box (no special formatting).
- 3) Edit/Generate: I clicked the main action button (the one that starts the generation/edit run) and watched it render.
- 4) Preview: After it finished, I played the output and checked for obvious issues like flicker, weird object shapes, or face drift.
- 5) Iterate: When something looked off, I went back, adjusted the prompt, and ran it again.
One thing I noticed immediately: it’s built for “try → review → tweak” loops. That’s good. It also means you’ll spend a little time prompting if you want clean results.
Before/after results (3 quick test cases)
Test Case 1: Outfit swap (the easiest win)
Original: subject wearing a casual shirt.
Prompt I used: “Change the outfit to a black hoodie. Keep the face and identity the same. Keep the background unchanged.”
What I noticed: The hoodie change was pretty convincing. The fabric folds looked natural enough, and the subject didn’t “morph” into a totally different person.
Limitation: On a couple frames, the hoodie edges blended slightly with the subject’s arm. It wasn’t a deal-breaker, but it wasn’t perfect either.
Test Case 2: Add accessories (small change, big impact)
Original: subject without visible jewelry.
Prompt I used: “Add a silver wristwatch on the left wrist. Keep everything else the same, including lighting and camera angle.”
What I noticed: The watch appeared where I expected. The highlight looked plausible, which matters because accessories are where AI often looks “sticker-like.”
Limitation: When the wrist moved quickly, the watch briefly lagged (like it was “following” a little late). Slower motion clips will probably look cleaner.
Test Case 3: More complex transformation (where prompts matter)
Original: neutral expression, simple background.
Prompt I used (first try): “Transform the character into a futuristic cyberpunk style with glowing accents.”
What happened: The output leaned heavily into style changes. That sounds good in theory, but it also caused more noticeable alterations around the face and overall look.
Prompt I used (second try): “Keep the face and identity the same. Add subtle cyberpunk glowing accents to the clothing only. Do not change facial features.”
Result: Much better. The glow stayed more “on clothing” and didn’t try to rewrite the person.
Limitation: This is the big one: Lucy Edit AI is strongest when you constrain the edit. If you ask for a full-on cinematic transformation, you’re more likely to get randomness.
Key Features
I’m going to break these down the way I tested them—what the feature is, what I tried, and what you should expect.
Text-Guided Video Editing (describe it, don’t build it)
How it works: you type what you want changed in plain language.
My test prompt: “Change the outfit to a black hoodie. Keep background unchanged. Keep face the same.”
Output behavior: it generally followed the instruction, but the more you blur the constraints (“make it cooler”), the more it “interprets.”
Tip that helped me: include “keep face/identity” and “keep background unchanged” when you want consistency.
Outfit & Accessory Changes (best for quick creative edits)
My test prompt: “Add a silver wristwatch on the left wrist. Keep lighting consistent.”
What I noticed: accessories usually appear convincingly when motion is moderate. With faster arm movement, you may see slight drift.
Practical advice: if your clip has lots of hand motion, try a shorter segment or a prompt that emphasizes placement (“on left wrist, not on forearm”).
Character Transformation (powerful, but you have to rein it in)
My first prompt (too broad): “Transform the character into a futuristic cyberpunk style with glowing accents.”
Problem: it changed more than I asked—face/identity drift is the risk when you request big style overhauls.
My improved prompt: “Keep the face and identity the same. Add subtle cyberpunk glowing accents to the clothing only. Do not change facial features.”
Result: better consistency. So yeah—Lucy Edit AI can do transformations, but it responds best to specific boundaries.
Foundation Model Technology (realistic edits—within limits)
Lucy Edit AI uses AI-based generation to alter video frames based on your prompt. What I actually cared about was whether it keeps the edit consistent across time.
What I noticed: for small edits (hoodie, watch), consistency was solid. For larger transformations, the tool sometimes “re-decided” details mid-clip—especially around edges and moving objects.
Bottom line: it’s impressive, but it’s not a substitute for professional compositing when you need perfect continuity.
Easy-to-Use Interface (less friction than most editors)
I didn’t have to learn a complex workflow. The whole thing felt like: upload → prompt → generate → preview → iterate.
That’s a win if you’re not trying to become a video editor overnight. But if you’re used to fine-grained control (masks, keyframes, tracking), you’ll feel the limits quickly.
Supported Video Formats (what I used and what you should check)
Lucy Edit AI supports common formats like MP4, AVI, MOV (and other typical uploads depending on the platform settings). I tested with MP4 (H.264) at 1080p, and it accepted the file without drama.
Tip: if you run into upload issues, try exporting your source to MP4 (H.264) in your usual editor first. It’s the most universally compatible option.
Pros and Cons
Pros
- Beginner-friendly: I didn’t need tutorials to get a decent result. Prompt + generate is straightforward.
- Fast iteration: It’s built for trying multiple versions quickly. When you get a “nearly right” output, you can refine without starting over from scratch.
- Great for outfit/accessory edits: These are the types of changes it seems to handle best—especially when motion isn’t extreme.
- Free trial is low commitment: No credit card needed for the trial (at least based on what I saw during setup).
- Developer-friendly angle: There are open-source options mentioned for developers, which is nice if you’re integrating tools into a workflow.
Cons
- Complex cinematic edits are hit-or-miss: By “complex,” I mean multi-character continuity, heavy camera motion, and lighting changes across the whole scene. Those are where results can get inconsistent.
- Prompt quality really matters: If you don’t specify what to keep the same (face, background, lighting), it will “interpret” and sometimes drift.
- Advanced features are subscription-based: The free tier is enough to test the vibe, but you’ll likely want paid access for more runs and better outputs.
- Output quality can vary: Depending on your hardware and the clip itself, you might see slight artifacts—especially around edges and fast motion.
Pricing Plans
Pricing can change, so I don’t want to guess numbers and waste your time. The current pricing details (including any credits, plan limits, and what each tier includes) are best confirmed on the official site: Lucy Edit AI.
What I can tell you from using the platform:
- Free trial gives you a taste of the workflow and basic edits.
- Paid plans unlock more runs/credits and typically better output options (especially for repeat generation and higher-quality exports).
- Expect limits on how much you can process per run during the trial—usually tied to credits or usage caps.
If you’re comparing plans, focus on the stuff you’ll feel day-to-day: credit count, max video length per job, and export quality options (resolution/format). Those are the real “hidden” costs.
So… should you use Lucy Edit AI?
Here’s my honest take based on what I tested.
- Use Lucy Edit AI if: you want quick outfit swaps, add accessories, try stylized looks for short clips, or generate variations for social posts and creative experiments.
- Don’t rely on it if: you need perfect continuity for complex edits—like a full cinematic scene with multiple characters, fast camera movement, and changing lighting. You’ll spend time fixing artifacts anyway.
- Best hybrid approach: use Lucy Edit AI for the initial “creative idea” edits, then finish polish in a traditional editor (color correction, stabilization, masking, and any final compositing).
If you want a tool that’s fun, quick, and surprisingly capable for the right kind of edits, Lucy Edit AI is a solid choice. Just go in with specific prompts and realistic expectations. That’s when it shines.