Table of Contents
I’ve photographed a lot of people for personal branding, and here’s what I’ve noticed: the ones who look most confident usually aren’t the ones with the “perfect” pose. They’re the ones who know what they want their photos to communicate before they ever step in front of the camera.
So if you’re sitting there thinking, “Okay… what do I do with my hands?” or “Where do I even stand?”—you’re not alone. I’ll walk you through a practical plan you can actually use, with specific shot ideas, pose cues, and outfit/location tips that match how real brands show up online.
By the end, you’ll have a clear photoshoot game plan—so you can relax, look like yourself, and get images you’ll want to post on LinkedIn, Instagram, and your website.
Key Takeaways
- Start with your message: Write down 1–3 brand traits you want to show (expert, friendly, bold, calm, etc.) and let that drive your outfits, locations, and expressions.
- Build a shot list before you shoot: Mix headshots, full-body frames, “working” lifestyle photos, and a few candid moments so you’re covered for multiple platforms.
- Use confidence cues, not stiff posing: Relax shoulders, keep chin slightly forward, and aim for 3/4 angles—your body will look natural fast.
- Choose outfits by brand category: I’ll give examples for professional, creative, and approachable vibes—plus what to avoid so you don’t distract from your face.
- Pick locations that match your audience: I recommend scouting for background clutter and checking the light direction before your session.
- DIY is totally doable: You can get great results with window light + a reflector (or a ring light placed at the right height/angle).
- Keep it real: The best “authentic” shots often come from doing something—talking, laughing, adjusting your workspace, or taking a sip of coffee.
- Use a checklist: Confirm outfits, props, timing, and batteries/charging so the day doesn’t turn into a scramble.
1. Define Your Personal Brand Goals and Key Messages
Clear goals make everything easier. In my experience, when people skip this part, they end up with photos that look “nice” but don’t actually support what they’re trying to do online.
Ask yourself: What do I want people to feel when they see my photos? Professional? Approachable? Creative? Bold? Calm? You can absolutely blend traits—just don’t guess on shoot day.
Write down 1–3 key messages you want repeated across your images. Examples:
- Expertise: “I’m knowledgeable and trustworthy.”
- Warmth: “I’m friendly and easy to work with.”
- Style: “I’m creative and original.”
Then match those messages to your audience. Are you trying to attract:
- Clients (you’ll want clarity, trust, and credibility)
- Collaborators (you’ll want personality + professionalism)
- Followers (you’ll want approachability + lifestyle moments)
Here’s a simple example that’s common in my shoots: if someone is a coach, we usually build frames that feel steady and confident (clean backgrounds, strong eye contact, relaxed posture). If someone is in a creative field, we’ll add “doing” shots—working at their desk, holding a tool, or capturing hands-in-action—so their creativity shows up even when they’re not “performing.”
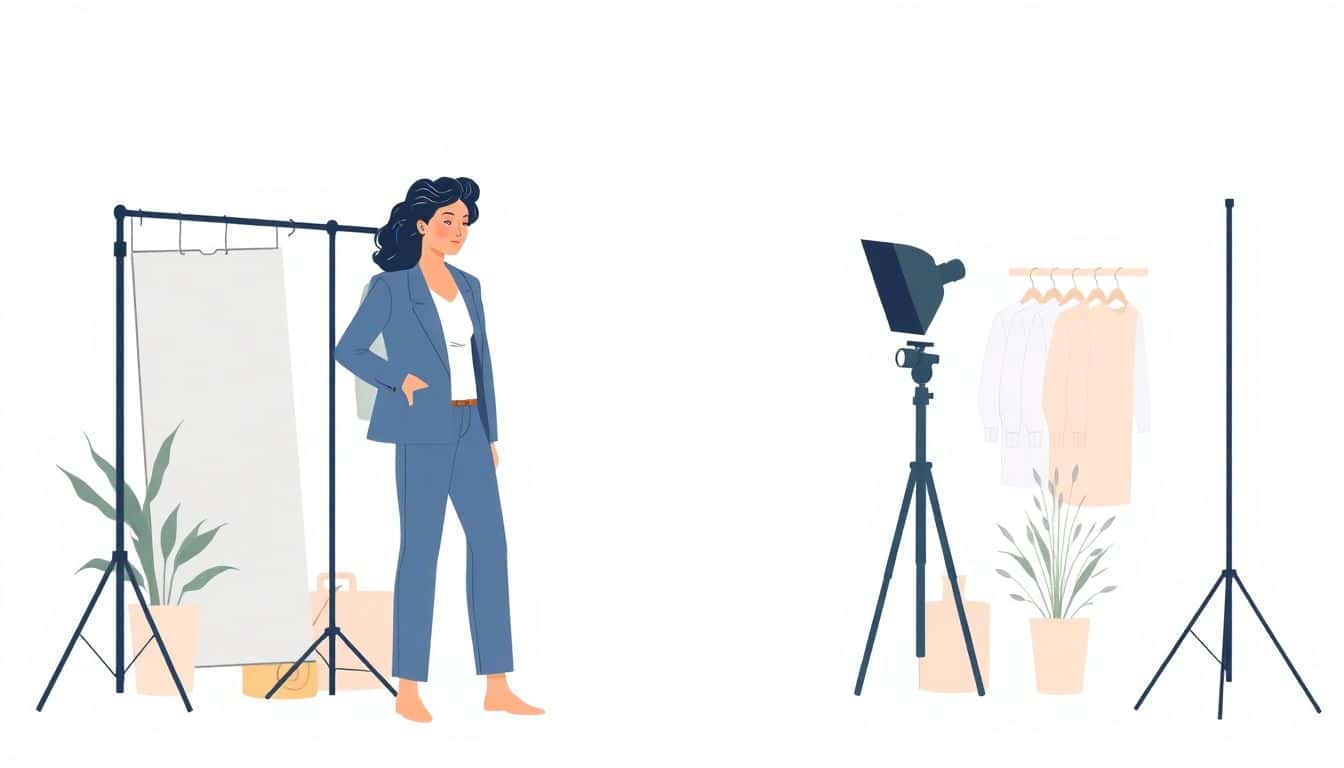
2. Make a List of Essential Shots for Your Brand
If you only get one type of photo, you’ll feel stuck later. I always suggest building a shot list that covers profile use, website use, and social use.
Start with the essentials. A solid personal brand set usually includes:
- 3–5 headshots: front-facing and 3/4 angles for variety
- 2–3 full-body shots: one standing, one seated (or relaxed)
- 2–4 lifestyle “working” images: you using your craft (hands matter)
- 1–2 candid moments: laughing, looking away naturally, or talking
- 1 prop/flat-lay or detail shot: tools, product, notebook, laptop screen (something that supports your niche)
Now, here’s a shot list you can copy and actually use (even if you’re DIY):
- Shot A (Headshot 3/4): Camera at eye level, you turned about 30–45° from the lens. Chin slightly forward. Hands relaxed at waist or lightly touching the edge of a chair.
- Shot B (Close headshot): Crop tighter (chest-up). Same angle, but change expression—serious → slight smile.
- Shot C (Seated warmth): Sit at a slight angle, shoulders relaxed. One elbow resting comfortably (not pinned). Look at camera, then “think” for a second and look back.
- Shot D (Standing authority): Stand tall, weight on back leg. One hand in pocket (if it feels natural). Keep elbows slightly bent.
- Shot E (Working hands): Do the real thing you’re known for—writing, sketching, typing, mixing, teaching. Don’t “pose” the hands; let them move for 10–20 seconds and grab frames mid-action.
- Shot F (Candid): Have a conversation prompt (example: “What are you excited about this month?”). Shoot while you answer.
That mix is what gives you options later—LinkedIn needs one vibe, your website hero section needs another, and Instagram posts need something a little more personal.
3. Choose Poses That Show Confidence and Approachability
Posing sounds intimidating, but it’s mostly about body cues. Confidence is usually shoulders + eye contact + a relaxed jaw. Approachability is usually a softer face + open body angles.
Here’s what I tell people right before we shoot:
- Relax your shoulders (seriously—lift them once, then drop them).
- Chin forward slightly (not up—just forward). It helps your neck look natural and flattering.
- Use 3/4 angles instead of full “statue” face-on. It’s more flattering and looks more human.
- Keep hands busy (hands-in-pocket, holding a prop, adjusting hair, resting on a chair). Empty hands can make people tense.
Let’s get specific with pose ideas that work in real photos:
Seated vs. standing (and when to use each)
- Seated: Great for approachability and calm expertise. Try sitting at the edge of a chair. Keep your torso angled slightly, and let your hands rest naturally on your lap or the chair arm.
- Standing: Great for authority and full-body branding. Stand with weight slightly shifted (one foot a little forward). It gives you shape instead of a straight, stiff posture.
Headshot expressions that don’t feel “fake”
- Warm confidence: Slight smile + steady eye contact. Think “pleasant but focused.”
- Trusted expert: Neutral expression, relaxed mouth, eyes engaged. Avoid big grins if you’re aiming for credibility.
- Creative energy: A playful smirk or “mid-thought” look. The trick is to move your eyes—don’t hold your gaze like a robot.
Hands and arms (the #1 thing people mess up)
- Avoid: locked elbows, arms pressed tightly to your sides, hands hovering in awkward positions.
- Try instead: one hand lightly touching a prop (not gripping hard), or both hands resting together around a notebook/laptop.
- Quick reset: If you feel tense, take a breath and drop your shoulders. Then reframe and shoot again.
Want a simple “confidence + approachability” combo? Do one shot with a straight posture and a calm face, then immediately do one shot with a slight lean forward and a softer smile. That sequence usually gives clients the variety they need.
4. Select Outfits and Props That Match Your Brand Style
Your outfit is part of your branding, but it’s not about wearing something trendy. It’s about wearing something that supports how you want to be perceived.
Here’s how I break it down in my shoots:
Professional / service-based (consultants, coaches, corporate freelancers)
- Outfit ideas: blazer + fitted top, blouse, tailored dress, or a clean sweater with structured shoulders.
- Colors: solids usually win (navy, charcoal, cream, deep green). If you use patterns, keep them subtle.
- Props: notebook, laptop, tablet, or a simple pen—anything that signals “I’m working.”
Creative / artsy (designers, photographers, writers, stylists)
- Outfit ideas: interesting textures (knit, denim, linen), a bold color top, or statement earrings that frame your face.
- Colors: pick one “main character” color and keep the rest simple so you don’t compete with your face.
- Props: tools of your trade—sketchbook, camera, paintbrush, fabric swatch, or product you actually use.
Approachable / lifestyle (wellness, community builders, influencers)
- Outfit ideas: soft layers (cardigan, relaxed button-down, breathable top), comfortable shoes if you’ll be walking.
- Colors: warm neutrals and gentle tones photograph beautifully—think sand, sage, light blue, blush.
- Props: coffee mug, journal, a book, a plant—small details that feel like you.
Props should support your story, not steal attention. A quick rule I use: if a prop is more interesting than your face, it’s probably too loud.
Also, pay attention to fit. I’ve seen so many great sessions ruined by clothing that bunches at the wrong spot or creates awkward folds in photos. If you’re unsure, do a 10-minute test at home: stand in front of a mirror, take a few phone shots, and check how your outfit looks from chest-up.

5. Pick Locations That Match Your Brand’s Vibe
Location isn’t just “pretty.” It changes how people read your brand in half a second.
Here’s what I look for when choosing places:
- Background simplicity: Can your face stand out, or is there clutter behind you?
- Light direction: Is the light flattering, or will you squint?
- Brand fit: Does it feel like the world your clients live in?
Examples:
- Urban / street scenes: Great for modern, bold, or business-forward brands. Look for clean walls, not busy storefronts.
- Office / studio: Perfect for credibility. Even a simple desk setup can work if the background is tidy.
- Nature / parks: Works for wellness, creativity, and community. Just watch for harsh midday sun.
- Cafés / cozy interiors: Great for approachable lifestyle brands. Still, check for yellow lighting—warm tones can be flattering but sometimes look off on camera.
I always recommend a quick scout if you can. Even 10 minutes helps you spot distracting stuff (random signs, bright reflections, weird shadows). If you can’t scout, at least arrive early and test one quick frame before committing to a full set.
6. Prepare Tips for a DIY Photo Session
DIY isn’t “less professional” if you do it smart. I’ve helped people get great results using just a window, a reflector, and a simple plan.
Lighting recipe #1: Window light + reflector (my go-to)
- Stand facing the window (not with the window behind you).
- Place a reflector (or white poster board) on the opposite side of your face to bounce light back.
- Time it: aim for late morning or early afternoon when the light is bright but not brutal.
- If the light is harsh, step slightly away from direct sun and let it turn into softer window light.
Lighting recipe #2: Ring light (if that’s what you have)
- Put the ring light at eye level or slightly above.
- Angle it slightly downward so you don’t get under-eye shadows.
- Aim for a distance of about 2–4 feet from the subject for headshots (closer can distort features on some phones).
- Turn off overhead lights if they’re mixing colors and making your skin look weird.
Camera settings (simple and realistic)
- Phone: Use the portrait mode if you like it, but check edges (hair can look messy). For best control, try the “standard” camera mode too.
- If you have manual control: keep ISO low (around 100–400), use a faster shutter if available (roughly 1/125 or faster for movement), and aim for a natural exposure.
- Lens rule of thumb: for a more flattering look, use something like a 50–85mm equivalent if you can. Wide angles closer than that can exaggerate noses and distort faces.
DIY setup tips that save you time
- Use a tripod or stable surface. Sharpness matters more than people think.
- Take bursts (5–10 frames) per pose. One expression will always land better than the others.
- Compose with framing guides: leave a little space above your head, and keep your eyes near the top third of the frame.
- Do a 60-second test shoot before you start “the real thing.” Check focus, exposure, and background clutter.
And yes—editing helps. But if your lighting is off, editing won’t fully fix it. Get the light right first, then do light touch-ups (skin tone, brightness, contrast). Keep it believable.
7. Show Your Personality and Keep It Natural
Natural photos don’t happen because you “pose less.” They happen because you do something.
I’ve seen it over and over: the moment people start talking about what they care about, their body relaxes and their face looks more like them. So don’t wait for inspiration—use prompts.
Quick prompts that work in real shoots
- “What are you working on this week?”
- “What’s something you’re proud of?”
- “What’s your favorite part of your job?”
- “Tell me about your ideal client in one sentence.”
Natural moments to capture
- Laughing mid-conversation (not forced—just wait a second and shoot)
- Looking down at your notes or laptop, then back up
- Adjusting your workspace (straightening a notebook, putting on headphones, taking a sip of coffee)
- Walking a few steps and stopping naturally (for lifestyle brands)
If you want a “signature” look, it can be simple: the same mug, the same pen, the same scarf, or the same type of background texture. Consistency builds recognition.
One more thing: don’t chase the perfect smile. I’d rather you have a relaxed, slightly imperfect expression than a grin that looks like you’re trying too hard.
8. Use a Final Checklist Before Your Photoshoot
I’m a big fan of checklists because they prevent the “ugh, we forgot that” moments. Here’s a checklist I’d use for myself (and I’ve seen it work for clients, too):
- Outfits: clothes pressed/steamed, shoes ready, and backups packed.
- Props: clean and accessible (not buried in a bag), plus one extra item in case something breaks or doesn’t photograph well.
- Hair & makeup: touch-up kit (lip balm, blotting papers, powder, hair spray).
- Tech: phone/camera charged, memory card ready, and tripod stable.
- Lighting: test one frame and confirm exposure/white balance looks natural.
- Schedule: arrive early enough to settle and do a few practice shots.
- Shot plan: your must-have frames written down so you don’t rely on memory.
- Comfort: snacks and water—especially if you’re outdoors or doing multiple locations.
Before you start shooting, do one quick review: is your background distracting? Are your outfits reading correctly in the light? Do you look like you?
If the answer is yes, you’re set. If not, adjust now—not after you’ve spent 45 minutes “trying to make it work.”
FAQs
Because your photos need to support a purpose. When you know what you want people to think and feel, it becomes easier to choose the right outfit, location, pose, and expression—so your images don’t just look good, they actually work for your brand.
I usually start by picking one “main vibe” (professional, creative, approachable) and then choose colors and textures that support it. Solid colors often read best on camera. If you use patterns, keep them subtle. Most importantly: wear something that makes you feel confident, because that shows up in your posture and face.
Use window light when you can, keep your background clean, and use a tripod or steady setup so your shots aren’t blurry. Do a quick test frame first, then shoot in short bursts for each pose. Finally, review a few images right away—so you can fix lighting or focus while you’re still set up.
Don’t force the “perfect pose.” Use prompts, do real actions (writing, talking, working), and keep your body relaxed. A slight chin-forward position, relaxed shoulders, and 3/4 angles usually make people look natural fast—because it reduces the stiff, front-facing look.