Table of Contents
Publishing a children’s book can feel like a huge mountain at first. You’ve got the writing, then the illustrations, then formatting, then figuring out the whole publishing side (ISBNs, file types, platforms, proofs… the list goes on). And if you’re anything like me, you’re also thinking: Is this actually charming? Will anyone buy it besides grandma? (No offense to grandma. She’s just… always supportive.)
Still, once you break everything into steps, it gets way less scary. I’ve walked through this process with my own projects and helped friends do it too, and the biggest difference-maker is having a clear plan. Do the steps in order, don’t skip the boring-but-important parts, and you can absolutely turn your idea into a real book kids will want to pick up again and again.
Let’s get into the 8 steps.
Key Takeaways
- Write a kid-friendly story first: clear theme, memorable characters, and an age-appropriate word count (often 400–800 words for picture books).
- Pick the format based on your audience and budget: paperbacks for easy gifting, hardcovers for durability, ebooks for interactive extras.
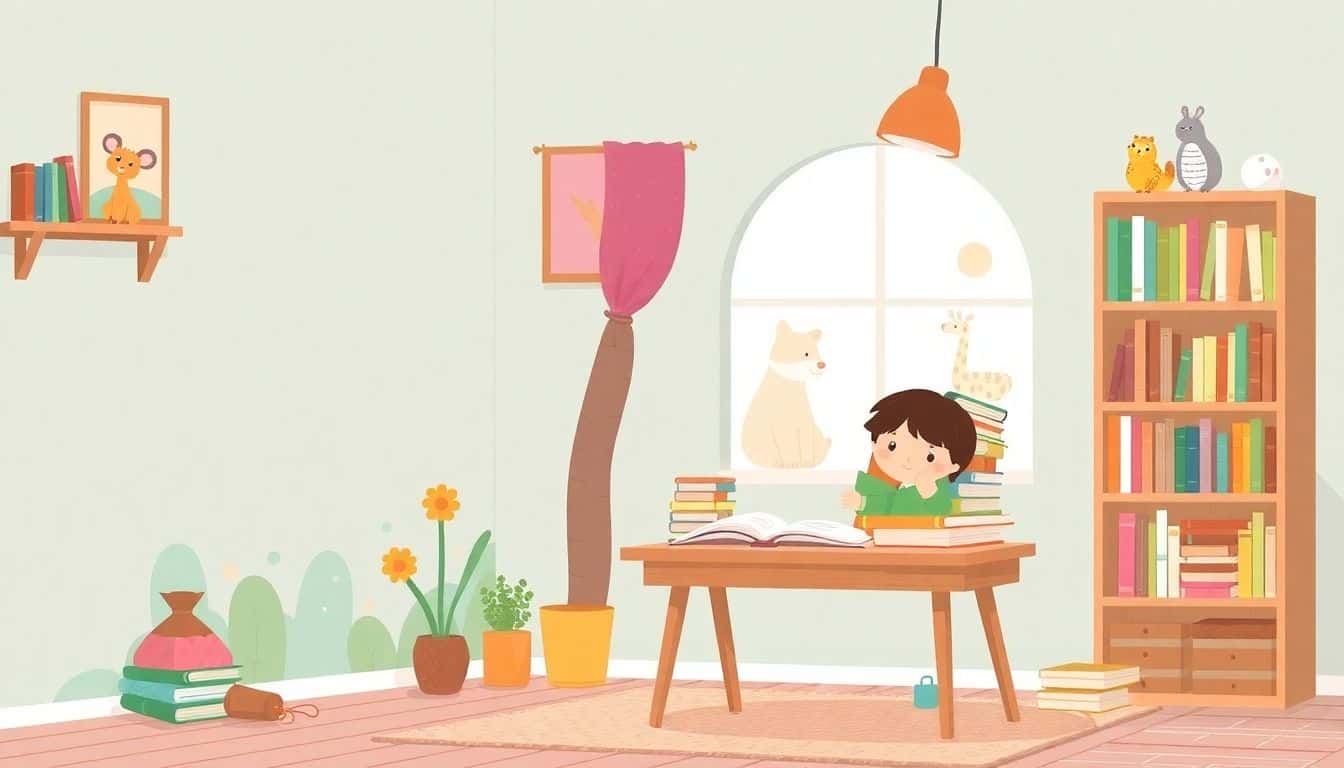
- Illustrations matter more than most people expect. Choose bright, age-appropriate visuals (or hire an illustrator) and keep your art style consistent across pages.
- Format like a pro: standard children’s book trim sizes (like 8×10″), clean margins (often 0.5″+), kid-readable fonts, and images at least 300 DPI.
- Use a platform that matches your goals (Amazon KDP for simplicity, IngramSpark for broader distribution). Get unique ISBNs per format and always review a proof before publishing.

Step 1: Write and Edit Your Children’s Book Story
When it comes to publishing a children’s book, everything starts with a great story. So your first real step is writing a manuscript that kids can follow easily. I like to start with one simple question: What do I want the child to feel or learn after the last page? That becomes your theme or moral, and it keeps you from wandering.
In my experience, kids connect faster when the characters have clear feelings and the situations feel familiar — new school nerves, bedtime worries, sharing, making up after a fight, or even just learning how to be brave. You don’t need a complicated plot. You need a plot that makes sense.
If you’re looking for inspiration, pay attention to what’s getting attention lately. Themes like diverse storytelling, mental health topics, neurodiversity, and eco-friendly lessons are showing up more often in bookstores and classrooms. You can also add a modern twist to something classic — for example, a story about kindness where the main character learns to name their emotions instead of just “being good.”
When I get stuck, I use prompts like: What’s the smallest problem this character could have? What’s the funniest misunderstanding they could make? What would they do if they had one magical tool for a day? Those usually turn into scenes that are actually fun to read out loud.
For the writing itself, keep your language simple and your sentences short. Aim for tight, meaningful text. A lot of picture books land in the 400–800 word range, but don’t treat that like a law. If your story is 250 words and still works, great. If it’s 1,000 words and the pacing drags, that’s a sign you need to cut.
Then comes editing, and this is where most first-time authors lose time (and sometimes quality). Here’s what I recommend:
- Read it aloud. If you stumble, a kid will too. Fix the rhythm.
- Cut anything that doesn’t move the story forward. Kids don’t have patience for filler.
- Check repetition. Repeating a phrase can be comforting, but too much can feel lazy.
- Make sure the emotional arc lands. The ending should feel like a payoff, not a random stop.
Finally, get feedback from people who actually read to kids. Beta readers who specialize in children’s books can help you match market expectations while still keeping your voice. And if you’re doing this solo, it helps to have a plan for polishing your manuscript independently. If you want a starting point, check out this guide on how to get a book published without an agent, which includes tips on editing and polishing your work independently.
Step 2: Decide on Your Book’s Format (Paperback, Hardcover, Ebook)
Choosing the right format affects everything: who buys it, how they buy it, and even how your illustrations and layout will look. I’ve seen books that looked great digitally but felt cramped in print. So take this step seriously.
Today’s children’s book market is still growing fast, with print and digital both strong. One reason is that families are mixing formats — ebooks for travel, audiobooks for bedtime, paper books for routines. For a quick market reference, the global children and young adult books market is projected to hit over $12 billion worldwide by 2025.
Now, let’s talk about what matters for you.
Paperback is usually the easiest way to keep costs down. It’s also lighter, which can matter for kid readers (and librarians who move lots of books). If you’re aiming for classroom sales or bookstore consignment, paperback is often the default.
Hardcover is great when you want the book to feel like a keepsake. In my experience, hardcovers tend to sell well as gifts — especially for seasonal stories, award-winning style books, or books with standout illustrations. It’s also a format that libraries often prefer for durability.
Ebooks can work well if you’re targeting parents who read on tablets or families who like interactive features. And yes, ebooks can include extras like clickable areas and sound effects. If you want to explore that route, check out how to create an interactive ebook for free to open a new avenue for reaching young, tech-savvy readers.
One more thing I wish more people considered: your printing and distribution plan. If you want wide access through bookstores and libraries, you may want a platform that supports those channels well. That’s something we’ll get into later.
Step 3: Create or Choose Illustrations for Your Children’s Book
Pictures are not a side quest in children’s books. They’re the hook. Even if your writing is great, kids (and parents) judge quickly based on the art style, readability, and whether the characters feel like they belong in the story.
You can illustrate your own book if you have the skills and time. If you don’t, hiring an illustrator is often the fastest path to a finished, professional-looking result. The trick is picking someone whose style matches your story’s tone.
In terms of where to look, I’ve had good luck browsing portfolios on sites like Behance or Fiverr. What I pay attention to:
- Consistency. Can the illustrator keep character designs and backgrounds uniform?
- Age fit. Do their illustrations look great at the target age group (not just in general)?
- Color and clarity. Are the images bright and easy to read, especially when text is on top?
Before you commit, ask for a sample page based on your manuscript. If you’re targeting younger kids, you usually want bright, simple shapes and expressive faces. For older kids, you can often go more detailed or stylized — but readability still matters.
Also, don’t just assume the illustrator will automatically understand text placement. Leave enough room for your words. I always think about it like this: a page can be visually beautiful, but if the text sits awkwardly on top of important details, the story won’t flow.
Here are a few practical illustration checks I recommend:
- Text zones: Make sure key text areas are clear and not blocked by busy art.
- Page-to-page continuity: Character proportions, outfits, and backgrounds should stay consistent.
- Emotional clarity: Kids need to “read” the emotion from the illustration, not just the words.
And yes, inclusive characters are still important — not as a marketing gimmick, but because kids deserve to see themselves and their communities reflected in stories. If that’s part of your story, it should show up naturally in the visuals.

Step 4: Format Your Book for Publishing (File Requirements)
Formatting is one of those steps that feels tedious until you see what happens when it’s wrong. Then suddenly you’re staring at blurry images, text that gets cut off, and pages that don’t line up. I’ve been there, and it’s not fun.
Start by choosing your dimensions. Common children’s book sizes like 8×10″ (and 8.5×8.5 inches for square-ish layouts) are popular for a reason: they’re easy to produce and handle.
For print, you’ll usually be working with a PDF. And don’t skimp on image resolution. I aim for 300 DPI for illustrations and cover elements. Anything lower and you risk that “soft” look that parents notice immediately.
Margins matter too. A safe rule of thumb is at least 0.5 inches so important text and illustration edges don’t get trimmed during printing. If you’re using full-bleed images, you’ll also want to follow the printer’s bleed guidelines carefully.
For fonts, choose something kid-friendly and readable. Comic Sans, Century Gothic, and Arial are common picks — but don’t use them blindly. I recommend previewing pages at actual size. If the letters feel cramped on a page, they’ll feel even worse in print.
Ebooks are different. EPUB and MOBI don’t always handle complex layouts the way you might expect. So keep your design simple, test on real devices, and verify that text wraps nicely. If you’re including interactive elements, test click zones and make sure audio or animations work across different screens. You don’t want a kid to tap and nothing happens. That’s how you lose them.
Step 5: Choose a Publishing Platform and Register Your Book
Picking a platform is basically choosing how you’ll publish, distribute, and handle royalties. If you’re trying to move quickly, ease of use matters. If you want broader reach, distribution matters more.
Amazon KDP is popular for a reason: it’s straightforward, and it’s built for self-published authors. You can get your book live without jumping through too many hoops.
IngramSpark is a strong option when you want access through bookstores and libraries. If you’re serious about getting your children’s book into more hands beyond Amazon, this can be worth it.
If you’re stuck deciding, there’s a helpful comparison about self-publishing on Amazon KDP: pros and cons.
Now for the part that surprises people: ISBNs. To sell through retailers and libraries, you’ll want ISBN numbers for proper tracking and listing. And here’s the key detail that trips people up: each format needs its own unique ISBN (ebook vs paperback vs hardcover). You can get a single ISBN or purchase in bulk through providers like Bowker, but plan ahead so you don’t have to redo listings later.
Step 6: Order and Review a Proof Copy of Your Book
I can’t stress this enough: don’t skip the proof copy. It’s your last chance to catch issues before customers do. And for children’s books, small problems can feel huge. A slightly blurry illustration, a margin that cuts off a character’s face, or a font size that’s too small — kids’ books need to be crisp.
Platforms like Amazon KDP and IngramSpark let you order low-cost single proof copies, which is exactly what you should do. When you get the proof, check:
- Image clarity: Are illustrations sharp, or do they look washed out?
- Text alignment: Does anything drift on the page?
- Page flow: Do you understand the story without stopping to “figure out” where to look?
- Margins and trimming: Is anything getting cut off at the edges?
Then, if you can, get feedback from kids. Hand the book to your nephew, a friend’s kid, or someone in your target age range. Watch what they do. Do they pause on certain pages? Do they ignore parts? Do they get confused? That tells you more than any spreadsheet ever will.
Trust me: nothing is more honest than a child’s reaction.
Step 7: Publish Your Children’s Book and Start Promoting it
Publishing is exciting. You’ll probably want to celebrate right away (you should). But after the “live” moment, the work shifts to promotion, because a book won’t automatically sell itself just because it exists.
Start with your Amazon book page (or your main storefront). Write a description that tells people what the story is about and who it’s for. Add eye-catching images — especially ones that show the illustration style clearly. And don’t treat keywords like an afterthought. If your keywords match what parents actually search, you’ll get better visibility.
For launch, I like to use promotions strategically. Options like discounted pricing or a free ebook day can help you generate early sales and reviews. Amazon KDP promotional tools can be useful here, but don’t rely on them alone. Promotion still takes effort.
You can also build a simple author website to make you look more credible and give people a place to learn more. If you want an easy setup, try a platform like Wix or Squarespace (here’s a guide on the best website builder for authors). Include your book cover, a short story summary, and a way to contact you or subscribe to updates.
And yes, social media. Not all of it, though. I’d focus on places where parents and book lovers actually hang out. Facebook groups for parents, Instagram stories, and Pinterest boards targeting kid-friendly activities can work really well because they match how people browse. Post clips of pages, share reading tips, and show behind-the-scenes moments (drafting, illustration progress, proof review). People love the process.
Step 8: Analyze Sales and Improve Your Marketing Strategies
After your children’s book is live for a bit, check the numbers. Not obsessively — just enough to see patterns. In my experience, the data helps you stop guessing and start making smarter tweaks.
Amazon KDP dashboards can show unit sales, royalties earned, and even which countries your book is selling in. That’s useful because you might notice that your paperback is doing better than your ebook, or that one format is outperforming another.
Here are a few examples of what you might learn:
- If ebook sales are low but paperback sales are strong, consider whether the ebook price is too high or whether the ebook listing needs better visuals.
- If you see sales spikes around certain times, you might be hitting seasonal demand — holidays and back-to-school periods are big for children’s books.
- If you’re getting views but not sales, your cover image or description might not be connecting.
Then adjust. Update your description, test new keywords, refine your cover image if you can, and keep improving your social media posts. Marketing isn’t one-and-done. It’s more like a series of small experiments until something clicks.
Frequently Asked Questions About Publishing Children’s Books (Optional)
Let’s keep this practical. Here are quick answers to the questions I see all the time:
- How long should a children’s book be? For picture books, a common range is 24–32 pages, and the word count often lands around 400–800 words.
- What’s the ideal price range? Many ebooks land around $2.99–$4.99, paperbacks around $9.99–$12.99, and hardcovers around $14.99–$19.99.
- Do I need an illustrator? Unless you can personally create professional-quality illustrations that match your story, yes. Illustrations are a major selling point in kids’ books.
- What topics sell best? Trends for 2025 include diverse storytelling, mental health for kids, interactive formats, eco-friendly themes, and personalized stories. Here’s a good resource for kids’ topic inspiration.
- Can I make money from childrens’ books? Yes, but it usually takes time. You’ll need an audience, consistent promotion, and a willingness to keep improving.
Publishing independently can feel intimidating, but if you follow these steps and stay flexible, it’s also a genuinely fun creative journey. And hey, if you put in the work, it can absolutely become profitable over time.
FAQs
Paperback is usually the most cost-effective option, while hardcover feels more durable and works great for gift sales. Ebooks are convenient for families who read on tablets and phones. Pick based on your target audience, pricing goals, and where you want to sell.
Professional illustrations help your book stand out and grab kids’ attention right away. You can use self-created imagery or stock illustrations, but professionally drawn art typically increases reader appeal and makes the whole book feel more polished and trustworthy.
Choose based on cost, royalty rates, distribution reach, and how easy the platform is to use. Common options include Amazon KDP, IngramSpark, and Lulu. Compare what each one offers and pick the one that matches your goals and budget.
Good marketing for children’s books often includes school or library readings, outreach to parenting blogs, active social media, giveaways, and getting reviews from influencers or trusted book reviewers. If you can, show the illustrations in action — that tends to perform well.