Table of Contents
Starting a podcast from home doesn’t have to feel like a money pit. I’ve seen plenty of genuinely good, listenable shows get off the ground with less than $100—and honestly, the “pro” sound usually comes down to setup choices, not fancy gear.
So if you’re trying to keep costs down, here’s a practical, step-by-step guide to recording a podcast from home on a budget (with specific settings and upgrade triggers you can actually use).
⚡ TL;DR – Key Takeaways
- •Audio quality on a budget is mostly about mic technique + controlling room echo (not chasing expensive interfaces first).
- •A $50–$150 solo setup can sound “good enough” for most podcast directories if your mic distance and gain are set right.
- •Soft furnishings (rugs, curtains, blankets) and cheap DIY absorption reduce reverb fast—often the biggest audible improvement.
- •Use free tools first (Audacity/GarageBand/Riverside/Zoom) so you don’t overspend before you know your workflow.
- •Hybrid USB/XLR mics + modern editing tools (including AI-assisted cleanup) make 2026-style budget podcasting more realistic.
Understanding the Basics of Budget Podcasting from Home
Budget podcasting is basically: nail the basics, record clean, then improve in layers. If you try to buy your way out of bad room acoustics or sloppy mic placement, you’ll burn money and still end up with “meh” audio.
Most beginners start with a smartphone or laptop mic, then upgrade to a USB microphone and a basic editing tool. That’s a solid path—because the jump from built-in mics to a real microphone is usually the most noticeable change you’ll hear.
Room acoustics matter too. Even a decent microphone will sound off if your voice is bouncing around in a bare room. The good news? You can improve a lot with soft furnishings and simple absorption.
Why Budget Matters in Podcast Setup
When you’re keeping costs low, you’re forced to focus on what actually affects sound quality:
- Mic choice (you need something that captures speech clearly)
- Mic placement (distance and angle)
- Room control (echo/reverb)
- Levels (avoid clipping, keep noise manageable)
That’s why “budget” works. You can make a show that’s easy to listen to without buying a studio rack on day one.
Typical beginner budgets land around $0–$300. That range usually covers a microphone, headphones, and enough software to edit and export.
Key Trends Shaping 2026 Podcast Equipment
One trend I like for budget creators is the move toward hybrid USB/XLR mics. The idea is simple: you can record via USB now, then switch to XLR later if you decide to add an interface.
For example, hybrid mics like the Maono PD400X are popular because they reduce the “I’ll have to replace everything” problem. You’re not locked into one setup.
Another trend is that acoustic help is easier to DIY than it used to be. You don’t need perfect studio foam. Soft absorption—especially around reflection points—can tighten up speech fast.
Free and low-cost tools also keep getting better. Audacity, GarageBand, and remote options like Riverside.fm or Zoom mean you can start publishing without paying for a full production suite.

Choosing the Right Equipment on a Shoestring Budget
Here’s the truth: you don’t need a huge shopping list. You need a microphone you can actually control, headphones so you can hear problems while you record, and a basic workflow that doesn’t collapse on episode 3.
Essential Gear for Beginners
If you want a straightforward starting point, look at:
- USB microphone: Fifine K669B (~$32) is a common “first mic” option.
- Headphones: Sony MDR-ZX110 ($13–$50 range depending on sales).
- Pop filter: usually around ~$8.
- Mic stand: ~$10–$20 (or a sturdy desk arm).
That’s enough to record clear speech for a budget podcast. I’d rather you spend $60 on a mic + headphones and spend 30 minutes dialing in placement than spend $200 on an interface you don’t need yet.
Cost Breakdown of Budget Setups
- Single podcaster (audio only): Microphone + headphones + pop filter + free software (~$52.97)
- Two-person team: Two budget mics + free DAWs (~$285)
- Video add-on: Phone camera + webcam (Logitech C920 ~ $70) + ring light (~$30) (~$205)
Those numbers aren’t magic—they’re just examples of what you can realistically do without turning this into a hobby that costs hobby money.
Also, video from home is easier than people think. A phone camera plus a basic webcam and a cheap light is often enough to get started on YouTube or short-form.
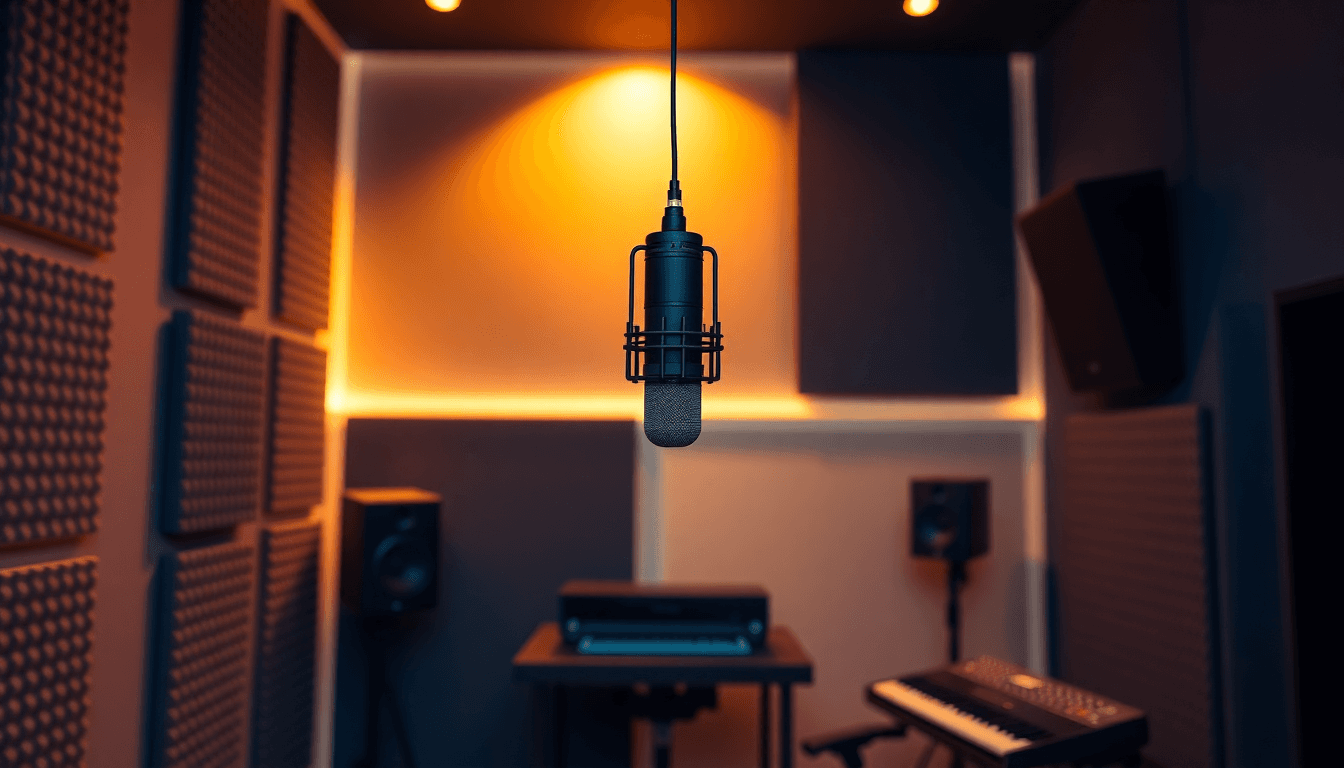
Creating a Home Recording Space on a Budget
Room choice is one of the biggest “silent quality upgrades.” If your room is echoey, you can add noise reduction and EQ all day and it still won’t sound natural.
When I’m setting up a new budget recording space, I start with one simple question: where does your voice sound the least weird? Pick a room with less foot traffic, fewer hard reflective surfaces, and ideally some soft stuff already (carpet, curtains, bookshelves).
Optimizing Your Space for Quality Sound
Try this quick setup test:
- Stand where you’ll record.
- Clap once (yes, really).
- Listen: do you hear a distinct “ring” after the clap?
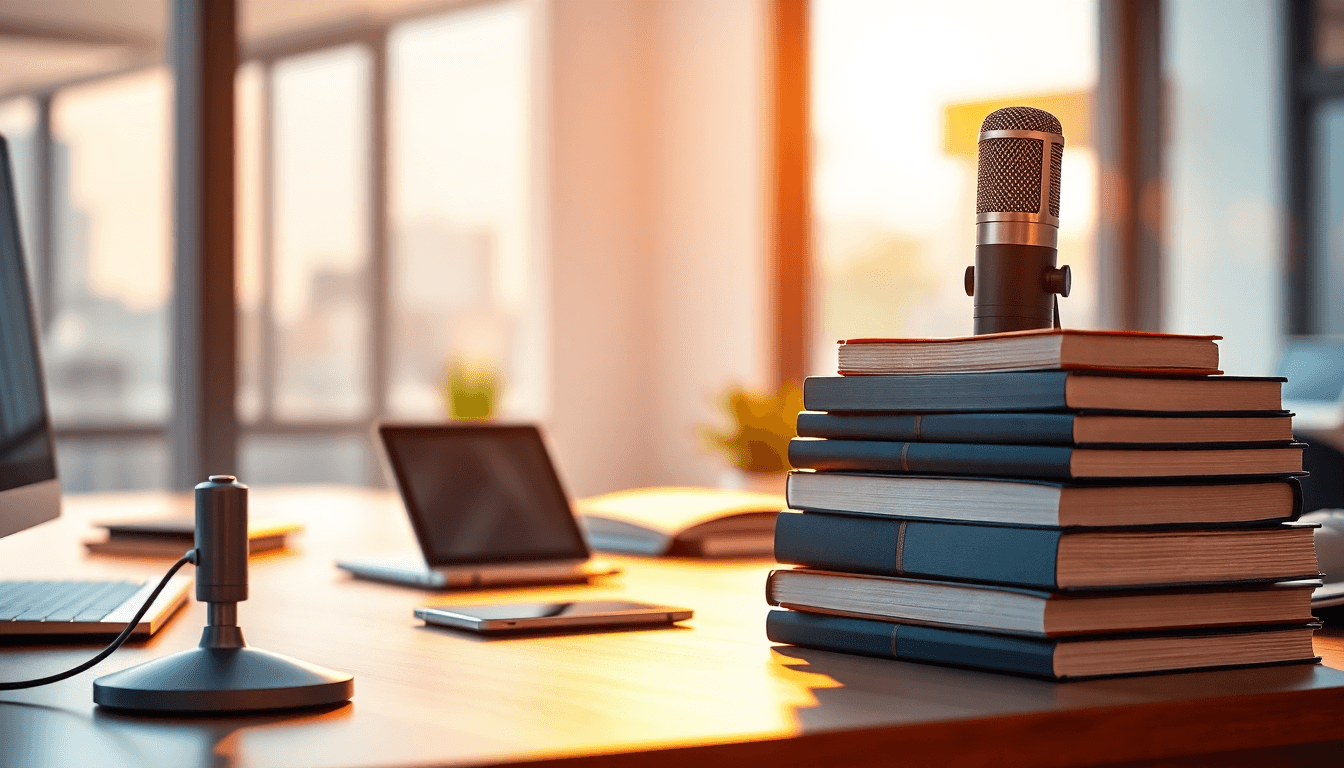
If you do, you need absorption. Soft furnishings help: rugs, curtains, blankets, even a bookshelf full of books.
Then focus on reflection points—especially the wall behind and beside the microphone. If the mic is pointed at a bare wall, you’ll hear it.
If you want to explore DIY options and examples, you can check HomeSage AI Review for ideas around improving small spaces without going overboard.
DIY Acoustic Treatments and Tips
You don’t need a full studio. Start with what’s cheap and easy:
- Hanging blankets (ideally thick) behind and to the sides of the mic
- Thick curtains over windows
- DIY absorption like foam/blanket panels placed where reflections hit
Here’s a practical placement tip that usually works: set your mic so it’s not facing directly into a blank wall. Then add one “soft wall” behind it (blanket or panel) and one to the side if possible.
Before you record a full episode, do a 20–30 second test and listen back. If the room sounds “bigger” than your voice should, adjust placement or add one more soft surface.
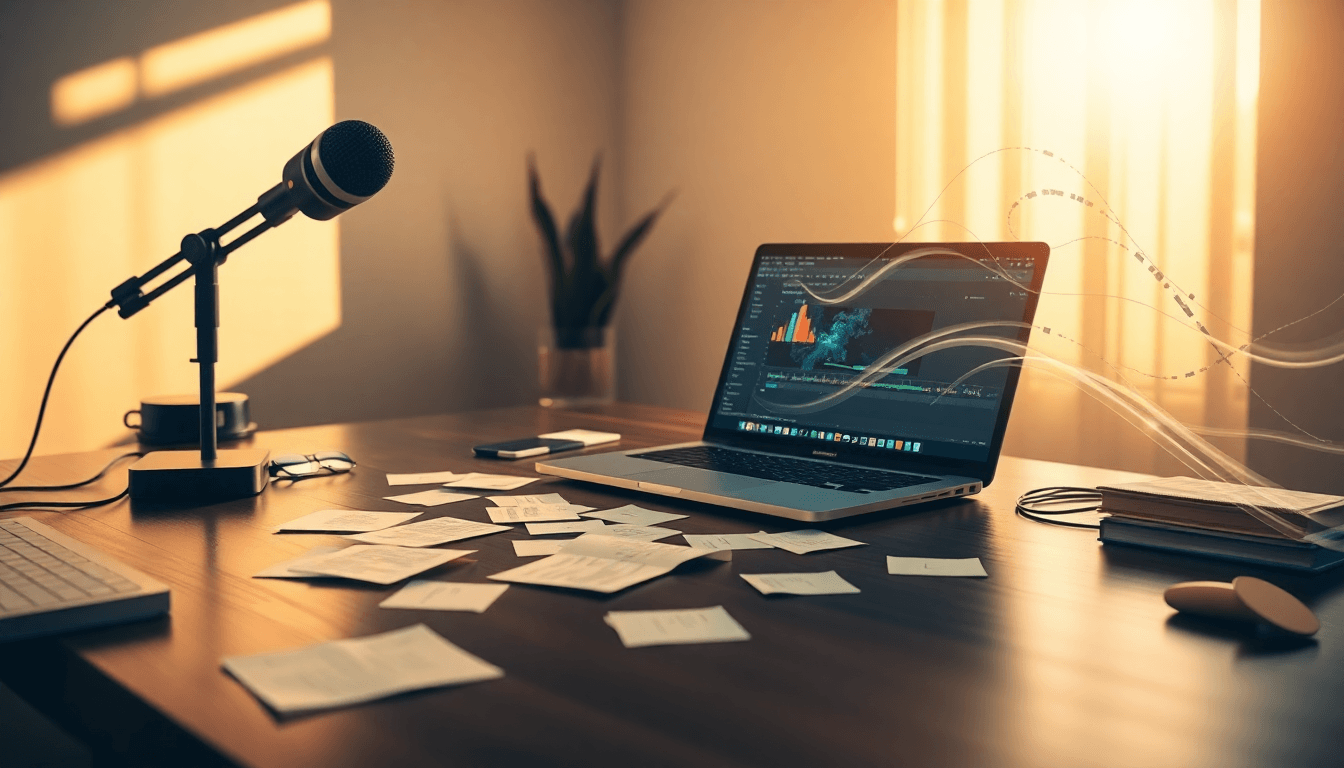
Recording Software and Workflow for Beginners
For editing and recording, free tools are totally fine at the start. The real goal is a workflow you can repeat without thinking too hard.
Audacity and GarageBand are solid entry points. If you’re learning the basics, these tools are widely used, and you won’t get stuck because of complicated interfaces.
If you want a broader look at related home setup ideas, you can also browse homesage.
Free and Easy-to-Use Recording Tools
- Audacity: great for recording and editing; supports multi-track workflows.
- GarageBand: friendly for beginners (especially on Mac).
- Riverside.fm / Zoom: helpful for remote guests, and they reduce some sync headaches.
When you record remotely, the biggest win is separating your voice cleanly from the guest’s voice. That makes editing less painful and improves consistency episode to episode.
Best Practices for Recording and Editing
Let’s get specific—because “record with good levels” is too vague.
1) Mic distance: aim for 2–6 inches from your mouth. Closer often sounds more intimate but can boost plosives and boominess. Farther away can increase room echo.
2) Pop filter: use it even with a budget mic. It helps with p and b sounds.
3) Gain staging: you want peaks to stay comfortably below clipping. A good target for many speech podcasts is keeping your loud moments around -6 dB to -3 dB on the meter (exact numbers vary by software).
4) Monitoring: wear headphones while recording. If you can hear echo, hum, or weird distortion in the headphones, the listener will hear it too.
Export settings (MP3): aim for 128–192 kbps for MP3 if you’re doing speech-only. If your podcast includes more music, lean closer to 192 kbps.
For speech-focused podcasts, mono is often perfectly fine and can reduce file size without harming intelligibility. If your editing produces a stereo field you actually want (music, effects, ambience), keep stereo—but don’t force it.
If you want a quality benchmark, listen with your ears: does it sound clear at normal volume? If you’re measuring loudness, a common podcast target is around -16 LUFS (for integrated loudness), but you should follow your platform’s expectations.

Strategies for Scaling and Improving Your Setup
Upgrades should be earned, not assumed. If your episodes already sound clear and consistent, you’re doing something right.
A good rule: after you’ve produced a handful of episodes, look for patterns. Are listeners complaining about echo? Are there frequent “why does this clip?” moments? Are your recordings noisy even when the room is quiet?
Those clues tell you what to improve next.
When and How to Upgrade Gear
Instead of “after 10 episodes upgrade,” use a checklist:
- Echo is the main problem: upgrade acoustics first (blankets, panels, reflection control).
- Speech is clear but levels are unstable: improve your mic technique and gain staging (distance, consistent speaking volume).
- You’re hearing background noise (fan/room hum): address the room and mic position before buying expensive gear.
- Clipping happens during normal speaking: your gain is too hot—fix levels before spending money.
If you want a practical upgrade path, higher-end audio interfaces and better mics can help, but they won’t fix a bad room. A popular upgrade interface example is the Focusrite Vocaster, and a well-regarded dynamic mic upgrade is the Shure SM7B (often with strong resale value when you’re ready to move).
Hybrid USB/XLR mics are also a smart “bridge” upgrade because you can keep your current setup while preparing to go XLR later.
Adding Video Elements on a Budget
If you want to record video too, keep it simple:
- Camera: phone or a webcam like Logitech C920 (~$70)
- Lighting: ring light (~$30) or a basic lamp with diffusion
- Framing: eye level, clean background, and avoid overhead lighting if you can
Remote video recording is also easier now. Platforms like Riverside.fm help with multi-guest remote recordings and synced audio/video, so you’re not doing everything manually.
If you’re also thinking about other creative projects, you can browse book marketing budget for budgeting ideas that pair well with content planning.
Overcoming Common Challenges in Budget Home Podcasting
Budget setups run into the same issues repeatedly. The good news is they’re fixable.
Handling Echo and Reverb
Echo and reverb are usually room problems, not mic problems. Start by softening the room:
- Hang blankets behind the mic
- Add thick curtains over windows
- Use DIY absorption panels around reflection points
If you want more ideas and examples for DIY approaches, see HomeSage.ai Review.
Also, dynamic microphones can help reduce ambient pickup compared to many condenser mics—especially if your room isn’t fully controlled.
Dealing with Poor Audio Quality
If your audio sounds thin, buzzy, or inconsistent, check these first:
- Are you using a built-in laptop/phone mic? If yes, switch to a proper microphone.
- Is your mic too far away? Move closer into the 2–6 inch range.
- Is your gain too high? Lower it to avoid clipping.
- Are you speaking off-axis? Rotate the mic slightly so you’re aimed at it.
Pop filters and correct mic placement go a long way. And yes, it’s boring—but consistent test recordings beat guessing.
Managing Multi-Person Recordings Remotely
Remote is convenient, but it can get messy if you don’t prep. Before you hit record:
- Ask everyone to use headphones
- Do a short connection test
- Confirm who will speak and when
Platforms like Riverside.fm or Zoom can help with synced remote interviews. If you need to monitor multiple inputs, a headphone splitter can keep your monitoring simple—especially when you’re recording with more than one track.
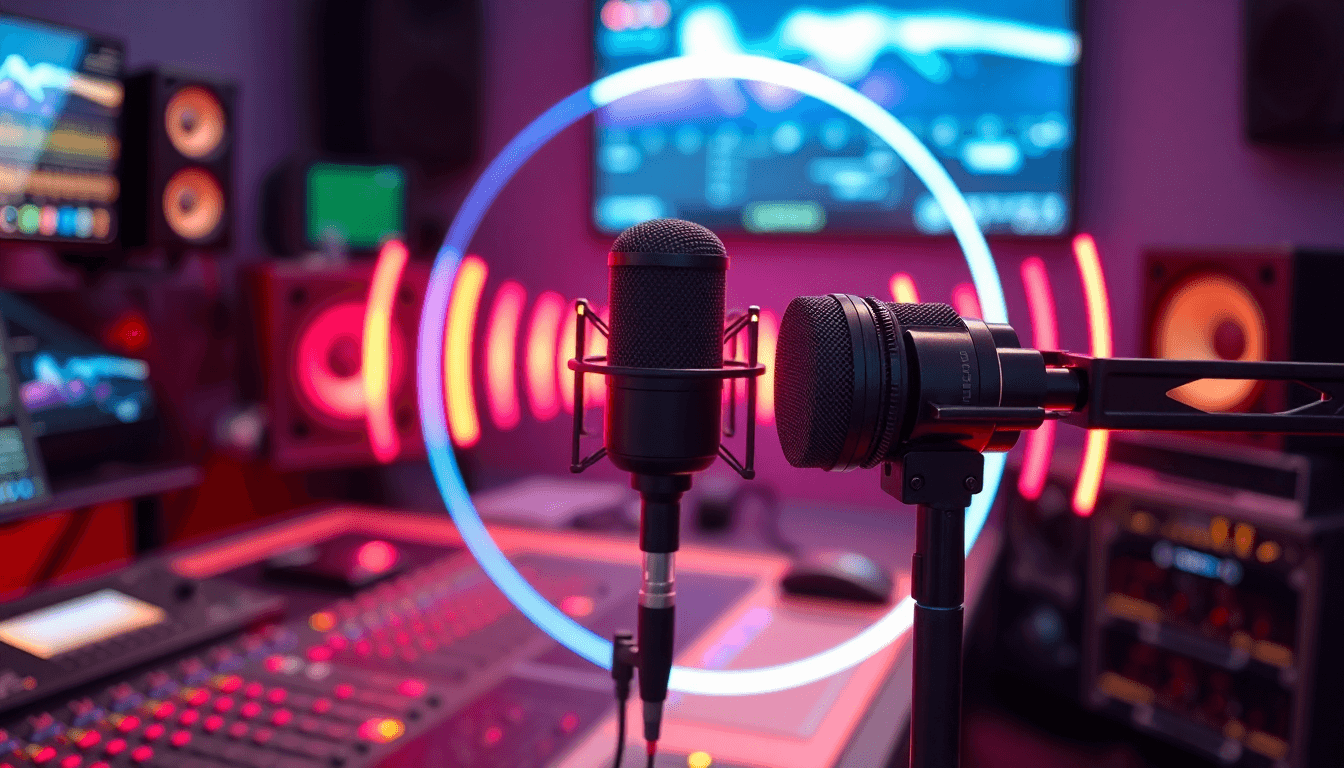
Latest Industry Trends and Tools for Budget Podcasting in 2026
In 2026, budget podcasting is trending toward hybrid hardware and smarter editing. You’ll see more creators using hybrid USB/XLR mics so they can grow without replacing everything.
Editing tools are also getting more helpful. AI-assisted cleanup can reduce background noise and improve speech clarity, especially for remote recordings where you don’t control the environment.
If you’re curious about AI editing tools, you can check Inpodcast AI Review—just remember that you’ll still get the best results from clean recordings in the first place.
Another trend is affordable portable vocal booths. These are often priced around $200–$500, and while they’re not magic, they can help reduce room reflections quickly.
On the production side, many creators mix free hosting with low-cost editing/DAW workflows. Home setups now rival professional studios more often than you’d think, as long as acoustics and levels aren’t ignored.
Emerging Equipment and Tech
- Hybrid USB/XLR mics for upgrade paths
- AI editing helpers for cleanup and workflow speed
- DIY sound control as the real “quality lever” for small rooms
Portable booths are becoming easier to experiment with too. If you’re doing lots of voice recording and your room is hard to control, they can be worth testing.
Industry Standards and Best Practices
If you want the simplest “standard” that keeps working, it’s this: prioritize acoustics, keep mic technique consistent, and export with settings that match speech.
For acoustic inspiration, you can revisit HomeSage.ai Review.
On distribution, free hosting options like Spotify for Podcasters can make launching easier while you focus on content.
Start simple. Improve what your audience is actually hearing. That’s the whole game.

Conclusion: Start Small, Scale Smart in 2026
In 2026, you really can produce professional-sounding podcasts from home without going broke. The winning formula is boring in the best way: a decent microphone, headphones you trust, and a room that doesn’t fight you.
Once you’ve published a few episodes, upgrade based on what’s actually hurting your sound—usually acoustics and mic technique come first. Do that, and you’ll build a setup that’s sustainable (and doesn’t drain your wallet).
Frequently Asked Questions
How much does it cost to start a podcast on a shoestring budget?
You can start with under $100 using a basic USB microphone, headphones, and free editing software like Audacity. A lot of creators manage decent early episodes for under $50 if they already have a computer and can keep their room controlled.
How much should I spend on podcast equipment?
For most beginners, $150–$300 is a sweet spot: a solid microphone, headphones, and basic acoustic help. If you want to upgrade, do it after your first set of episodes so you’re improving what you actually need—not what you guessed you needed.
What is the best podcast setup for beginners?
A reliable starter setup is a USB mic like the Fifine K669B, a good pair of headphones, and free editing software. Then spend time treating your recording space with soft furnishings or DIY absorption so your voice doesn’t bounce around.
Can I record a podcast from home with a low budget?
Absolutely. Many successful podcasts start with a phone or laptop plus free tools. But if you care about listener experience, prioritize the microphone and mic placement before you worry about expensive add-ons.
What equipment do I need to start a podcast at home?
At minimum: a budget microphone, headphones, a quiet room, and free software. As you grow, consider adding acoustic treatment and (if you switch to XLR) an audio interface for more control.