Table of Contents
Ever read something you wrote and then immediately think, “Wait… did I actually explain that?” Or you hit that weird spot where the sentences look fine on screen, but they don’t sound right when you read them out loud.
I’ve been there. Editing can feel like hunting for tiny mistakes in a dark room. The fix I keep coming back to is boring (in the best way): a self-editing checklist. It gives me a repeatable order of operations, so I’m not jumping around and accidentally missing the same problem twice.
Below is the checklist I use when I’m polishing drafts for blogs, essays, and ebook chapters. It’s meant to be practical—like, “open the doc and work through it” practical. If you want, you can even copy/paste this into your notes and check items off as you go.
Key Takeaways
- Use a step-by-step self-editing checklist that covers grammar, facts, sentence clarity, voice, and formatting—then finish with a slow, full read-through.
- Run your draft through tools like Grammarly and a proofreading option, but don’t skip verification for numbers, dates, quotes, and claims.
- For clarity, I aim for tighter sentences (often around 14–18 words) and split anything that turns into a “breathless” wall of text.
- Keep voice consistent by choosing a tone up front and checking it again by reading aloud—especially at transitions between sections.
- Improve readability with short paragraphs, clear headings, and lists that make scanning easy on mobile.
- Simplify by cutting filler and redundancies, and prefer active voice when it fits your meaning.
- Do a final pass with fresh eyes (different device or print helps) and consider a quick peer review for anything you might’ve normalized.

My quick “before you start” setup (takes 3 minutes)
- Pick your audience + format: blog post, ebook chapter, or essay. Your editing priorities change.
- Choose your tone: friendly, authoritative, humorous, etc. Write it at the top of the doc.
- Open the tools you’ll use: Grammarly (or similar), Hemingway, and your fact sources (tabs/bookmarks).
- Decide how many passes you’ll do: I usually do 3 self-edit passes + 1 final read-through.
What is a Self-editing Checklist?
A self-editing checklist is a step-by-step tool that keeps you focused while you revise. Instead of “editing everything at once” (which is how mistakes sneak in), you review one category at a time: grammar, facts, clarity, voice, formatting, and flow.
In my own workflow, this is the difference between a quick proofread and a real polish pass. Tools catch typos. The checklist catches the stuff tools don’t: unclear logic, inconsistent tone, and formatting that looks fine on desktop but falls apart on mobile.
Key Steps in a Self-Editing Process (copy/paste friendly)
- Check Grammar and Spelling: Run your draft through Grammarly (or another checker) and then do a manual scan for common errors: repeated words, missing punctuation, and tense shifts.
- Verify Facts and Data: Check every number, date, quote, and statistic against a trusted source. If you can’t verify it, remove it or rephrase it as your opinion.
- Optimize Sentence Length and Clarity: Tighten long sentences and split anything that reads like it needs three breaths. I often use Hemingway to flag the problem spots.
- Check Style and Voice: Decide on your tone early, then read aloud to confirm it’s consistent—especially in intros, transitions, and conclusions.
- Review Formatting and Structure: Make it scannable. Short paragraphs, clear headings, and lists help readers actually stay with you.
- Simplify for Readability: Cut filler, reduce redundancy, and prefer active voice where it improves clarity.
- Final Read-Through: Do one slow pass end-to-end. If possible, use a different device or print it so your brain stops reading “what you meant.”
The full 7-step self-editing checklist (with concrete prompts)
Use this like a real checklist. I’m intentionally making each item specific so you know what to look for.
- Step 1: Grammar + spelling
- Check for repeated words (the, the, the) and accidental duplicates.
- Confirm subject-verb agreement (especially in long sentences).
- Make sure pronouns are clear (it/they refer to what, exactly?).
- Scan for comma splices and missing commas after introductory phrases.
- Run a final tool pass, then fix the top 10 errors manually (don’t trust the “0 errors” badge blindly).
- Step 2: Facts + data
- Every statistic has a source you can point to.
- Dates and time ranges match the original reference.
- Quotes match the original wording (and include the right context).
- Names, titles, and terminology are spelled correctly.
- If you’re describing research, you’re not overstating results (e.g., “proves” vs “suggests”).
- If you can’t verify something quickly, remove it or mark it as your interpretation.
- Step 3: Sentence length + structure
- Look for “stacked” sentences with multiple ideas jammed together.
- Split sentences that contain 2+ unrelated actions or 2+ time jumps.
- Trim extra qualifiers (really, very, just, basically) unless they add meaning.
- Watch for passive voice when you want direct, punchy writing.
- Do a quick read-aloud for awkward phrasing—fix anything you stumble over.
- Step 4: Style + voice
- Your tone matches the promise of the piece (casual vs formal, etc.).
- Tense is consistent (don’t drift from past to present without a reason).
- Vocabulary fits the audience (no jargon without explanation).
- Use the same level of “confidence” throughout (don’t switch between “sure” and “maybe”).
- If you include examples, they match the tone (too serious examples in a playful piece feel off).
- Step 5: Formatting + structure
- Paragraphs are short enough to breathe (I aim for 2–4 sentences most of the time).
- Headings tell you what the section does (not just “More info”).
- Lists are used where the reader needs steps, comparisons, or takeaways.
- Check spacing around headings and lists so it doesn’t look cramped.
- Preview on mobile and confirm line breaks don’t create weird gaps.
- Step 6: Streamline for readability
- Remove redundancies (same idea, different words).
- Cut “throat-clearing” phrases that don’t add information.
- Replace vague words (things, stuff, very, kind of) with specific nouns/verbs.
- Make transitions clear: “because,” “so,” “however,” “for example.”
- Ensure each paragraph has a point—no filler lead-ins.
- Step 7: Final read-through
- Read slowly from start to finish without editing—just mark issues.
- Check the first and last sentence of each section (that’s where flow breaks most often).
- Verify links (especially if you add or edit them later).
- Do a last scan for punctuation and formatting inconsistencies.
- If you can, ask one person to read the intro + one random section and tell you where they got lost.
Want a bonus? If you’re building a consistent voice, I’ve found it helps to pair this checklist with how to be a beta reader so you can get feedback before you lock things in.
5. How to Optimize Sentence Length and Structure
I’m not obsessed with a magic word count, but I do have a target: sentences around 14–18 words tend to read cleanly. The real goal is clarity, though. If a 25-word sentence is crystal clear, keep it. If it’s a tangled mess, split it.
Here’s what I look for:
- Two different ideas in one sentence (especially with “and” connecting them).
- Too many clauses (when you have to reread to understand the order).
- Long introductions that bury the point.
Quick before/after examples (what “better structure” looks like):
Before: “The reason the process works is because it helps you stay organized, and it also makes it easier to spot mistakes before they turn into bigger problems later.”
After: “The process works because it keeps you organized. It also helps you spot mistakes early, before they snowball.”
Before: “When you read the draft, you may notice that the tone changes depending on the section, which can confuse the reader.”
After: “When you read the draft, tone changes show up fast. Those shifts confuse readers.”
If you use Hemingway, don’t just accept the “green” score. I treat it like a spotlight: it tells me where the sentence is getting heavy. Then I decide whether to split, reword, or cut.
And yes—reading aloud still works. If you stumble on a sentence, your reader will too.
6. How to Verify Facts and Data Effectively
Fact-checking isn’t glamorous, but it’s where credibility is made. I’ve seen drafts that were otherwise polished fall apart because one number was off—or a quote didn’t actually say what the writer implied.
My fact-check routine:
- Numbers + dates first: If you mention “2021,” “3.5%,” or “two-thirds,” verify those immediately.
- Quotes last (but carefully): Make sure the wording matches the source and that the quote fits the point you’re making.
- Use primary sources when possible: original studies, official sites, or the document where the claim came from.
- Record what you used: if you’re citing in a blog/ebook, keep the link and the publication name in your notes.
One practical habit: if a source is paywalled and you can’t confirm it, I don’t “guess.” I either swap it for something verifiable or remove the claim.
Also—don’t forget that context matters. “A study found X” isn’t the same as “a study proves X.”
7. How to Develop a Consistent Style and Voice
Consistency in voice is one of those things readers feel even when they can’t explain it. A tone shift can make a piece feel careless, even if the grammar is perfect.
What I do:
- Pick a tone upfront: friendly and helpful, or more formal and instructional. Write the tone in one line at the top of the doc.
- Use a style guide (even a simple one): decide on tense, Oxford comma or not, and whether contractions are welcome.
- Read aloud for “tone breaks”: I listen for sentences that sound like they came from a different writer.
If you’re working on ebook content, I also find it helps to align voice with your structure. For example, if your chapters use short, punchy tips, your sentences shouldn’t suddenly become dense and academic in the middle.
Want more on keeping voice steady? This pairs well with how to write in present tense (tense consistency is a huge voice factor).
8. How to Improve Formatting and Structure for Readability
Formatting isn’t decoration. It’s part of the writing. If your content is hard to scan, readers won’t stick around long enough to understand your point.
Use this structure checklist:
- Short paragraphs: I aim for 2–4 sentences. If it’s longer, either break it up or turn part of it into a list.
- Clear headings: each heading should tell the reader what they’ll get.
- Lists where it helps: steps, pros/cons, key takeaways, or “do this, then that.”
- Mobile preview: if you don’t check mobile, you’re guessing. I always do a quick scroll test.
One thing I noticed after testing my own posts on a phone: line length and spacing can make even good writing feel “heavy.” Fixing that is often just a matter of paragraph breaks and list formatting.
9. How to Streamline Content for Better Readability
Streamlining is where your draft starts sounding like you meant it. It’s not about making everything shorter—it's about making it cleaner.
Start with these common fixes:
- Cut filler like “really,” “very,” “just,” and “in order to” when they don’t add meaning.
- Replace vague language with specifics. “Many people” → “Most beginners” (or whatever is accurate).
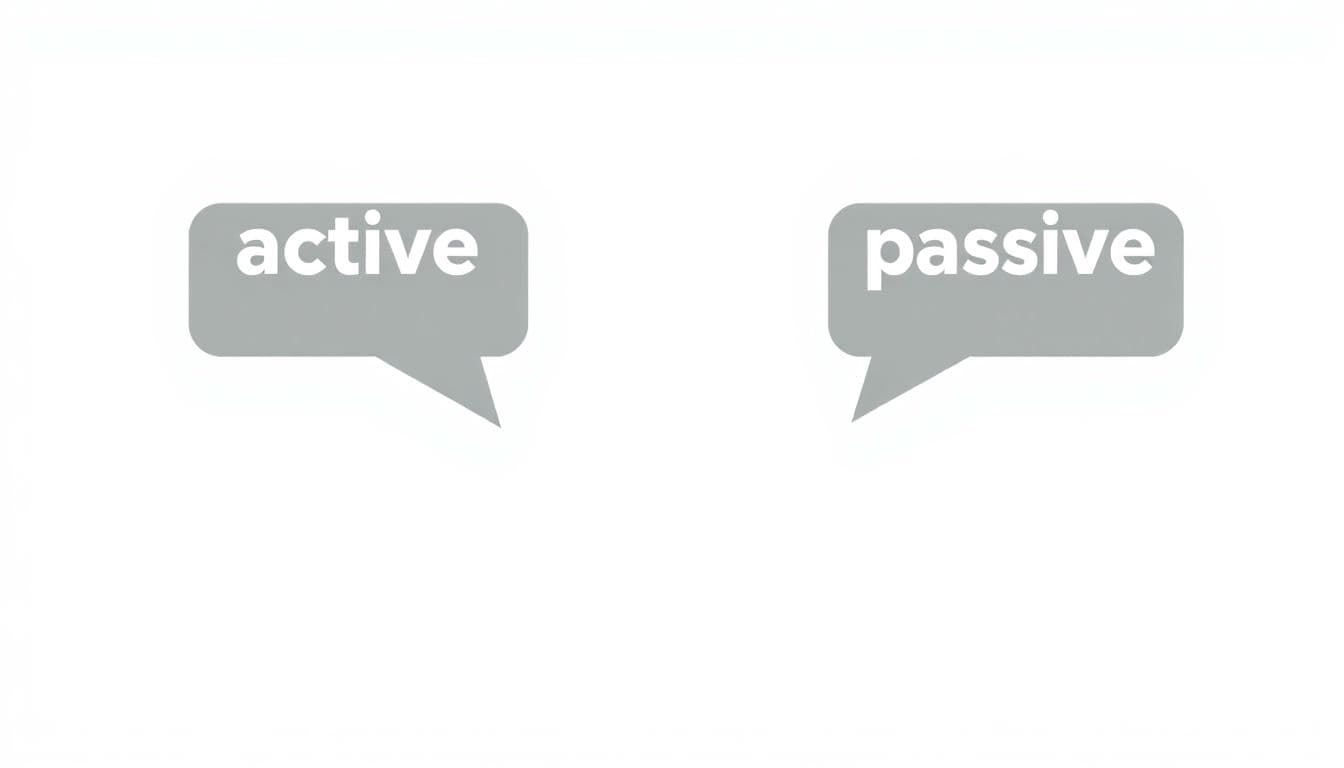
- Prefer active voice when it improves clarity. “The checklist catches errors” is usually stronger than “Errors are caught by the checklist.”
- Watch for redundancy: if two sentences say the same thing, merge or delete one.
Mini example:
Before: “In order to improve your writing, you should make sure that you review your work carefully.”
After: “Improve your writing by reviewing your work carefully.”
Ask yourself one question per paragraph: What is the point of this paragraph? If you can’t answer it in a sentence, trim until you can.
10. How to Conduct a Final Read-Through Effectively
This is the pass that saves you from the “how did I miss that?” moments.
Here’s how I do it:
- Read slowly: not skimming. If you’re rushing, you’ll miss the obvious typos.
- Check transitions: does the piece move logically from one section to the next?
- Check pacing: if a section drags, cut, shorten, or split it.
- Use a different format: print it or switch devices. Your brain reads differently, and mistakes pop out.
- Spot-check formatting: headings, lists, and spacing—especially after you make edits.
Finally, if you can, ask a trusted peer to read just the intro and one random section. You’re not looking for a full rewrite—just where the reader gets confused.
FAQs
The key steps are: check grammar and spelling, verify facts and data, improve sentence clarity and structure, keep style and voice consistent, format for readability, simplify for clarity, and finish with a full read-through from start to finish.
Self-editing improves writing when you review in passes instead of guessing. Focus on clarity first, then correctness (grammar and facts), then voice and formatting. A checklist keeps you from skipping the “invisible” problems like tone shifts and unclear logic.
I like to self-edit at least 3 times: one pass for structure/clarity, one for grammar and facts, and a final pass for flow and formatting. If you can, take a break between passes so you see the draft with fresher eyes.