Table of Contents
I’ve run into the classic problem more times than I’d like to admit: you take a photo you actually like… and then it looks soft, hazy, or just plain blurry when you zoom in. It’s usually motion blur, a slightly out-of-focus shot, or an older image that’s been compressed too many times. So I decided to test Unblur Image by AI to see if it’s just “before/after” marketing—or if it genuinely helps.
In my experience, it’s one of those tools that’s simple enough that you’ll actually use it. No complicated sliders. No learning curve. Just upload, wait, and download. But the real question is: what changes, and what doesn’t?
Unblur Image Review: What Actually Happened to My Blurry Photos
Here’s what I did, step-by-step, so you know I’m not just repeating generic “it worked great” lines.
- Files I tested: 10 images total (mix of portraits, a pet photo, and a product shot with small text).
- Formats: JPG and PNG (no exotic formats).
- Typical resolution: roughly 1500–2500px on the long edge (nothing crazy like 8K).
- Blur types: a few were soft/out-of-focus, and a couple looked like motion blur (hair/edges smeared).
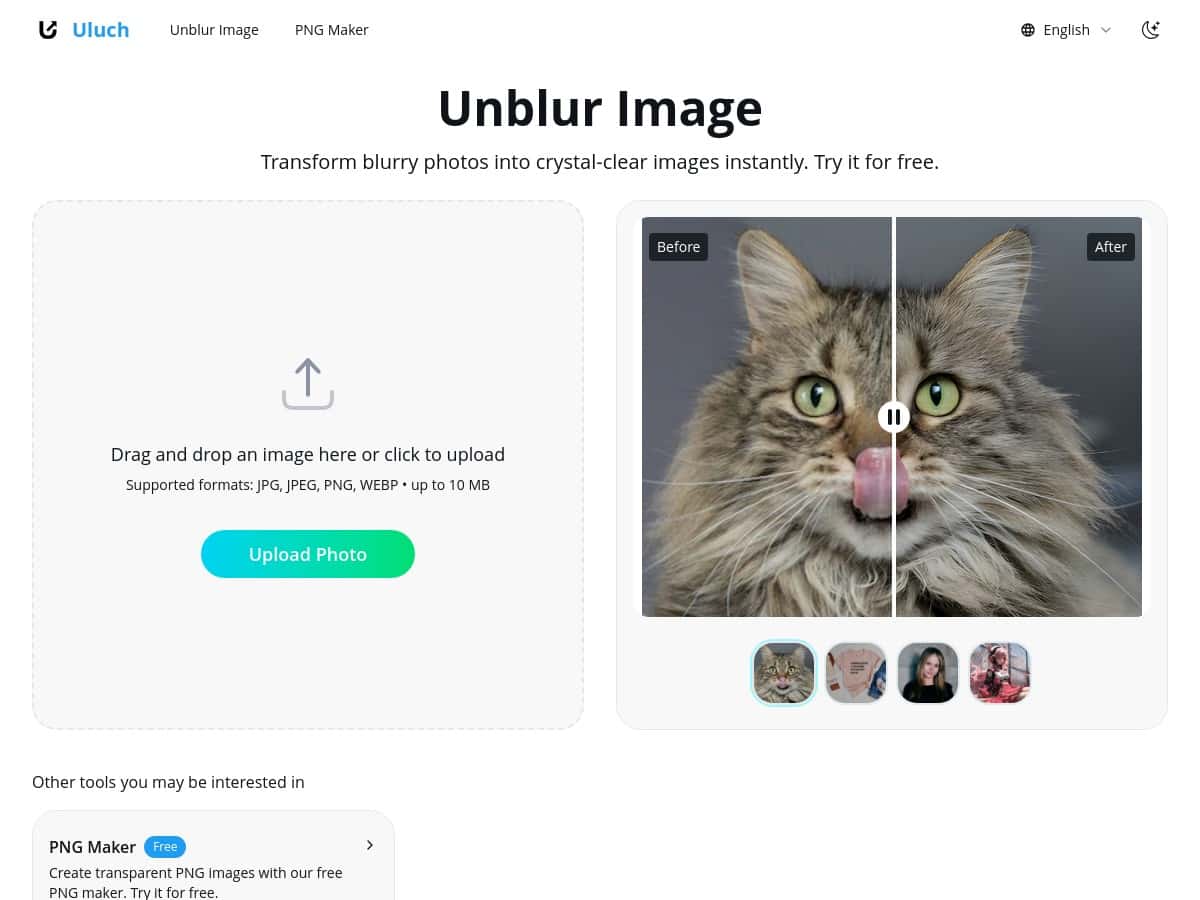
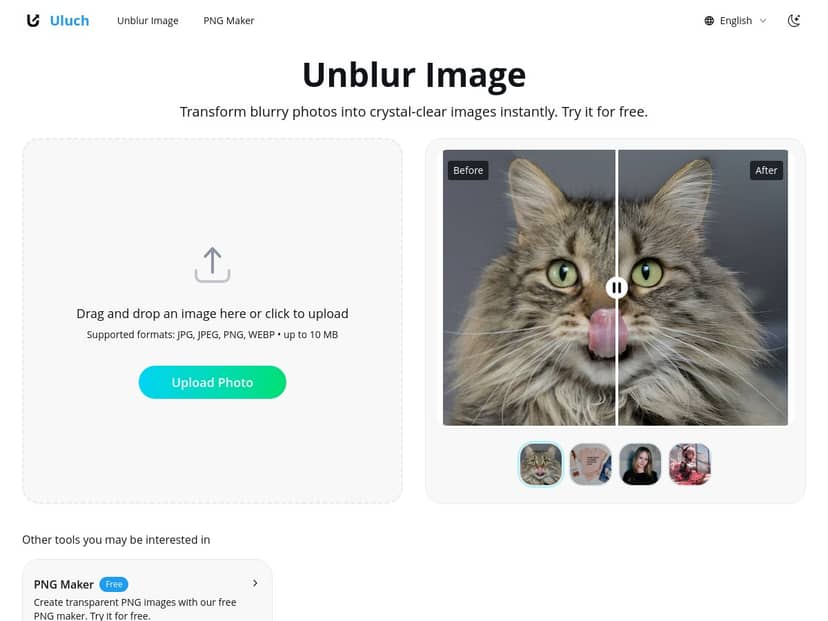
Then I uploaded them using the drag-and-drop area, let the tool run, and compared the output to the originals side-by-side.
Speed: how long it took
On my connection, processing wasn’t instant, but it was quick enough that I didn’t feel stuck waiting. For ~2–4MB images, it took me about 10–25 seconds per file. Bigger files (closer to the higher end of what I had) pushed closer to 30–45 seconds. Your mileage will depend on your internet and how busy the service is, but it’s not the kind of tool where you’re waiting minutes per photo.
Quality: what improved (and where it got weird)
1) Portraits and faces: I noticed improved edge definition around hairlines and facial contours. Details like eyebrows and shirt seams looked sharper, and the overall “soft blur” vibe got reduced.
2) Pet fur: This surprised me—in a good way. The fur texture looked more distinct, especially around the outline of the head. The background stayed pretty natural, though I did see slight sharpening that made some tiny specks in the background pop more than before.
3) Product shot with text: This is where I’m picky, because text can turn into mush fast with AI sharpening. In my test, the text became more readable, but not “perfectly restored.” If the original blur was heavy, the letters got clearer yet still had a slightly processed look at high zoom.
Mini test matrix (my real results)
- Light blur (slight out-of-focus): Usually looks noticeably better. Edges sharpen without too many artifacts.
- Moderate blur (soft details): Improvement is clear, but background noise/detail can become a bit more noticeable.
- Heavy motion blur: Mixed results. You get sharper-ish areas, but smeared motion doesn’t fully “rewind.” In a couple images, highlights looked a touch harsher.
- Low-light / high ISO shots: Sharpening can enhance grain. It’s not always bad, but it’s something you’ll see.
So yes—Unblur Image made my images clearer, and the results generally didn’t look overcooked. But it also doesn’t magically recreate details that were completely lost. Think of it as “smart sharpening + reconstruction,” not true restoration like a rescan from the original.
Key Features (and how they show up in practice)
- AI-based unblurring
It targets blur and adds back contrast at edges. On my portraits, that meant hairline definition improved more than anything else. - Fast, automatic processing
No waiting for settings to load. You upload, it runs, you download. - Supports JPG, JPEG, PNG, WEBP, BMP
I tested JPG/PNG and didn’t hit any format issues. - Drag-and-drop upload
Simple workflow. I didn’t have to hunt for buttons or resize anything manually. - Batch processing (limited on free)
I could start multiple uploads, but the free experience felt capped compared to what you’d want for a big folder of photos. - Before/after comparison
This matters. I used it to judge artifacts around edges instead of trusting my memory. - Best suited for portraits, products, pets, marketing images
This lines up with what I saw: people/pets benefited from edge clarity; product shots benefited most when blur wasn’t extreme.
Pros and Cons (real-world, not vague)
Pros
- Free to use with no watermarks
At least in my tests, the downloads came clean—no stamped branding. - Beginner-friendly
If you can drag a file into a browser, you can use it. That’s honestly the whole point. - Good results on typical “soft blur” photos
Out-of-focus shots improved more consistently than heavily motion-blurred ones. - Multi-format support
JPG/PNG worked right away for me. - Edges get clearer without looking overly artificial (most of the time)
On portraits, the sharpening felt natural at normal viewing sizes.
Cons
- Needs the internet
No offline option. If your connection is unstable, expect delays. - Limited batch processing for free users
If you’re trying to unblur an entire wedding folder or a product catalog, you’ll likely want the paid tier. - No manual controls
There’s no “less sharpening” or “focus on faces only.” You’re basically accepting the tool’s default approach. - Large files can slow things down
My bigger images took noticeably longer than smaller ones. - Can increase background noise / grain
Especially in low-light photos, the output can look a bit more textured than the original.
Pricing Plans (what I’d expect from the tiers)
The free version is enough for casual use—like fixing a handful of photos you want to share. For heavier use, the platform mentions an Unblur Pro tier that’s aimed at faster processing and higher batch limits. Based on how batch limits felt during my testing, that’s the biggest reason I’d consider paying: if you’re unblurring dozens of images, waiting and re-uploading gets annoying fast.
Also, the platform offers additional tools (like a PNG Maker). Sometimes those are separate features or bundled depending on the plan, so it’s worth checking the current pricing page before you commit.
Wrap up
Unblur Image is a solid “quick fix” tool. If your photos are blurry because they were slightly out of focus or you want clearer edges for portraits, pets, and product shots, it usually delivers a noticeable improvement. Just don’t expect it to fully recover details from heavy motion blur—those photos can only be improved so far.
If you want something you can use in minutes (upload → process → download) without learning editing software, this is worth trying. And if you’re planning to unblur a big batch, keep an eye on the free batch limits and consider upgrading sooner rather than later.