Table of Contents
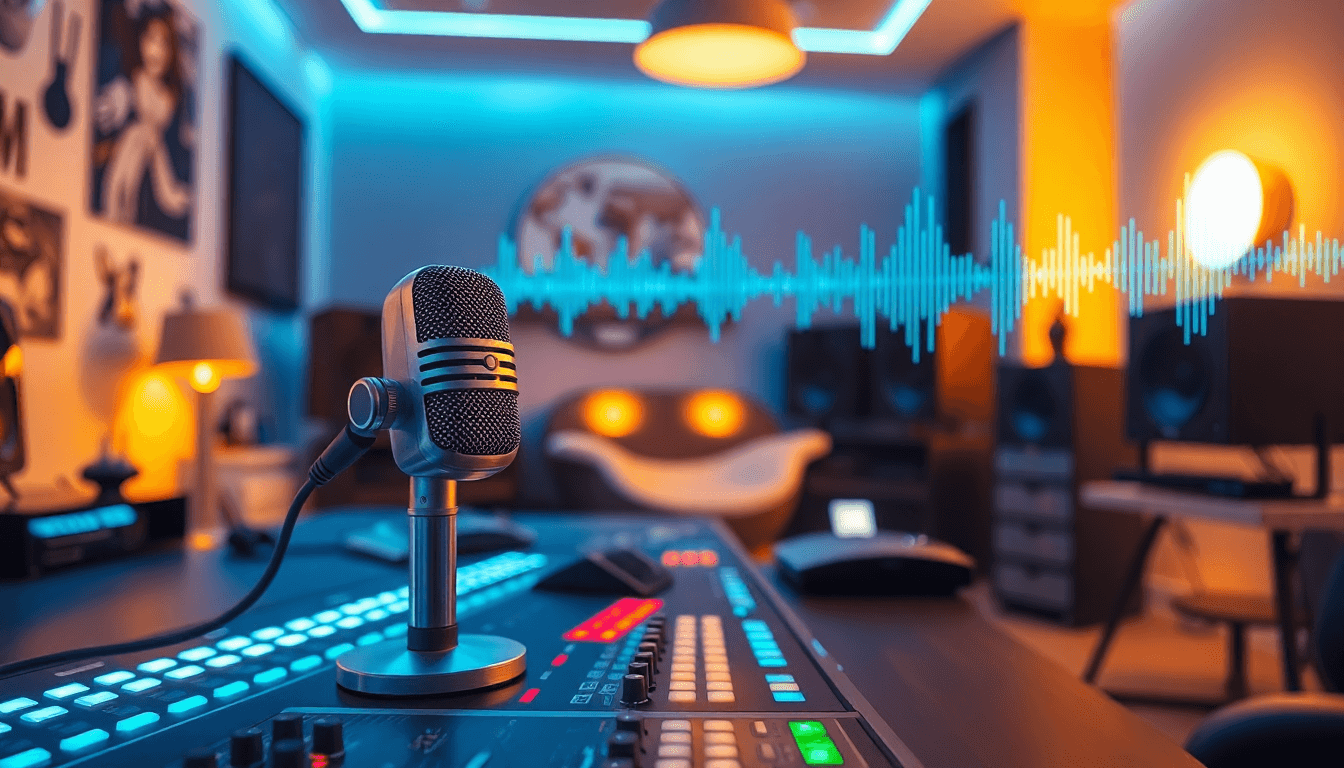
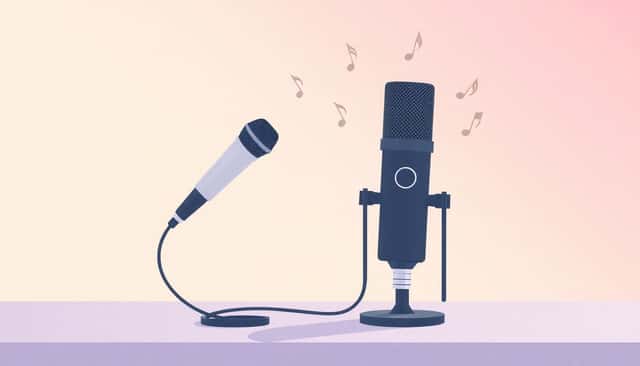
USB vs XLR microphones is one of those topics that sounds simple… until you actually try to pick one. I’ve been there—staring at spec sheets, watching a few “best mic” videos, and wondering why every setup suddenly needs another cable, another box, and another learning curve.
Here’s the truth: for authors, the “best” microphone is the one that fits your voice, your room, and your schedule. If you can record consistently (and without fighting your gear), you’ll get far better results than someone who owns expensive equipment but records once a month.
In this post, I’ll compare USB and XLR microphones in a way that actually matters for voice recordings—especially for audiobooks, narration, and podcast-style reading. I’ll also share what I noticed when I tested a USB mic vs an XLR chain in a real home setup, plus a simple way to decide which one to buy.
Key Takeaways
Key Takeaways
- USB is easiest: one cable, usually plug-and-play, and you can start recording the same day. It’s great if you’re recording in a bedroom or home office and want fast results.
- XLR is more flexible: you’ll use a microphone + audio interface (and sometimes a cloudlifter/inline gain). The payoff is more control over gain, cleaner signal paths, and easier upgrades later.
- “Noise reduction” isn’t magic: what you hear depends on the microphone’s pickup pattern, your gain settings, and the interface’s noise floor—not just the mic type.
- Room matters more than people think: close mic placement (around 4–6 inches for many voices) and basic acoustic control (blankets, bookshelves, soft furnishings) often beat spending extra money.
- My rule of thumb: if you’ll record a few hours per week and want minimal setup, pick USB. If you’re recording daily or aiming for audiobook-grade consistency, XLR usually wins.
Choosing the Right Microphone for Authors: USB vs XLR
Before you even compare specs, ask yourself one question: can you record consistently with this setup? If the answer is “maybe,” that’s usually a sign you should start simpler.
Here’s how I break it down for authors:
- If you record 1–3 times a week, mostly at home, and you want to get sound quickly: USB is often the best starting point.
- If you record daily (or you’re building an audiobook workflow): XLR tends to hold up better long-term because you can control gain and upgrade pieces without replacing everything.
- If your room isn’t great (echoey, noisy street sounds, shared office): both can work, but the microphone’s pickup pattern + your placement will matter more than the USB/XLR label.
Understanding What Authors Need in a Microphone
Authors usually care about three things: clarity, consistency, and not having to babysit the setup.
So instead of thinking “USB vs XLR,” I think in terms of your recording chain:
- Microphone pickup: how much your mic hears from in front of it vs the room around it.
- Gain and signal path: how loud you set the input and how much extra hiss/noise gets added.
- Monitoring and levels: whether you can hear yourself clearly and avoid clipping.
- Workflow: how fast you can go from “I’m ready to record” to a clean take.
And yes—your environment matters. A quiet room helps both types, but XLR setups often give you more control to dial things in when things aren’t perfect.
Benefits of USB Microphones for Authors
USB microphones connect straight to your computer. That’s the big win. No interface. No extra driver drama (usually). Just plug in and record.
When I tested USB vs XLR for narration, what surprised me most wasn’t “wow, it sounds amazing.” It was how fast I could start recording without second-guessing levels. I’d hit record, read for 10 minutes, and only then think about tweaking.
That matters for authors because consistency beats occasional perfection.
What “noise reduction” really means with USB
USB mics sometimes advertise noise reduction or “built-in processing.” But in practice, the noise you hear is usually affected by:
- Microphone sensitivity: some mics pick up more room sound and keyboard/PC fan noise.
- Polar pattern: cardioid mics reject sound from the sides better than omnidirectional designs.
- Gain settings: if you boost gain too much, you’ll bring up background hiss.
- Interface noise floor (or built-in preamp): every preamp adds a little noise; better designs add less.
So, if your USB mic uses a cardioid pattern and you keep your mouth close, you’ll often hear less room noise—not because of magic, but because the mic simply hears you more than everything else.
Quick setup example (USB)
Here’s a simple setup that worked well for me in a typical bedroom:
- Distance: 4–6 inches from the mic, slightly off-axis (to tame harsh “S” sounds)
- Sample rate: 48 kHz (or 44.1 kHz if your editing software prefers it)
- Bit depth: 24-bit if available
- Level target: aim for peaks around -6 dB to -3 dB while reading (so you don’t clip on louder words)
- Room control: record near soft surfaces (curtains, bookshelves, a duvet behind you)
Popular USB mics like the Blue Yeti and HyperX SoloCast get attention for a reason: they’re accessible, straightforward, and they’re easy to recommend to authors who don’t want to learn audio gear first.
Most USB mics also land in the “reasonable budget” range—often around $100–$300 depending on the model. If you’re starting out, that’s a lot easier to swallow than building a whole XLR chain.
Bottom line: USB is a solid choice when you want to hit record quickly and focus on writing/narration, not troubleshooting.
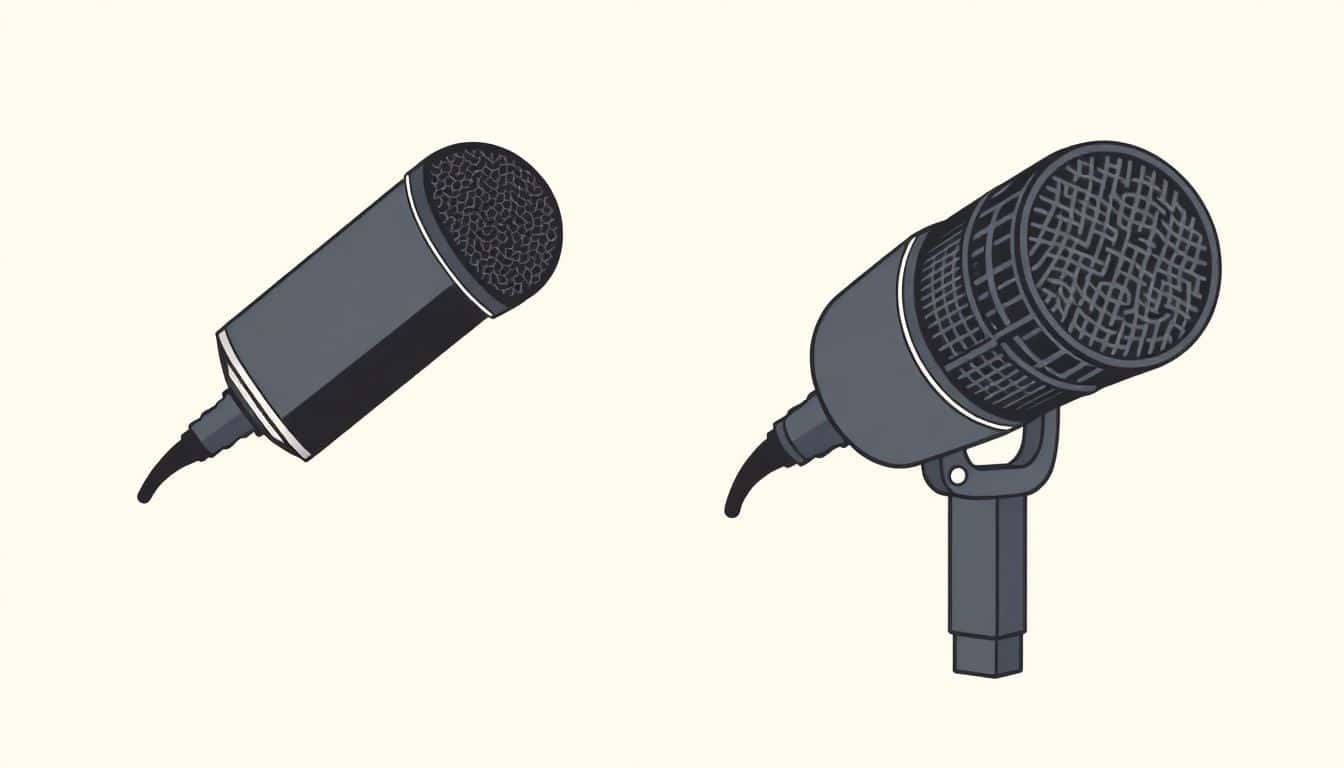
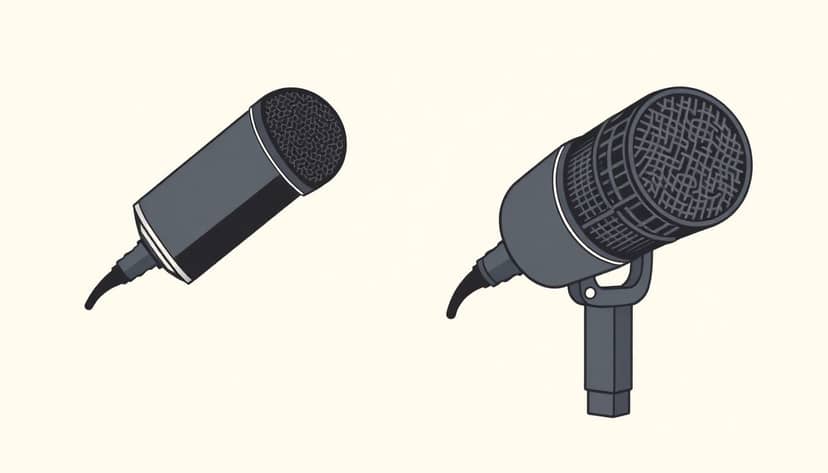
Advantages of XLR Microphones for Authors
XLR microphones are the “microphone + interface” setup. The mic sends an XLR signal to an audio interface, and the interface handles preamp gain and conversion to digital.
Is it more complicated? Yep. But it’s also why XLR setups can sound more consistent when you’re doing serious work.
What I noticed when I moved to XLR
In my case, the biggest improvement wasn’t “more bass” or “more detail.” It was that I could set gain once, keep it stable, and get cleaner recordings across multiple sessions.
With USB, I sometimes had to adjust settings per session (especially after software updates or when Windows/macOS decided to change audio devices). With XLR, the workflow felt more “locked in.”
How XLR setups handle noise (in real terms)
When people say XLR gives “better noise reduction,” they usually mean a few practical things:
- Cleaner preamps: many interfaces have lower noise floors than built-in USB preamps, so the hiss you hear at low levels can be less noticeable.
- More control over gain: you can adjust input gain precisely and avoid over-amplifying noise.
- Better mic options: you can choose microphones with pickup patterns that suit your room (cardioid vs hypercardioid, etc.).
So instead of relying on processing, you’re building a chain that captures your voice more directly and amplifies it more intelligently.
XLR microphones like the Shure SM7B and Rode NT1-A are popular because they’re used in a lot of professional voice workflows. (And yes, the SM7B is famous—but it often needs extra gain, so pairing it with the right interface/boost matters.)
Using XLR also makes upgrades easier. You can change the mic later, swap interfaces, or tweak your chain without starting over from scratch.
About the “79% market share” claim
I’m not going to repeat a random “79% in 2024” statistic without a solid citation. If you want market-share numbers, they should come from a named source (publication + link) and clearly define what “professional audio setups” means. This article focuses on what you can verify in your own recording chain instead.
If you want, I can also help you build a short test plan to compare specific USB and XLR options using the same script and distance.
Key Differences Between USB and XLR Microphones for Authors
Here’s the real difference for authors: USB optimizes for simplicity, and XLR optimizes for control and long-term growth.
- Connection: USB = one cable to your computer. XLR = mic + interface + (usually) headphones monitoring.
- Control: USB mics often have basic onboard controls and software settings. XLR gives you more precise gain and routing options.
- Upgrade path: USB upgrades typically mean buying a new mic. XLR upgrades can mean swapping one piece at a time.
- Setup learning: USB is easier for beginners. XLR takes a little learning, but it’s not rocket science once you do it once.
Also, durability is often better with XLR cables/connectors because they’re built for frequent plugging/unplugging in live and studio environments. That’s not a guarantee, but it’s a common reason XLR gear lasts.
Which Microphone Is Better for Your Writing and Recording Needs?
If you’re deciding right now, use this quick decision path.
Choose USB if…
- You record 2 hours/week or less (a couple sessions to build your audiobook backlog, for example).
- You want minimal gear and you’re okay doing small tweaks in software.
- Your priority is “press record and go” more than “maximize studio control.”
- Your room is reasonably quiet or you can get close mic placement.
Choose XLR if…
- You record daily or you’re producing ongoing episodes/books.
- You’re ready to invest in an interface and learn gain/levels once.
- You want more consistent results across sessions and better upgrade flexibility.
- Your room has issues and you want to choose a mic and pattern that helps.
My practical “test before you commit” plan
If possible, test both types (or at least test the mic you’re leaning toward). Here’s a plan I’d actually use:
- Use the same script for every test (same paragraphs, same reading speed).
- Match distance (tape a mark on your desk for 4–6 inches).
- Level-match so peaks hit roughly the same spot (around -6 to -3 dB). Don’t compare one recording that’s louder—louder often just sounds “better.”
- Listen for: plosives (“P” and “B”), sibilance (“S” and “T”), room tone/echo, and whether background noise rises when you get quiet.
- Check for clipping and distortion on louder lines. If it’s clipping even a little, you’ll hear it later in editing.
Suggestions for Authors: When to Pick USB or XLR Microphones
Let’s make this practical. Here are three starter “bundles” I’d recommend depending on how you record.
Starter bundle #1: USB for quick audiobook momentum (approx. $150–$250)
- USB microphone (cardioid if possible)
- Pop filter (or a built-in grille + careful distance)
- Basic room softening (blanket behind you, curtain nearby)
Best for: authors recording a few hours a week and wanting fewer moving parts.
Starter bundle #2: XLR for consistent daily narration (approx. $300–$600)
- XLR mic (choose a pattern that fits your room)
- Audio interface with clean gain and headphone monitoring
- Pop filter + shock mount if you can swing it
Best for: authors producing regularly and wanting stable levels across sessions.
Starter bundle #3: “Upgrade-ready” XLR (approx. $600–$1000)
- Better interface (more headroom, lower noise floor)
- Mic that matches your voice (not just “the most popular one”)
- Optional inline gain/booster if your chosen mic needs it
Best for: audiobook-focused authors who want room to grow without replacing everything.
And here’s a real-world note: if setting up gear makes you anxious, don’t force an XLR build on day one. You can always move later. I’ve seen too many people buy XLR gear, then avoid recording because it feels like homework.
Final Tips for Choosing the Best Microphone for Your Writing Career
Whatever you choose, make sure your setup supports your voice, not just your wishlist.
- Test with your actual sentences. Reading “The quick brown fox…” isn’t the same as your real book dialogue.
- Watch your levels. If you’re clipping even occasionally, fix gain first—not later with heavy compression.
- Use close, consistent placement. A steady 4–6 inches beats “whatever distance feels right today.”
- Control reflections. You don’t need a studio. You need fewer hard surfaces near your recording position.
- Keep your workflow simple at the start. Get clean recordings first. Then add upgrades like better interfaces, second mics, or processing chains.
- Take care of the mic. Store it properly, avoid touching the capsule, and keep dust off your pop filter.
If you match the microphone to your recording habits, you’ll sound more professional—no matter which platform you’re uploading to.
FAQs
USB mics plug directly into your computer, making them simple and fast to use. XLR mics connect to an audio interface, which adds extra gear—but also gives you more control over gain and upgrade flexibility. For authors, the “best” choice usually comes down to how often you record and how much setup you’re willing to learn.
If you’re recording frequently (like daily narration or regular podcast episodes), XLR often makes life easier long-term. You can keep levels consistent, choose a mic pattern that fits your room, and upgrade parts without rebuilding everything. USB can still work, especially if you’re okay with occasional setup tweaks.
Yes—many USB microphones can produce audiobook-quality audio, especially if you use good placement, a pop filter, and a reasonably quiet room. If you’re aiming for top-tier consistency across long sessions, XLR setups are often preferred because they offer more control and headroom. But you don’t need XLR to start sounding good.
Think about your recording frequency, your budget, and your room. USB is usually the better starting point if you want quick setup and fewer variables. XLR is a better fit if you’re recording often and want more control over gain and upgrades. Either way, do a short side-by-side test with the same script and matched levels.