Table of Contents
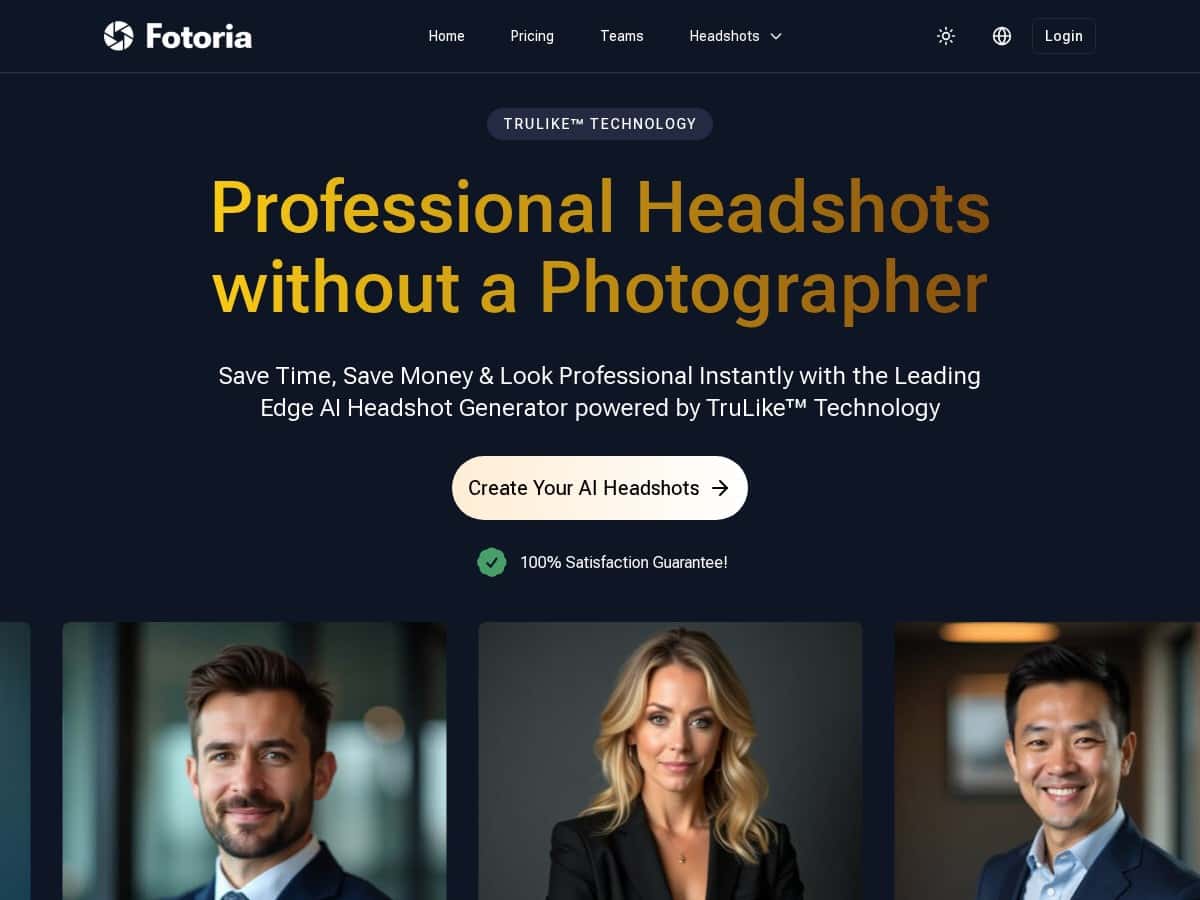
If you’ve ever looked at the cost of a “quick” headshot session and thought, wait… why is this so expensive? I get it. I tested Fotoria because it promises AI headshots that look professional without the studio price tag or the scheduling headache.
Here’s what I did, what I actually saw, and the few spots where it didn’t fully impress me.

Fotoria Review (What I Did + What I Got)
I tested Fotoria on my laptop using a normal desktop browser (no special setup, no plugins). I’m also going to be specific about the steps, because this is where these tools usually make or break it.
My starting point: I uploaded a recent selfie that was taken indoors—good lighting, but not a full studio backdrop (think: plain wall behind me). If you’re wondering whether a “perfect” photo matters, yes… a little. The AI can only work with what you give it.
Steps I followed:
- I went to Fotoria and clicked through to the headshot upload flow.
- I uploaded a single selfie (head and shoulders, face clearly visible).
- I selected a style that aimed for a professional look (the kind you’d use for LinkedIn).
- I chose a clean, solid background option rather than something busy.
- I submitted and waited for processing.
Timing: From upload to the first finished download, it took about ~2 hours in my test. That matches what the service advertises, and it’s honestly fast enough that you can do it between meetings.
What changed in the output (before/after observations):
- Background: My original background was a little uneven. In the AI version, it became a cleaner, more uniform solid color. The edges around my hair were mostly smooth, though a couple of strands blended a bit too aggressively (not disastrous—just not “every single hair looks perfect”).
- Skin + facial features: The result looked natural, not plastic. My skin tone stayed consistent, and the AI didn’t over-smooth in a way that made me look like I was underwater. Still, if your selfie is already heavily filtered, you might notice the tool “locks onto” that look.
- Overall polish: The final image looked like it came from a photographer who understands corporate lighting—brighter, clearer, and more even across the face.
One more thing I noticed: the platform felt straightforward. It didn’t feel like I was fighting a complicated editor. I could get from “upload” to “download” without digging through a bunch of settings.
Key Features (The Stuff You’ll Actually Use)
- AI headshot generation (TruLike™): In my test, TruLike™ produced a professional, flattering look and handled background replacement well. It’s not magic—hair edges and lighting still depend on your original photo—but the output quality was solid.
- Fast turnaround: My results came back in about 120 minutes. If you’re trying to update a profile quickly, that’s a big deal.
- Style + background options: I picked a professional style with a clean background. You can usually swap options to match what you need (LinkedIn vs. more formal corporate use).
- Simple upload flow: The interface is easy to navigate. I didn’t have to watch a tutorial or hunt for “where do I click?”
- Privacy controls (deletion claims): Fotoria mentions deletion after a period of time, but I don’t want to guess here. If you want the exact wording (for example, whether deletion is automatic and how long images remain accessible), check Fotoria’s official site and look for the Privacy/Terms section inside the product. (I’m including this because privacy language is the kind of thing that changes, and I don’t want to misstate it.)
- Tiered packages: Different plans typically affect turnaround time and what you can download/edit. I’ll break this down in the pricing section below.
Pros and Cons (Based on My Results)
Pros
- It’s genuinely quick. ~2 hours is fast enough for real life—especially if you need a new headshot for LinkedIn or a job application.
- Background replacement looks convincing. My solid-background option came out clean and professional.
- Facial enhancement looks natural. No weird “over-smoothed” effect in my output.
- Good for corporate use. The final images read like professional headshots, not “AI art.”
- Easy workflow. I didn’t feel like I needed to learn a new editing tool from scratch.
Cons
- Photo quality still matters. If your selfie is blurry, dark, or has a lot of distortion, the AI can only do so much.
- Hair edges can be hit or miss. In my case, most of it looked clean, but a few strands weren’t perfect. If you have very curly or flyaway hair, you may want to try a second upload.
- Pricing isn’t “one number.” It varies by package and what you get (turnaround, delivery, editing). You’ll want to verify the exact tier before buying.
Pricing Plans (What I Found + What to Watch)
Here’s the honest part: the original draft didn’t include actual tier pricing, and I don’t want to repeat that mistake. Prices can change, and the only safe way to give you accurate numbers is to check Fotoria’s pricing page at the time you’re reading this.
What I recommend doing right now: open Fotoria and look for the pricing/plan selector. When you’re on that page, compare:
- Turnaround time (some plans process faster than others)
- How many images you get (or whether you get multiple variations)
- Edit/redo options (whether you can make changes after delivery)
- Output resolution (especially if you’re using it for CVs, websites, or press kits)
- Watermarks or usage limits (if any apply to downloads)
If you want, paste the pricing tiers you see on the page (just the numbers + what each includes), and I’ll help you decide which one makes sense for your use case. For example: if you only need one LinkedIn headshot, you probably don’t want the highest tier. But if you’re building a personal brand and want multiple background options, paying for more variations may actually be worth it.
Wrap up
Fotoria is a practical option when you need a professional headshot quickly without booking a studio. In my test, the turnaround was about two hours, the background replacement looked convincing, and the final image read like a real corporate headshot—not a gimmick.
That said, don’t expect it to fix a bad selfie. If your lighting is rough or your face is hard to see, the results won’t magically become “perfect.” If you start with a clear photo and pick a clean professional style, though, Fotoria can save you time and money in a way that actually matters.