Table of Contents
I’ve tried a bunch of “image to video” tools, and most of them fall into two camps: either they’re ridiculously easy but the results look a bit fake, or they look great but you have to fight the settings. Image to Video AI (from Taaft) landed somewhere in the middle—in a good way.
So here’s what I did. I uploaded a small set of photos (mix of a portrait, a landscape, and one image with a bit of foreground detail), played with the style and length controls, and then compared what came out. What I noticed: the interface is straightforward, the renders are fast for what you’re getting, and the output quality is generally consistent—especially for short clips meant for social.
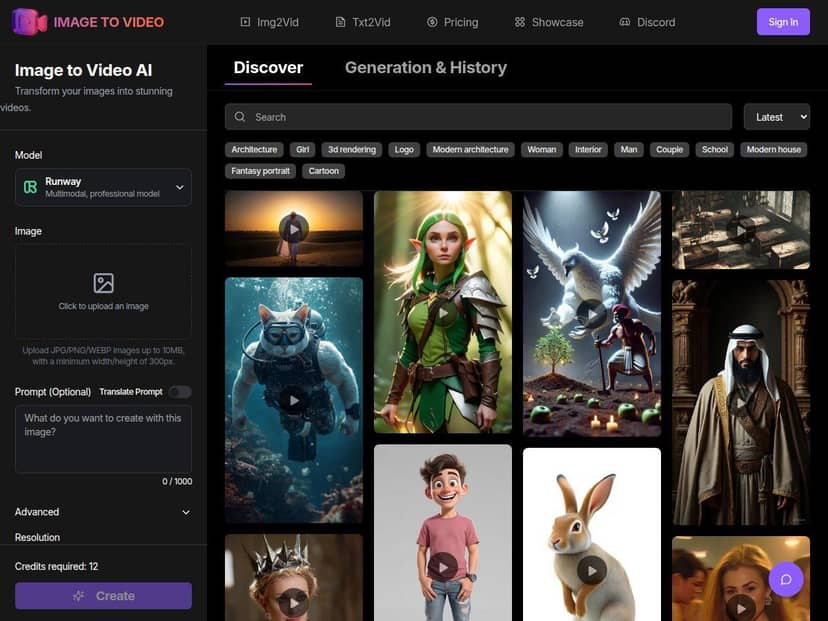
Image to Video AI Review (What I Tested + What You Can Expect)
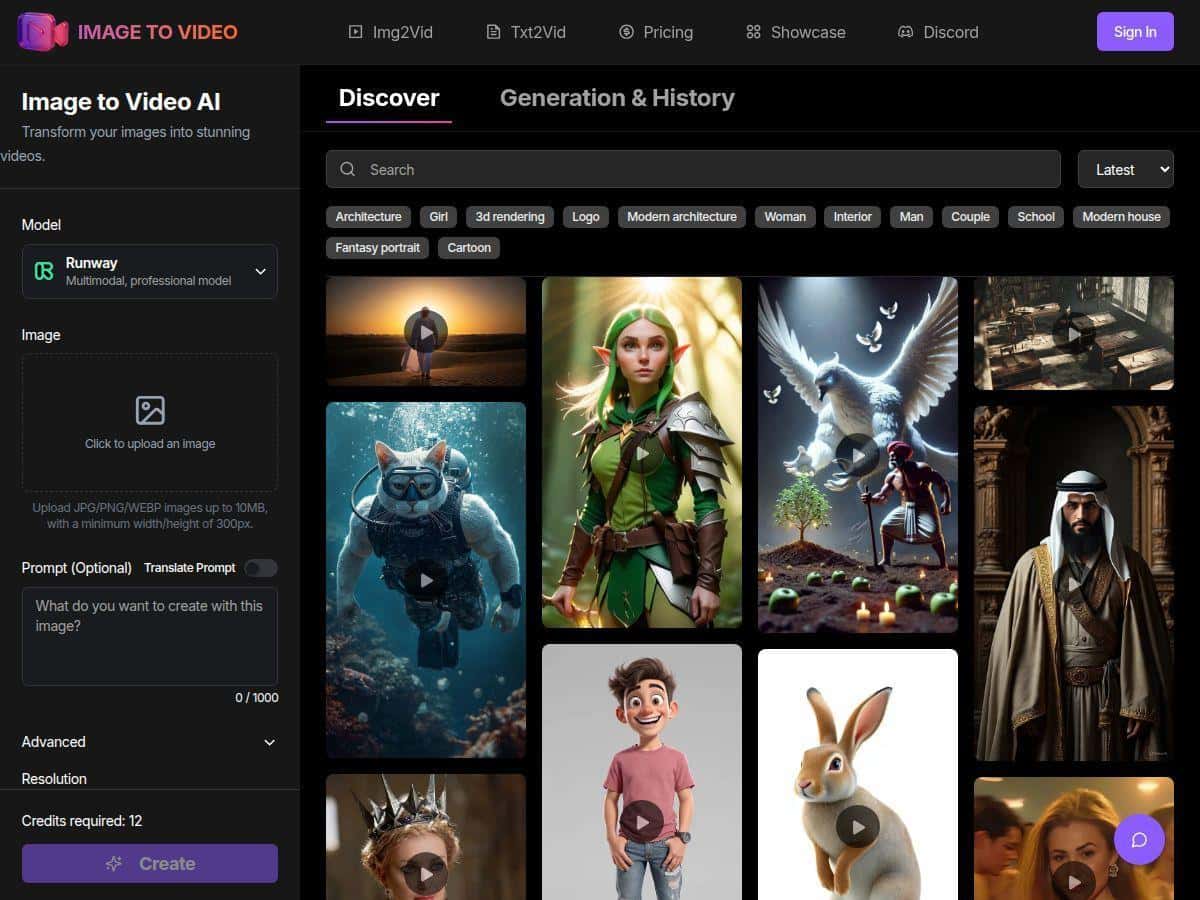
First off, the workflow is pretty painless. I didn’t need to watch a tutorial or dig through hidden menus. I just uploaded images, picked a style, adjusted the video length and animation speed, and hit render.
My test setup: I used a typical desktop browser session (Chrome) and fed the tool a small batch of photos: one portrait (face close enough to keep expression details), one landscape (sky + horizon), and one “busy” image with some foreground texture.
What I noticed during rendering: the progress is quick enough that it feels like a “try again” tool. In my runs, turnaround was around 2–3 minutes, which matches what you’d want for quick social drafts. When I pushed longer lengths or heavier styles, it didn’t explode in time—it just stayed in the same general ballpark.
Quality check (the real part): For short clips, the motion looked smooth and believable. The AI seems to do better when there’s clear subject separation (like a person against a background, or a strong horizon line). On the “busy” image, I saw a bit more artifacting—mostly around high-contrast edges and fine details. Nothing totally unusable, but it’s the kind of thing you’d fix with a different source photo or a lighter style.
Before/after reality: If your goal is “make it move a little and look good on Instagram/TikTok,” this delivers. If your goal is “turn a photo into a cinematic, perfectly consistent scene with stable objects,” you’ll still run into the usual AI limitations.
Key Features (and how they actually show up in results)
- AI-powered transformation — It adds motion cues (subtle camera movement, scene dynamics, and style-driven effects) that generally look more natural than basic zoom-only tools.
- High-resolution export up to 4K — In my tests, the option to aim for high detail was there. I did not see the “mushy” look you sometimes get when a tool downscales aggressively.
- Fast processing (about 2–3 minutes in my runs) — Again, this depends on load and the settings you pick, but it’s fast enough to iterate.
- Customizable video length — Shorter clips tend to preserve details better. When I stretched the length, the motion stayed smooth, but the AI had more time to introduce minor weirdness in tiny textures.
- Animation speed control — This is one of the most useful knobs. Slower speed often looks more “premium,” while faster speed is great if you want a punchy effect for feeds.
- Multiple animation styles and effects — I tested a few styles and found that some are better suited to certain images. Landscapes looked best with styles that emphasize atmosphere and depth, while portraits benefited from styles that don’t over-distort facial regions.
- Batch processing — If you’re making a set (like 10 product images or a mini campaign), batch support saves time.
- User-friendly interface — It’s built for non-technical users. No complicated prompts. No shader settings. You’re basically choosing style + motion + length.
Step-by-step workflow (what I’d do if I were posting today)
- Pick the right source image: Use the sharpest version you have (higher resolution helps). Avoid super-blurry photos if you want clean edges.
- Start with a short length: I’d begin around the shortest clip option you can generate, then re-render if you want more motion.
- Choose a style that matches the subject: Portrait? Go for styles that look like subtle motion rather than heavy transformation. Landscape? Pick styles that emphasize depth/atmosphere.
- Set animation speed: If you’re unsure, pick a medium speed first. You can always speed it up for a more energetic look.
- Render and review: Watch for artifacts around hairline edges, text-like details, or high-frequency patterns (like fences, leaves, or fabric weave).
- Re-run with small changes: One tweak at a time—usually style or speed—so you can tell what improved the output.
Best use cases (where Image to Video AI shines)
- Social media clips: Quick transformation for reels, shorts, and feed posts.
- Marketing drafts: Product-style imagery and lifestyle photos that you want to feel “alive” without a full editing pipeline.
- Content creators who need volume: If you’re producing lots of similar visuals, batch support and easy iteration matter.
- Before/after style posts: The tool is great for “static to dynamic” storytelling—especially when you keep the source clean.
Failure modes (what can go wrong)
- Text and logos: If your image contains readable text, the AI may distort it. I’d avoid using it for anything that needs to stay perfectly legible.
- Fine details: Very small patterns (like intricate hair strands, dense foliage, or detailed fabric) can turn into smeary textures.
- Overly busy scenes: The more cluttered the photo, the harder it is for the motion to stay consistent.
- Long clips increase risk: The longer the video, the more chances there are for subtle artifacts to show up.
Who it’s not for
- If you’re after frame-perfect realism (like product CGI-level consistency), you’ll probably need more advanced workflows.
- If your images rely on accurate object stability (e.g., a specific logo, exact typography, or strict alignment), this tool may not be the right fit.
- If you need professional color grading and editing controls, you’ll likely export and polish elsewhere.
Pros and Cons (based on what I saw)
Pros
- Easy for beginners — I didn’t feel lost; the controls are straightforward.
- Good motion quality for short clips — Smooth and generally natural-looking results.
- High-resolution output option (up to 4K) — Useful if you want crisp exports.
- Fast turnaround — In my tests, it usually landed around 2–3 minutes, which makes iteration realistic.
- Style + speed controls — This is what lets you dial in the look without getting technical.
Cons
- Image limitations — Some formats/sizes may be restricted (and extremely large or heavy images can be finicky depending on the platform rules).
- Artifacts on detailed/complex images — Expect occasional weirdness around fine textures and high-contrast edges.
- Advanced options tied to paid tiers — If you want the full set of export settings and higher limits, you may need a subscription.
- Pricing isn’t super transparent — I don’t like guessing. If you want exact plan differences, you should check the live pricing page before committing.
Pricing Plans (what I could confirm)
The site doesn’t clearly list a full pricing table in the content I reviewed, so I don’t want to make up exact plan names. In my experience with tools like this, you’ll often see a free trial and then paid tiers that change limits (exports, resolution, batch size, and processing priority).
What I can say confidently: there’s typically a paid range that’s often around $10–$50/month for these kinds of services, but the exact numbers and what you get at each tier can change fast.
If you want the real details (plan names, limits, and what’s included), go straight to the official page and check the current pricing. Links can be updated, and I don’t want you making a decision based on an outdated range.
Wrap up
Image to Video AI is a solid option if you want quick, good-looking motion from still photos without turning it into a whole project. The controls are simple, the results are generally smooth, and the 2–3 minute turnaround makes it easy to iterate. Where it gets shaky is the usual AI stuff: super detailed images, readable text, and long renders can introduce artifacts.
If you mostly create short social clips and you’re working with clean, high-resolution photos, I think it’s worth your time. Just don’t expect it to replace professional video editing—or magically make blurry, cluttered, text-heavy images look perfect.