Table of Contents
I wanted a simple way to turn attendee posts into something people actually looked at—something that didn’t feel like a “dead” display loop. So I tested Social Walls with Taggbox Display for a live event setup. The goal was pretty clear: pull in real social content, keep it moving in real time, and moderate the wall so I wasn’t manually deleting spam every hour.

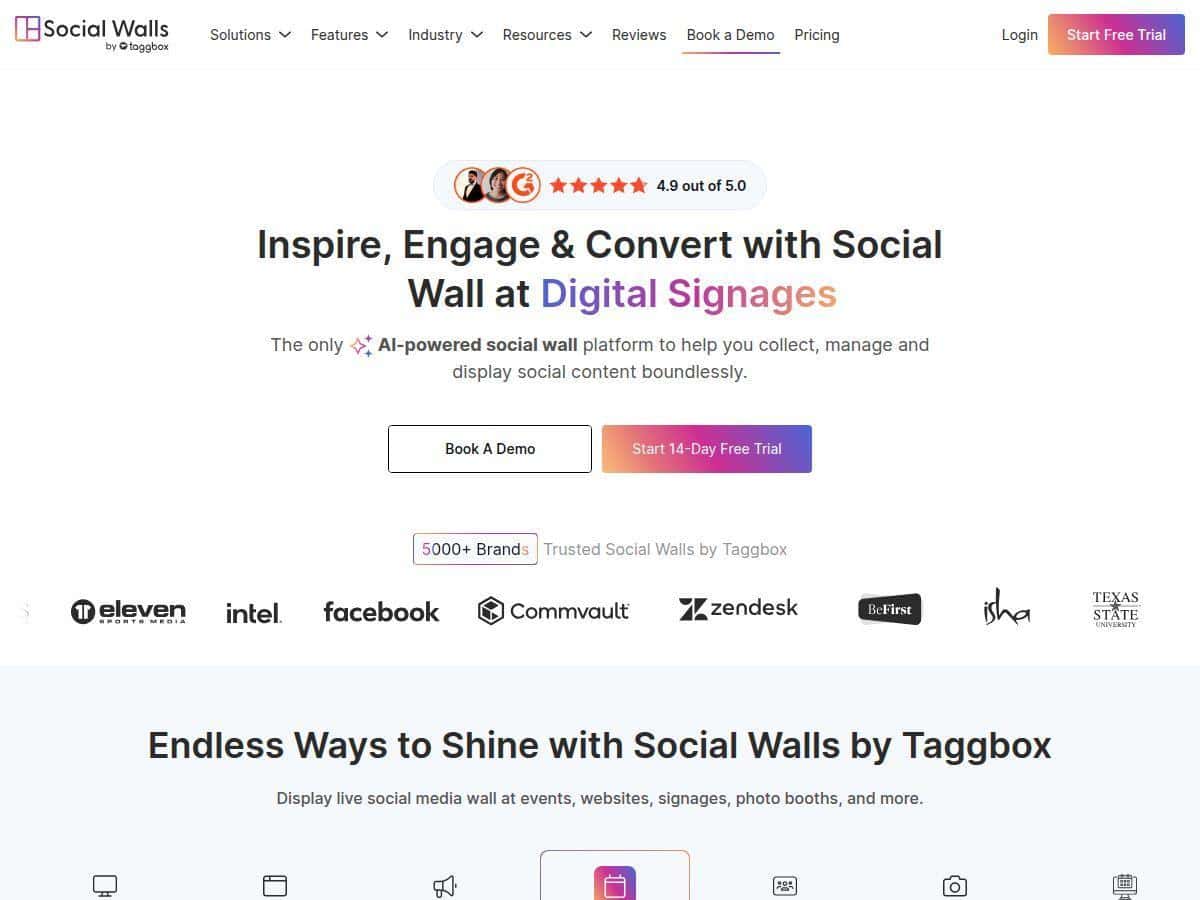
Social Walls Review: What It Was Like to Set Up Taggbox Display
Here’s the quick context of my test. I used Taggbox Display for an in-person event with a live “social wall” running on a screen in the lobby area. The wall was meant to combine a few different sources: posts from attendees (via hashtags) plus a couple of brand accounts so it didn’t look empty between waves of activity.
Setup time: I was able to go from “account created” to “wall live” in about an hour. That included linking social sources, choosing a layout, and testing that the feed refreshed properly. If you already know your hashtag(s) and you’ve got branding assets ready (logo/colors), it’ll go faster.
Feeds I used: I connected multiple channels (Instagram + a couple others) and then filtered down to the content that actually matched the event. In my experience, this part matters more than people expect—if you pull in too broad a search, you’ll spend more time moderating.
Customization I changed: I adjusted the wall theme, switched the layout style, and played with spacing so it looked good from a distance. One thing I noticed right away: the preview area makes it easier to see how the wall will behave on a screen before you commit.
Moderation (this is where I was most impressed): Taggbox’s AI moderation helped reduce the amount of junk that would have made it onto the wall. During the event, I still saw a few posts that needed attention—mostly edge cases like borderline language or irrelevant content—but the AI caught a lot of the obvious stuff. I didn’t have to constantly babysit it, which honestly was the whole point for me.
Engagement: When the wall updates in real time, people react to it. I watched attendees pause, screenshot the wall, and then post their own content to get featured. That’s the real payoff of a social wall: it’s not just “displaying content,” it’s nudging behavior.
Key Features (And How They Actually Show Up in Use)
- Aggregate live feeds from 15+ social platforms — In practice, I used it to pull in multiple sources and keep the wall from feeling repetitive. The biggest win here is variety: you can mix attendee posts with brand content so it looks intentional, not random.
- Interactive elements (polls, reactions, contests) — I didn’t just want passive scrolling. When interactive prompts are enabled, it gives people a reason to engage instead of walking past. If you’re running a campaign, this feature is one of the easiest ways to get participation.
- Real-time updates — This is the difference between a wall people ignore and a wall people check. During my test, new posts appeared without noticeable delay, which helped keep the display feeling “alive.”
- Themes, layouts, and branding options — I spent time here because first impressions matter. The customization controls made it possible to match the event look without needing a designer. That said, there are a lot of knobs—more on that in the cons.
- AI-powered moderation — What I liked: it reduced the manual cleaning I expected to do. What I didn’t love: AI isn’t magic. You may still want a quick review workflow, especially if your hashtag is broad.
- SnapUp feature for attendee uploads — This is handy if you want a “submit your photo” moment. It can boost participation because people don’t have to wait to post on their own accounts.
- Analytics for engagement tracking — I used the dashboard to see what content performed best (and which feeds were contributing). It’s useful for tweaking your setup after the event instead of guessing.
- Multi-screen and digital signage support — I tested the wall in a single screen scenario, but the multi-screen concept is important if you’re running several displays across a venue. It’s the kind of feature you’ll appreciate on day two, not day one.
- Website/app/virtual event integrations — If you’re doing hybrid, this matters. Being able to reuse the same wall concept across formats saves time.
Pros and Cons (Based on My Test)
Pros
- Fast to get running — The interface isn’t overwhelming. I didn’t feel like I needed a manual to build a basic wall.
- Multiple social sources keep the wall full — When one feed slows down, another can keep things moving. That helped during quieter moments.
- Real-time behavior actually drives interaction — People noticed the wall and reacted to it, which is what you want for a social wall.
- Branding controls are strong — I could make it look like part of the event instead of a generic feed.
- Analytics help you improve — It’s not just “pretty wall” marketing. The dashboard gave me something actionable for future events.
- Great for UGC-style campaigns — If your goal is to collect attendee content, this setup made it feel structured.
Cons
- Customization can be a rabbit hole — If you’re new, you might spend too long tweaking layout/theme options. I’d recommend deciding on your “good enough” look early, then refine later.
- Moderation may still need oversight — Even with AI moderation, you should plan for some manual review—especially if your hashtag search is broad or you expect lots of off-topic posts.
- Advanced plans can get pricey for smaller teams — I can see how budgets get tight depending on which features you enable (feeds, update frequency, engagement tools). If you’re running one small event, you’ll want to compare tiers carefully.
Pricing Plans: What to Expect
Taggbox offers a 14-day free trial, which is enough time to set up a wall, test moderation, and see how the analytics feel. No credit card is required for that trial, which I appreciated.
For paid plans, pricing can vary based on what you need (number of social feeds, update frequency, interactive features, and whether you’re doing multi-screen/digital signage). The advanced/enterprise side can land around $79 per month in some cases, while smaller teams typically start with a more basic tier.
My practical advice: before you commit, list the exact feeds you want (like Instagram + TikTok + a hashtag), and decide whether you truly need interactive features. Those choices are usually what move the price.
Wrap up
Taggbox Display is one of those tools that makes a social wall feel less like “a widget” and more like an actual engagement channel. If you care about UGC, real-time updates, and keeping the wall clean without constant manual work, it’s a strong option. Just don’t underestimate the setup decisions—especially moderation rules and how broad your hashtag search is—because that’s what determines whether your wall ends up looking polished or messy.