60-second summary
Quick answer
Save the imported project, add a cover and complete Publisher Profile, then choose Publish Book Now. The product record is created immediately and content review runs afterward; approval gates paid Automateed checkout.
Before you start
What you need
- Have a saved editable Book Editor project, or a finished PDF already listed under Your Books.
- Add a cover and complete the Publisher Profile before opening the publishing flow.
- For an editable upload, keep at least one chapter and 300 readable manuscript characters; a finished PDF uses the preserved PDF instead.
Procedure
Complete the task step by step
- 01
Complete the editor review
Check the title, chapters, readable manuscript text, cover and downloadable output; author identity comes from Publisher Profile.
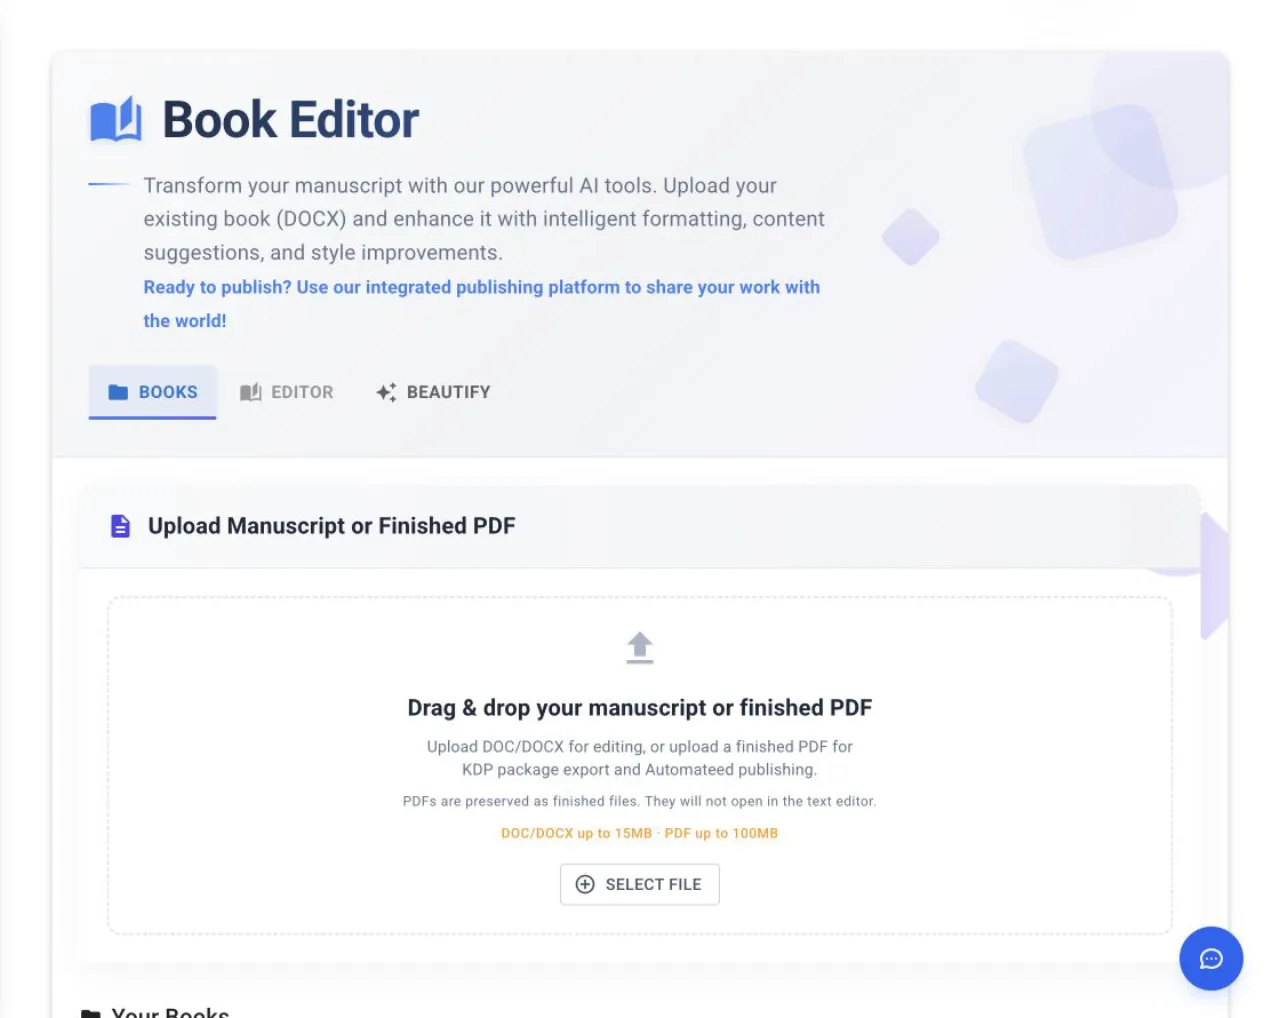
Published imported books begin as saved Book Editor projects, not as a second upload. - 02
Save the imported project
Wait for save confirmation before leaving the editor.
- 03
Open publishing
Use Publish on Automateed for the saved editable project or finished PDF.
- 04
Complete the publishing form
Set the public title, description and price, confirm Publisher Profile and use a saved cover.
- 05
Publish the product
Click Publish Book Now. The public product record is created and content review runs afterward; approval gates paid Automateed checkout.
Success check
Confirm that it worked
- Publish Book Now completes and the project shows Published or provides its public book link.
- The public product record exists immediately, while paid Automateed checkout becomes available after content-review approval.
Important notes
- Book Editor has no author field; author or imprint identity comes from the Publisher Profile and publishing context.
- A finished PDF skips the editable-manuscript text check, but it still requires a cover.
- Content review runs after publishing and is not a separate form submitted before the public product is created.
Troubleshooting
If it still does not work
Publishing says the imported book has no cover
Upload or generate a cover for this imported project, then reopen its publishing action.
Publishing says the manuscript has too little readable text
Open the project in Book Editor and confirm that it contains selectable chapter text rather than image-only pages.
Publisher Profile Required appears
Create and save the Publisher Profile, then return to the same imported project.